gratte-tout
Well-Known Member
- Joined
- Jan 28, 2008
- Messages
- 166
Last news :
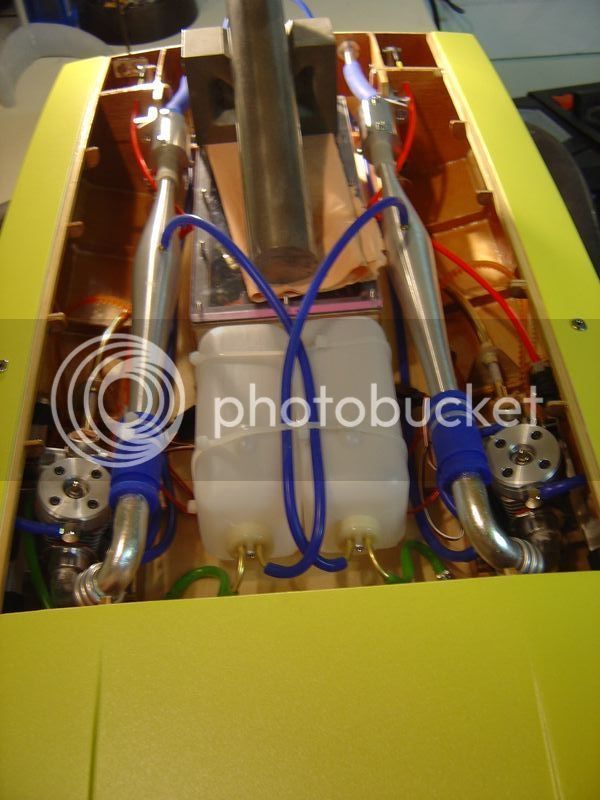
I received the rest of the parts needed from Tower, 2 "Y" wires with a switcher, rpm sensor and T° sensor for the eagle tree system (e-logger V3), the e-logger should come next week.
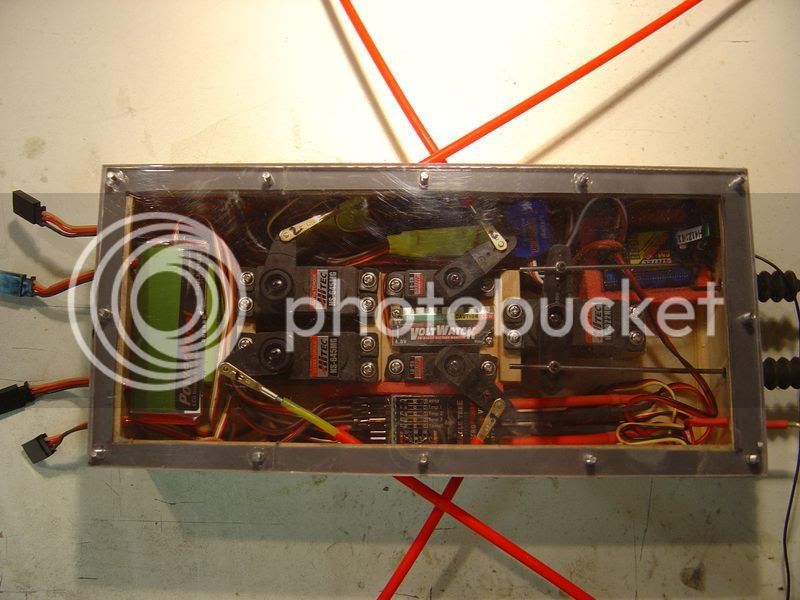
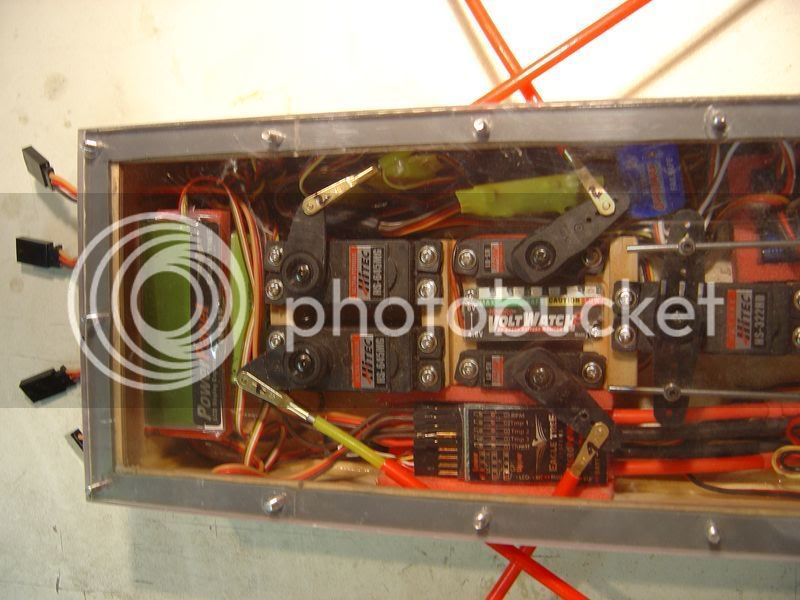
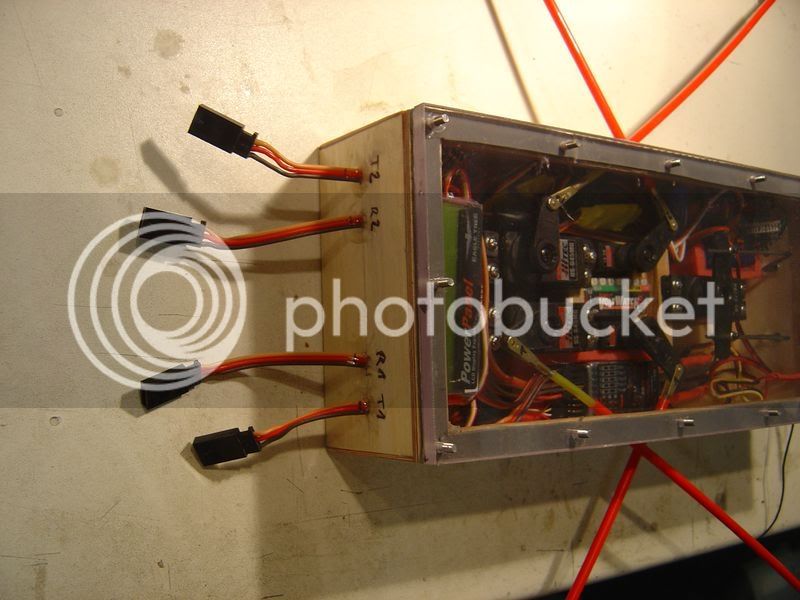
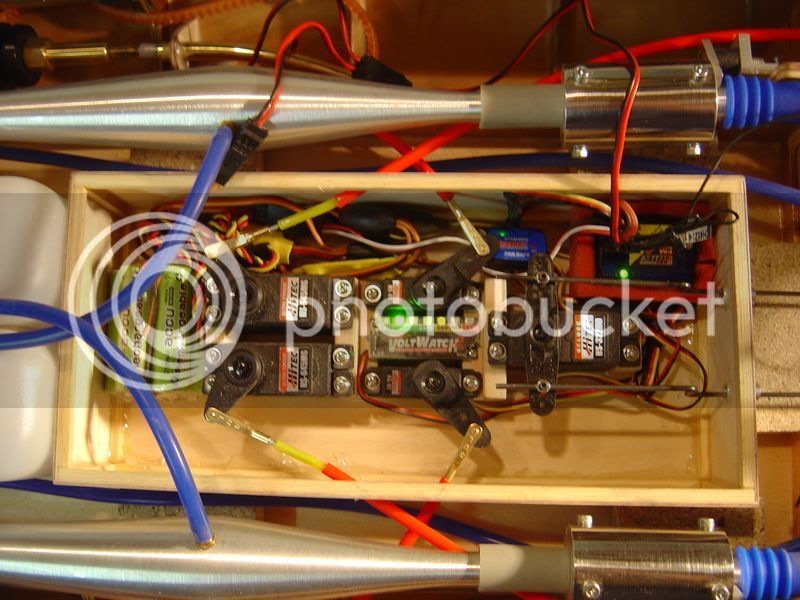
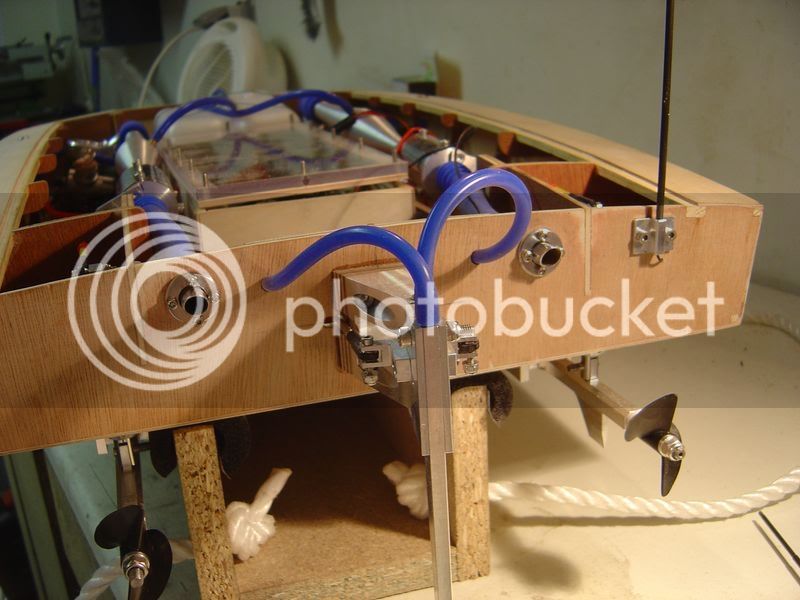
The radio bow starts to be more clean :
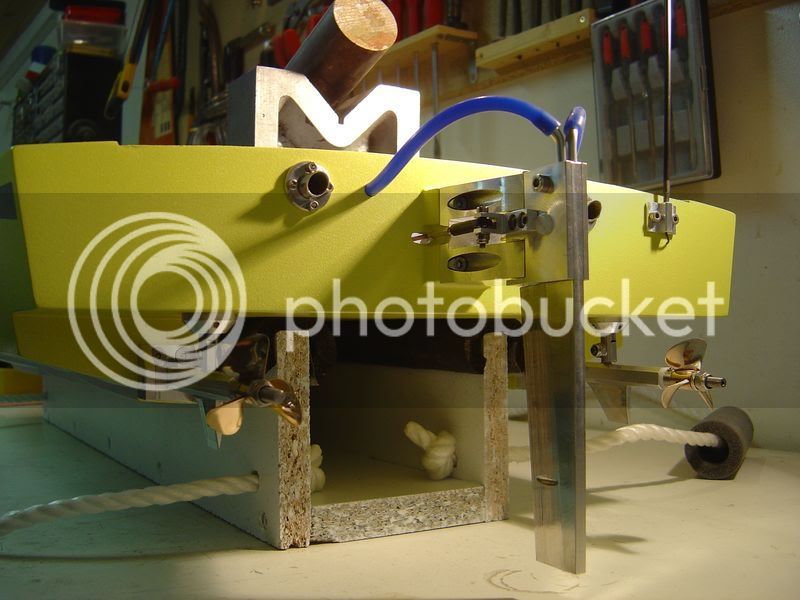
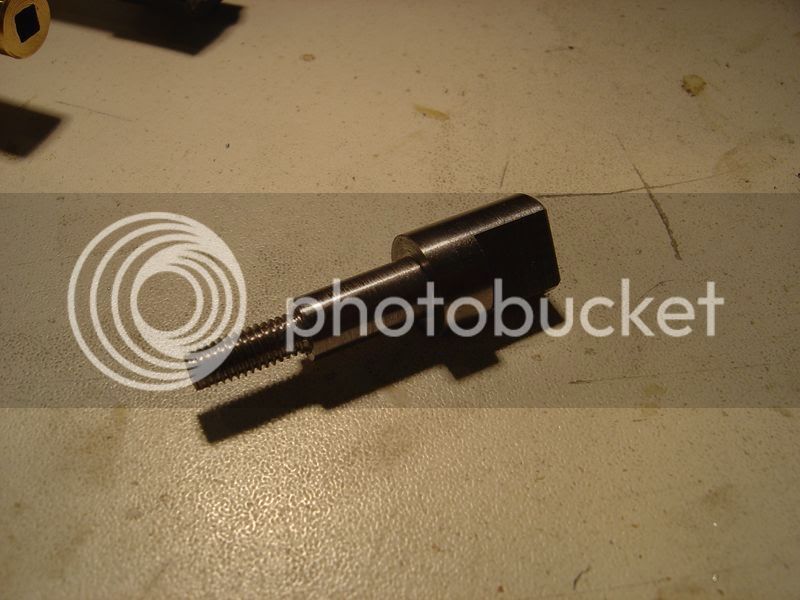
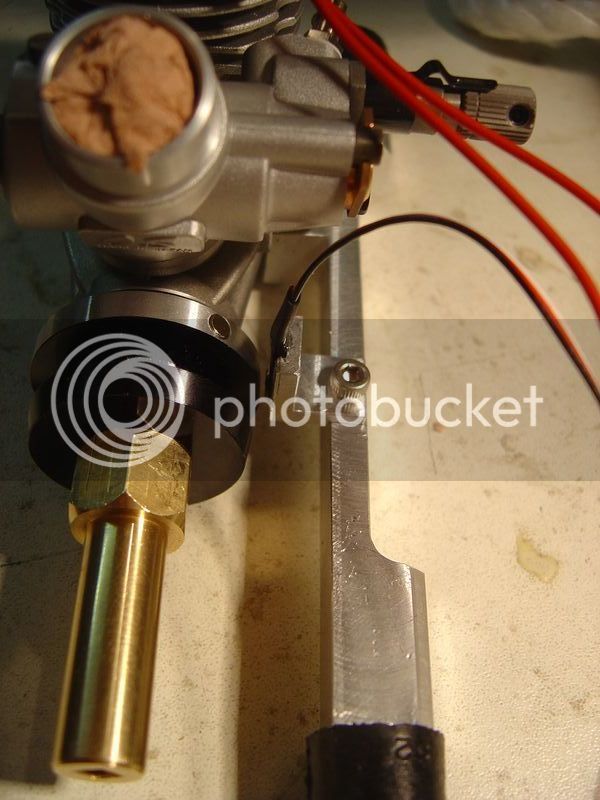
I machined a little bracket to hold the rpm sensor :

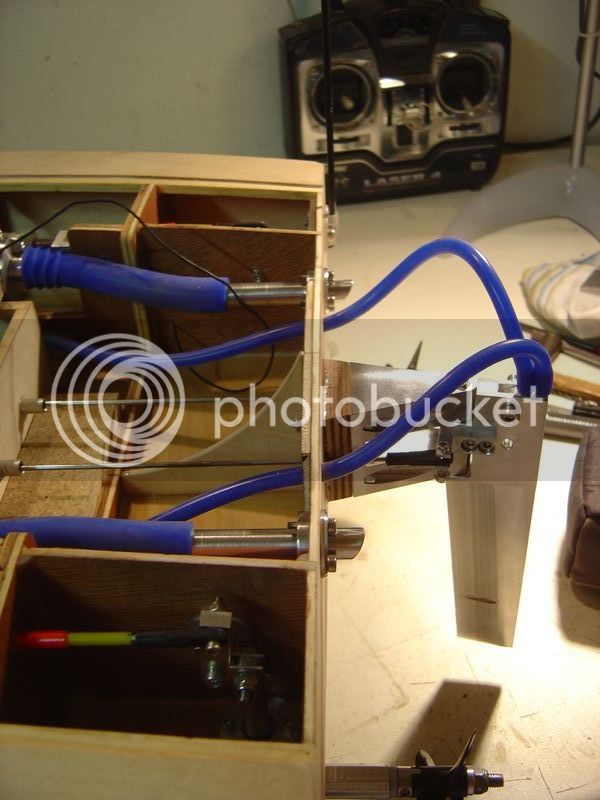
I also machined exhaust outlets, try to be as more as possible "scale"..
Why biyuing a antenna mount, when you can machine it? B)
To glu the two magnets per flywheel, and because I don't want to unscrew the setted vice on my milling machine, to put the direct divisor, I machined a little tool to dril two Ø3.2mm*1.5mm holes for the magnets.
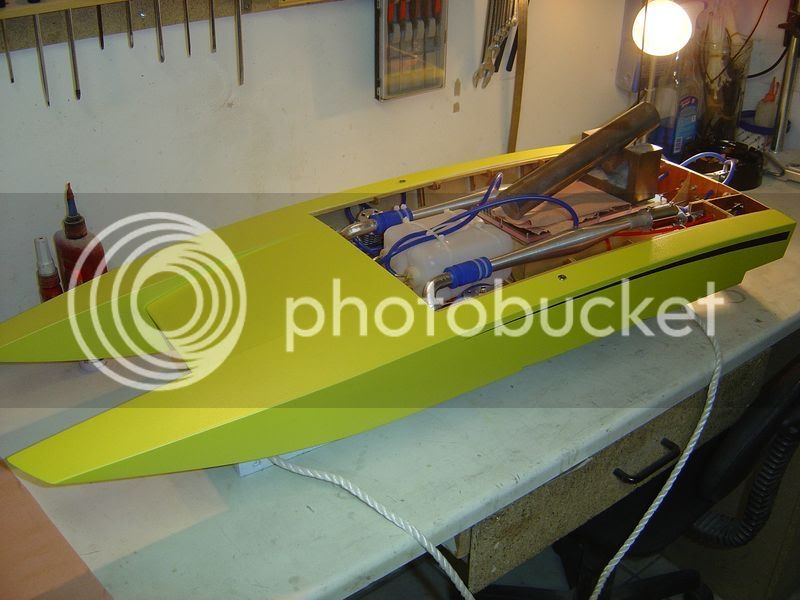
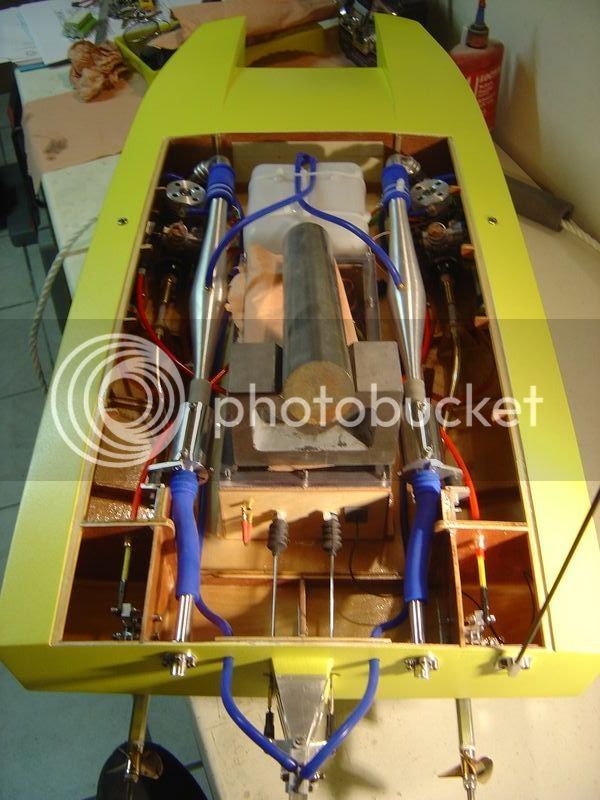
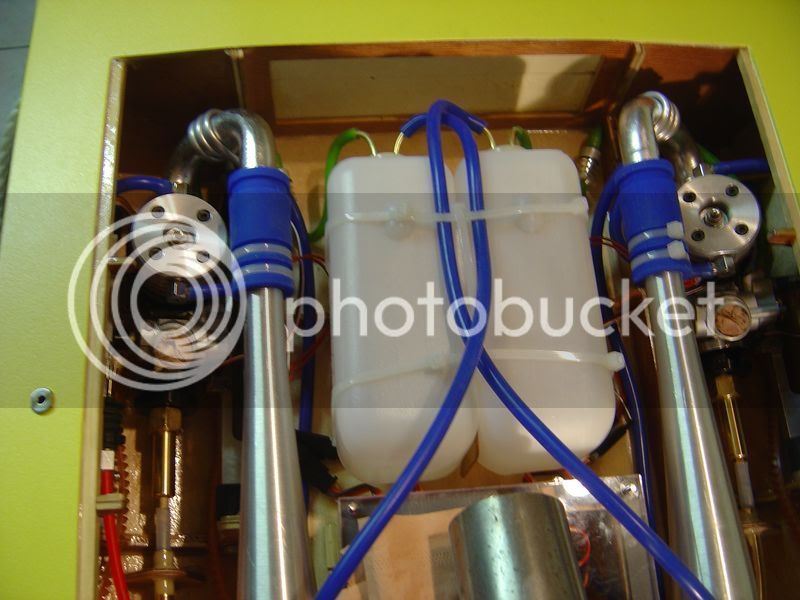
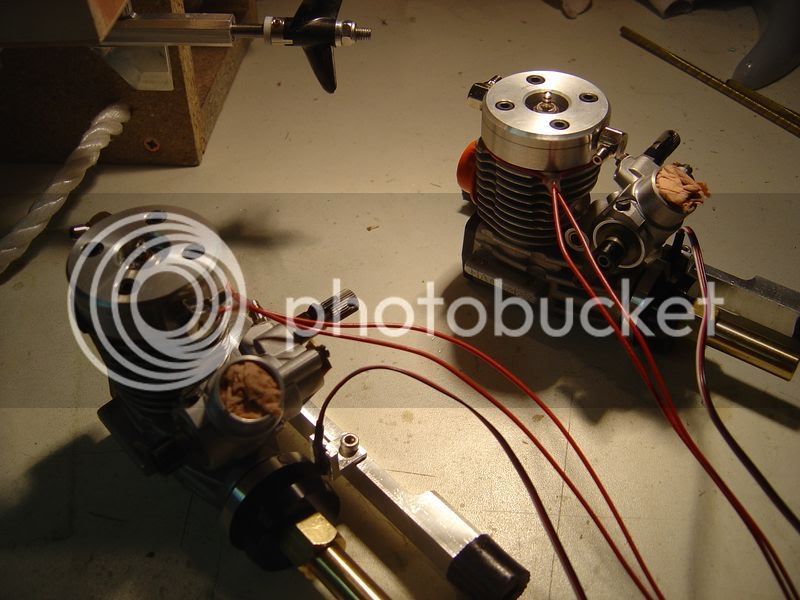
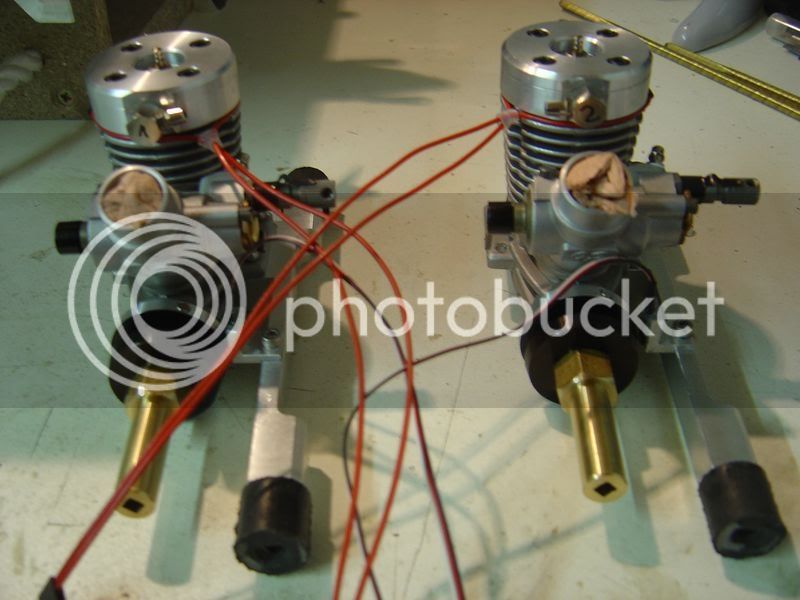
Engines with the sensors (T° and rpm)
To be continued.
")
I received the rest of the parts needed from Tower, 2 "Y" wires with a switcher, rpm sensor and T° sensor for the eagle tree system (e-logger V3), the e-logger should come next week.
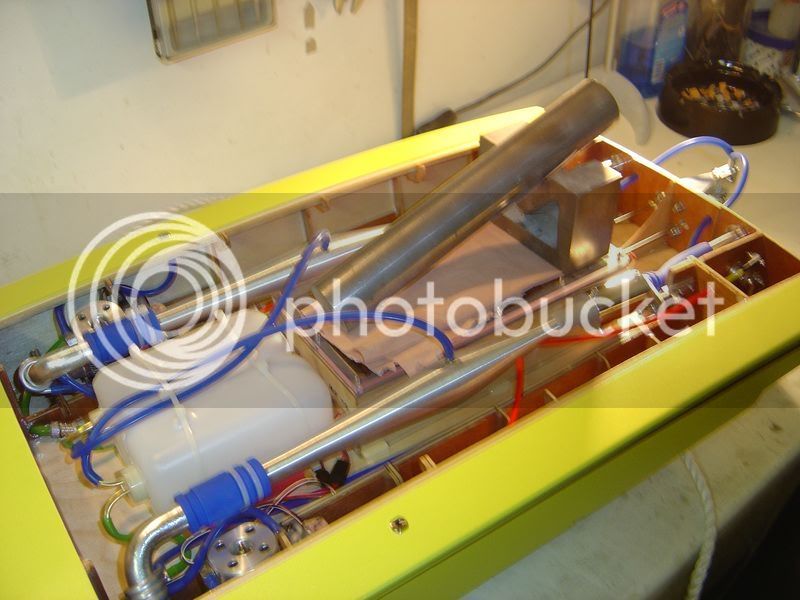
The radio bow starts to be more clean :
I machined a little bracket to hold the rpm sensor :
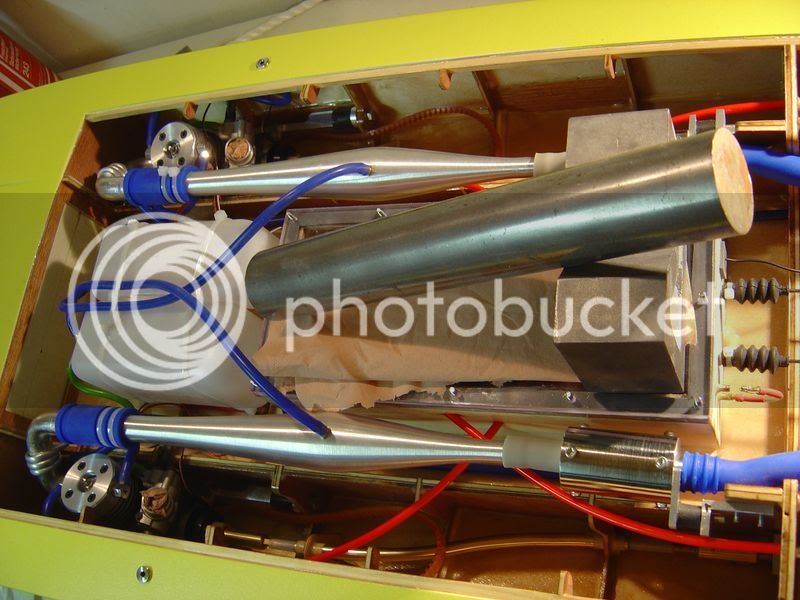
I also machined exhaust outlets, try to be as more as possible "scale"..
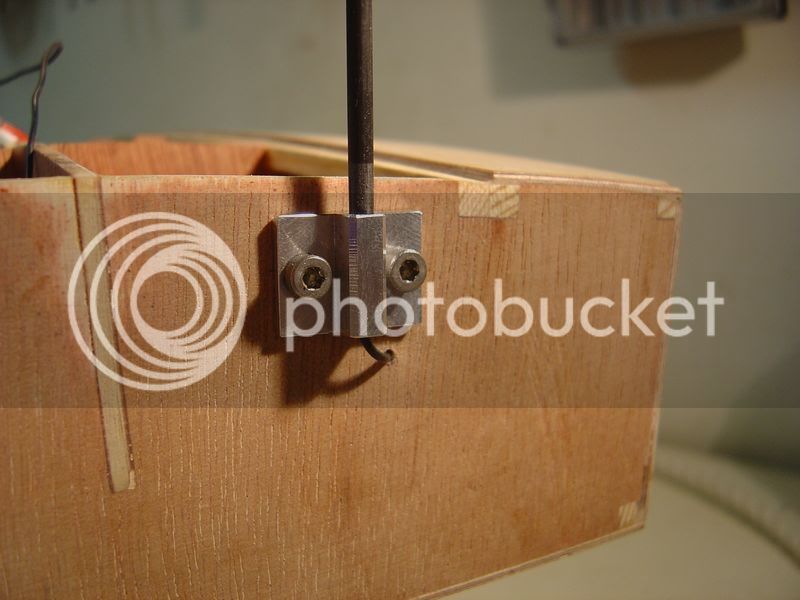
Why biyuing a antenna mount, when you can machine it? B)
To glu the two magnets per flywheel, and because I don't want to unscrew the setted vice on my milling machine, to put the direct divisor, I machined a little tool to dril two Ø3.2mm*1.5mm holes for the magnets.
Engines with the sensors (T° and rpm)
To be continued.