46" Gas F1 tunnel build

Intlwaters

Help Support Intlwaters:

This site may earn a commission from merchant affiliate links, including eBay, Amazon, and others.
all clearcoated now and baking

DSC01686.jpg
 
Thanks guys

Hopefully Gill it will,nothing like designing and/or building from start to finish

just waiting on vinyl now and the paint to fully cure then i can think about starting putting it together and get the last few bits i need to complete the build
 
Guys need your help,im looking at the screen,its currently alloy mesh,right do i leave it as is or shall i paint it black or leave it and make a CF vinyl surround

DSC01687.jpg


DSC01688.jpg
 
Thanks beau

iv siliconed in it now and just waiting for it cure,then im gonna play around with a couple of ideas,but will more than likely do it black in the end
 
Boredom has started while waiting so started sorting out the hardware and installing it,started off by running a tap done the blindnuts to clear the paint etc,sorted out the neoprene seal round the radio box and started installing the servo mounts,servos and bellows etc.

DSC01690.jpg


DSC01689.jpg


DSC01692.jpg


DSC01691.jpg


Also installed the large bore wateroutlets in the outboard cowl

DSC01697.jpg


More pics to follow
 
having a good day on this build

installed engine temporary to cut flexishaft,installed strut,flexi and flex saver

Also fitted the radiobox lid temporary to make sure it fits still after all the layers of paint have been added and the neoprene seal,all bolts have rubber o rings aswell so should be watertight.

DSC01700.jpg


DSC01705.jpg


DSC01701.jpg


DSC01704.jpg


DSC01703.jpg


Also shot through the mesh screen with engine installed,this should provide enough airflow through to engine and round the pipe.

DSC01699.jpg
 
Looks like she will be hitting the water very soon. Hope you will have a friend do a video for all to see on the first run out. Should be fun.

Beau
 
Hey Beau

Im gonna order the new radio and the last few bits,maybe even a couple more for the time been

The only thing is the weather here at mo,had 4" of snow last nite with more been forecasted and the ponds are all froze over so it will be a waiting a game now really

But defo get vids once finished illl get it outside and fire it up and make sure everything Ok before hand

Rgds Daz
 
Cheers eric

iv ordered the rest of stuff needed now to complete this build,just gotta wait for it to turn up

and im hoping the vinyl will be done tomorrow then i can finish it off fully then think about getting it running and setting up the radio before heading off down the pool
 
Darren,

Looks great. Hope to see videos soon. You may end up moving the rudder another inch or two further starboard to make sure it is totally out of turbulence from the prop-wash in a hard left-hand turn.
 
Thanks Ron

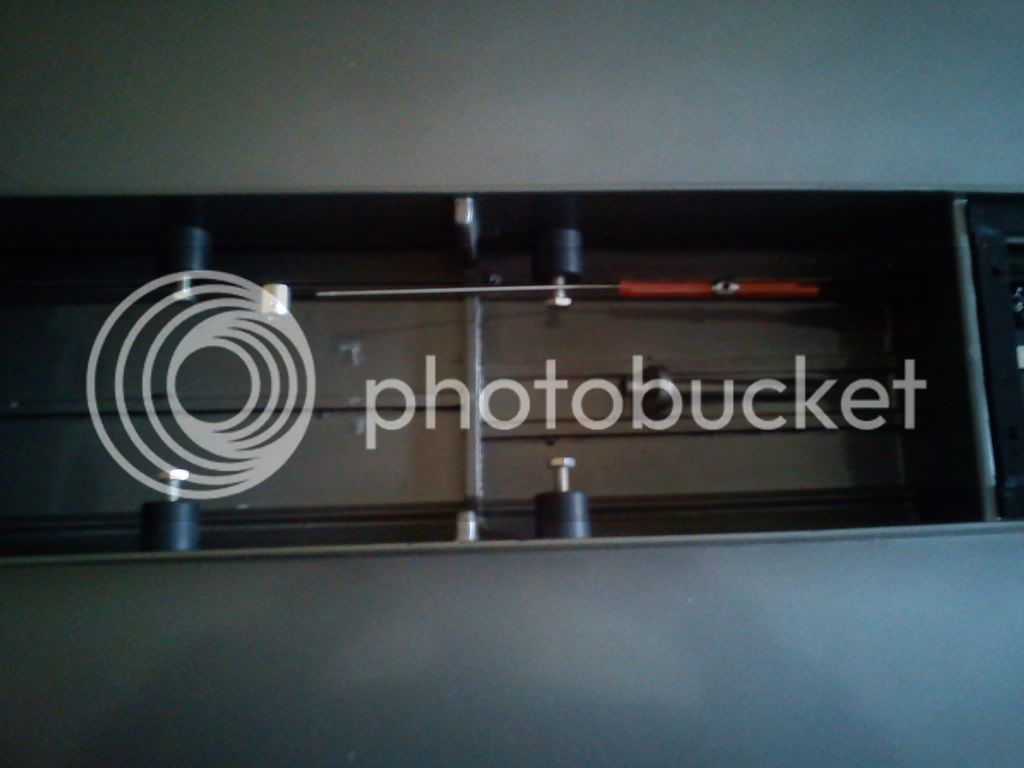
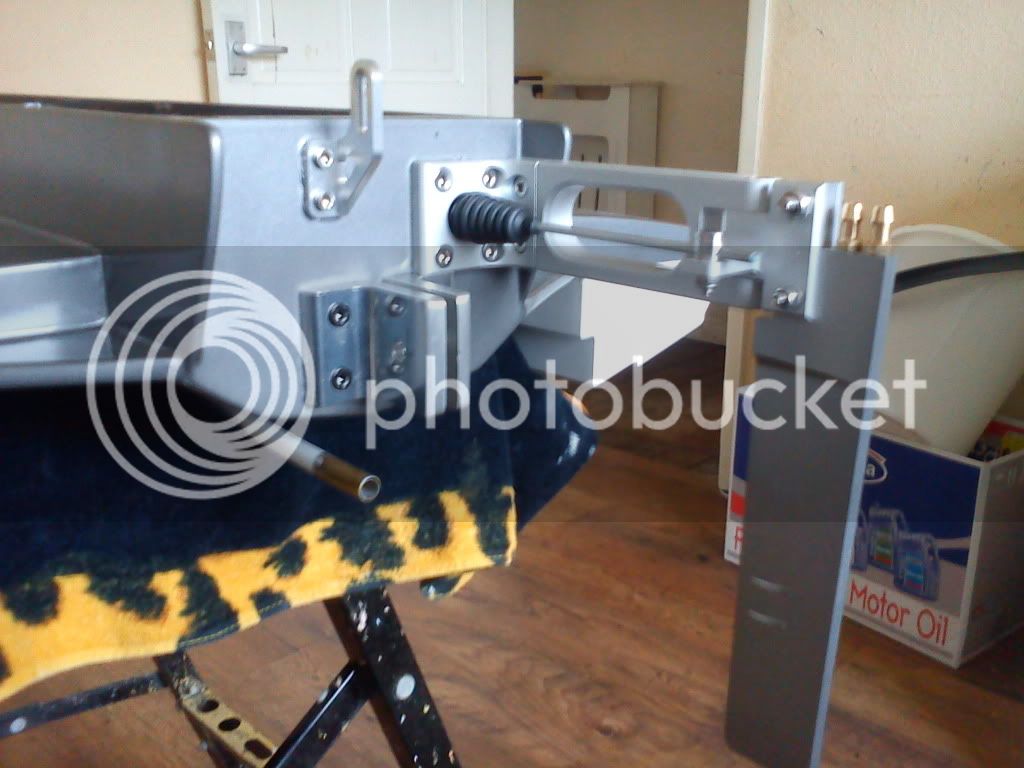
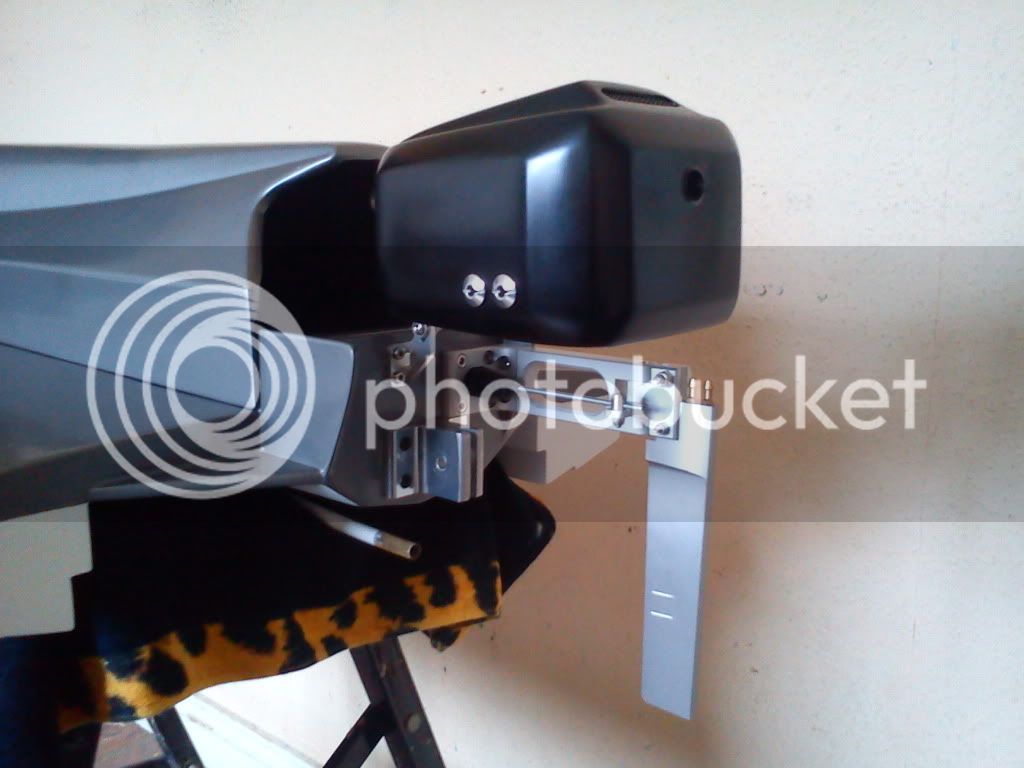
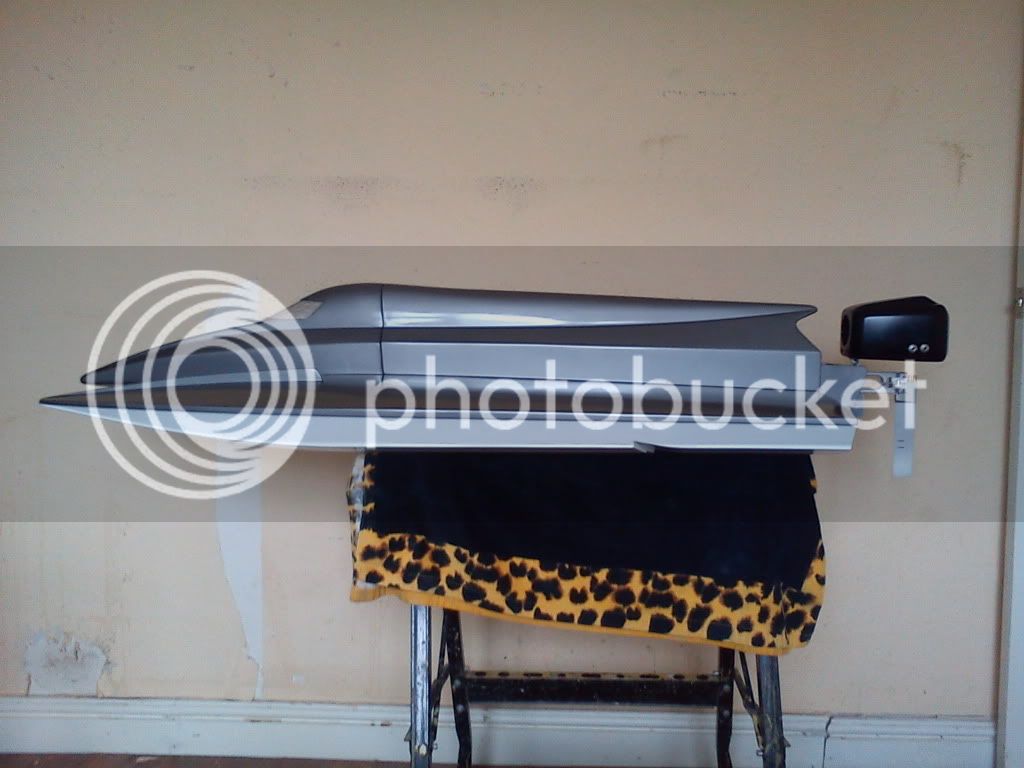
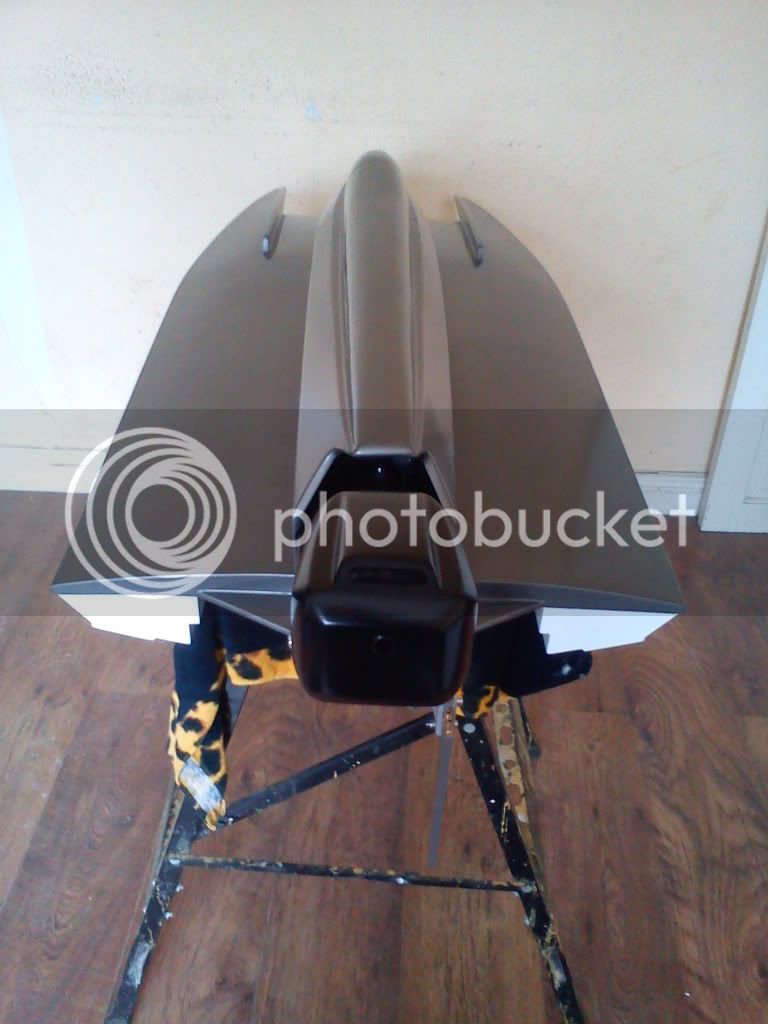
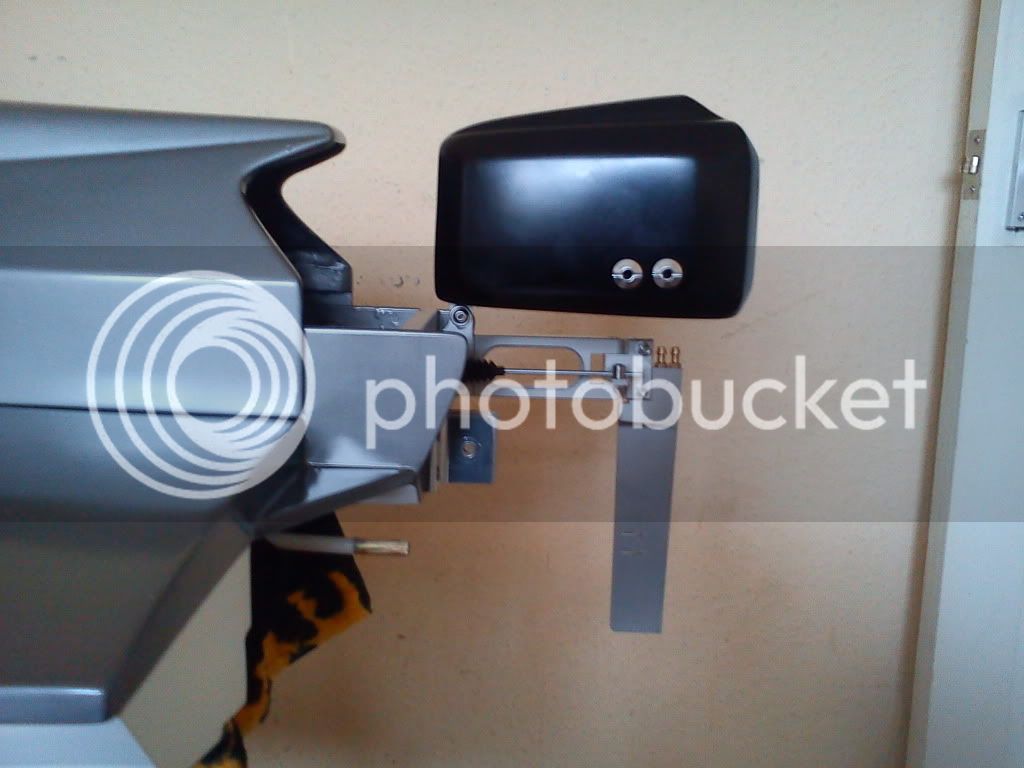
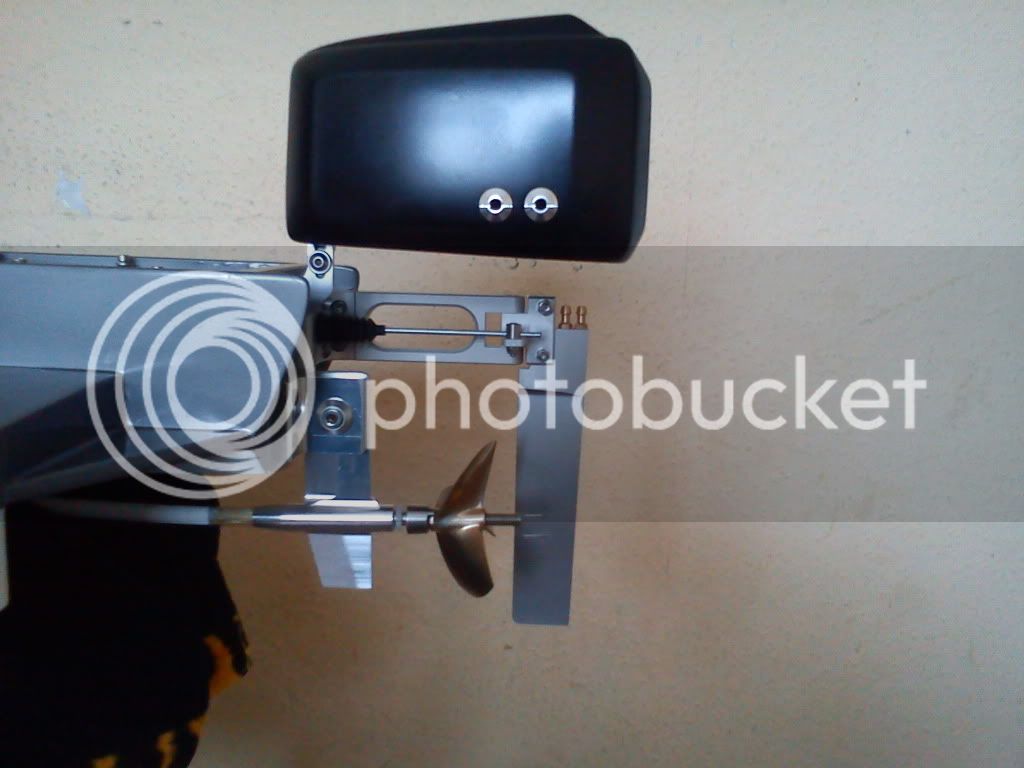
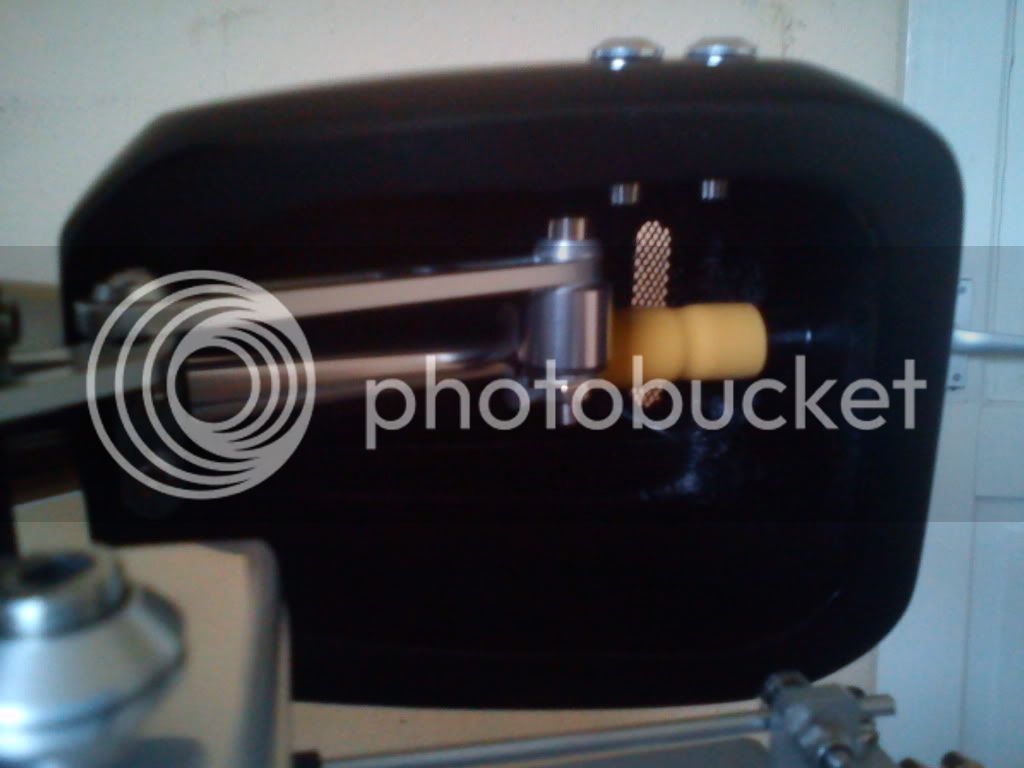
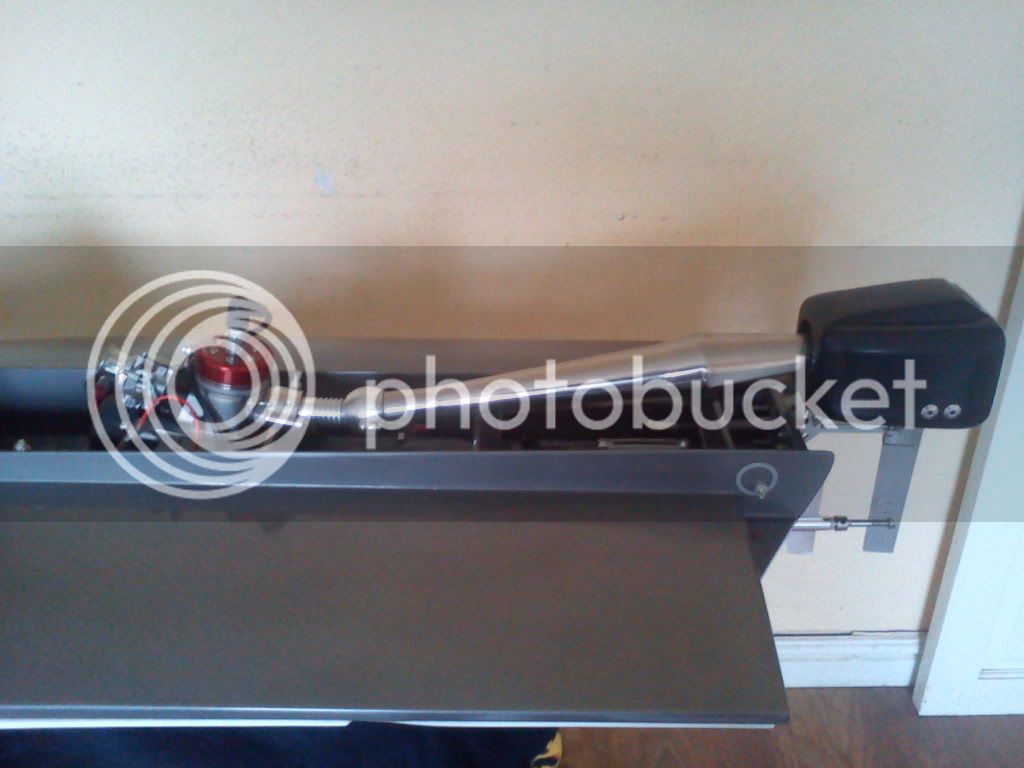
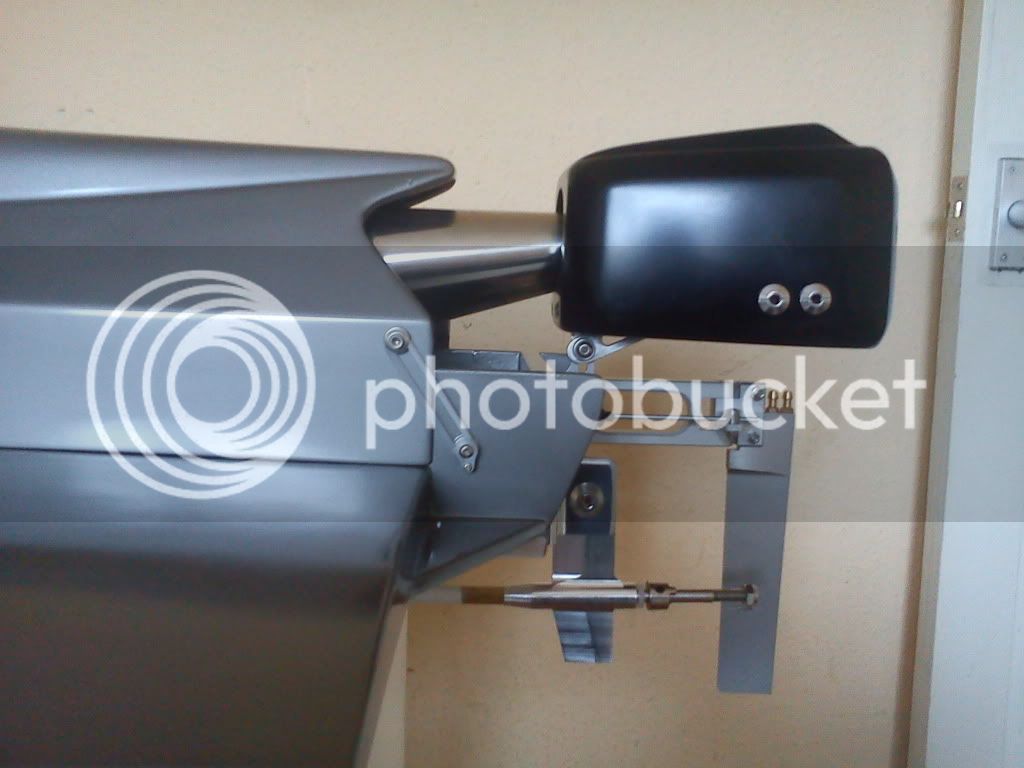
I cant move the rudder any further starboard but i can extend it further away if needs be,but will see on testing then will make improvements from there

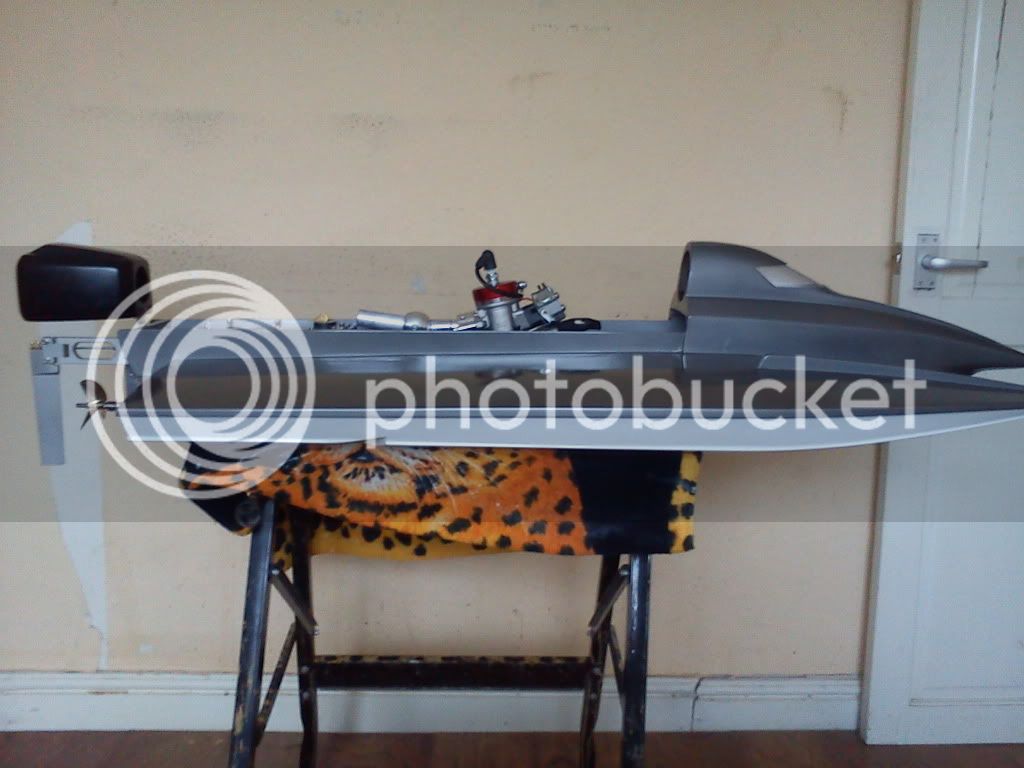
Just out of curiosity,if it tests ok and goes like it should, if i were to pull some molds would anybody be interested,not say its definate,just trying to see if it would be worth my while doing it
 
Hi guys

sorted the screen now by painting it black and added some CF vinyl to finish it off

DSC01723.jpg


DSC01722.jpg


DSC01714.jpg


Some parts arrived aswell,fuel filter and venturi also installed the fuel bag

DSC01715.jpg


Exhaust silicon and and hoop cowl locks also arrived,so did test setup of exhaust,false outboard cowl,need to remove again for setting everything up in the radio box.

DSC01716.jpg


DSC01717.jpg


DSC01718.jpg


DSC01719.jpg


Next job is start sorting out the electrics,but waiting on ubec and radio

Also still waiting on the vinyl,should off been done 2 days ago
 
Started on the electrics, the power to all will be

Flightpower EON X lite, 2100mah, 3s, 25C lipo and weighs only 169g

Iv modified it by adding rx plug soldered on with the 3mm bullets,this will go to a switch then to the 5A UBEC then to rx, but should make for long run times without having to worry about the rx pack failing

The steering servo is 1/5 21kg MG high torque digital servo

The throttle is 9kg,standard size,MG high torque digital servo (abit over kill i know but will do for now for testing)

Throttle servo will be connected to failsafe in the event of a failure

Radio is Flysky TX & RX also installing a voltmeter to rx

DSC01720.jpg


DSC01721.jpg


DSC01689.jpg
 
installed external antenna mount in radio box lid,adde the lipo rx pack with velcro to hold it in place

Made some alloy supports for the cooling pipes that fasten down with the RB lid and keep the pipes tidy and in place

DSC01724.jpg
 
Back
Top