


Kevin Knapp
Well-Known Member
- Joined
- Nov 11, 2009
- Messages
- 87
Dasboatman, I really like that radio box on the side. So you completely seal one chamber and mount hardware accordingly then just tape you lid? I like that.
Can anyone tell me what pipe this is. A friend of mine said he would hook me up with some K&B 67 part, this is what I got...
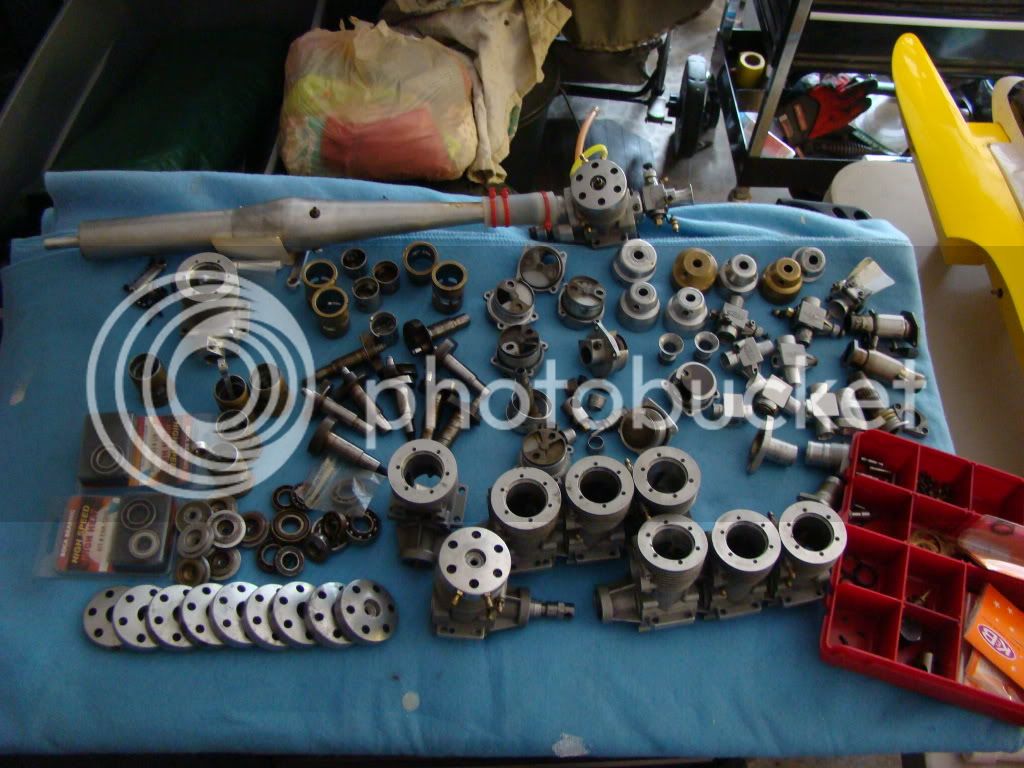

I should be able to get something running and have some back up parts...")
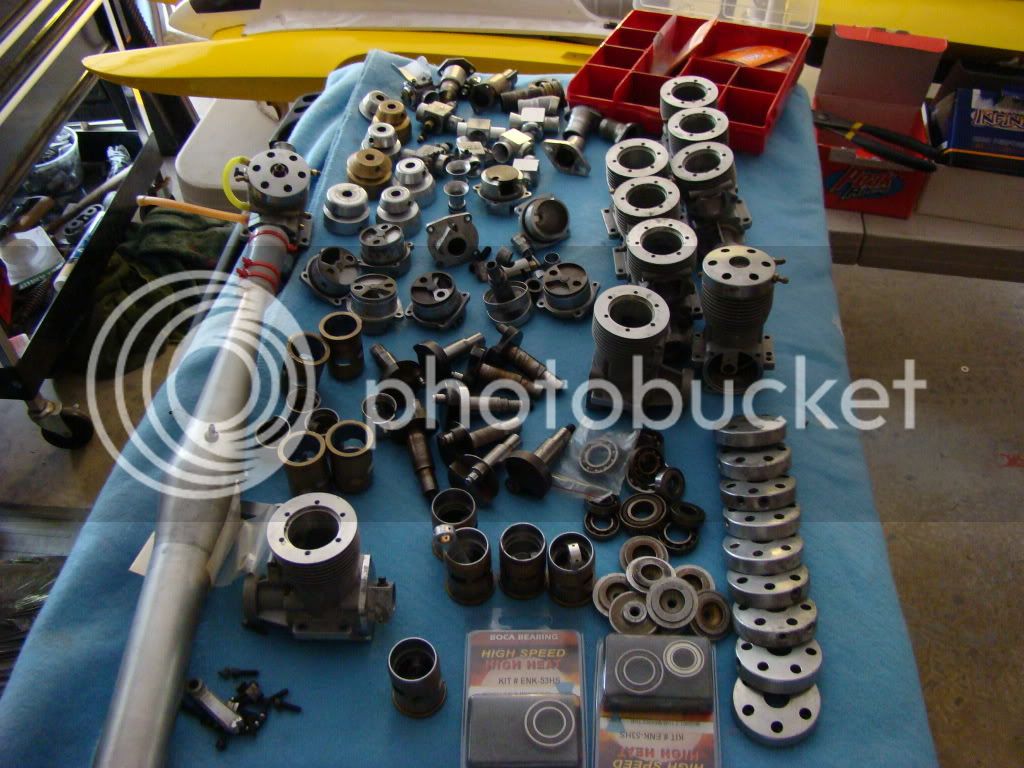
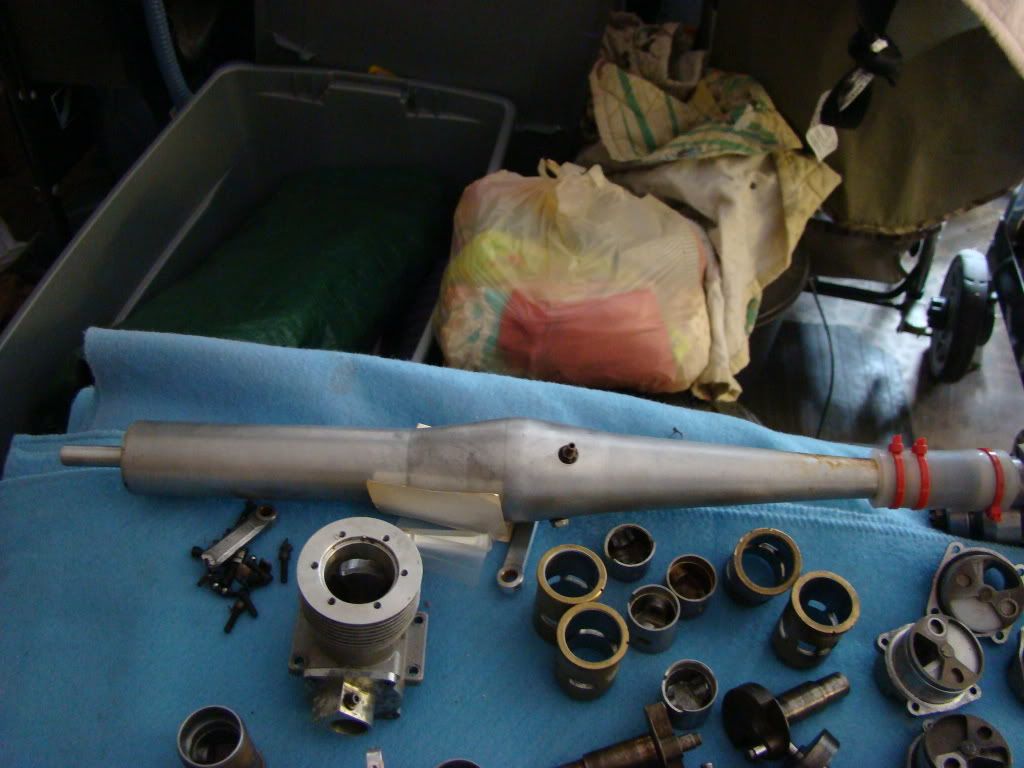
Can anyone tell me what pipe this is. A friend of mine said he would hook me up with some K&B 67 part, this is what I got...
I should be able to get something running and have some back up parts...