misshydro
Well-Known Member
- Joined
- Oct 26, 2006
- Messages
- 1,962
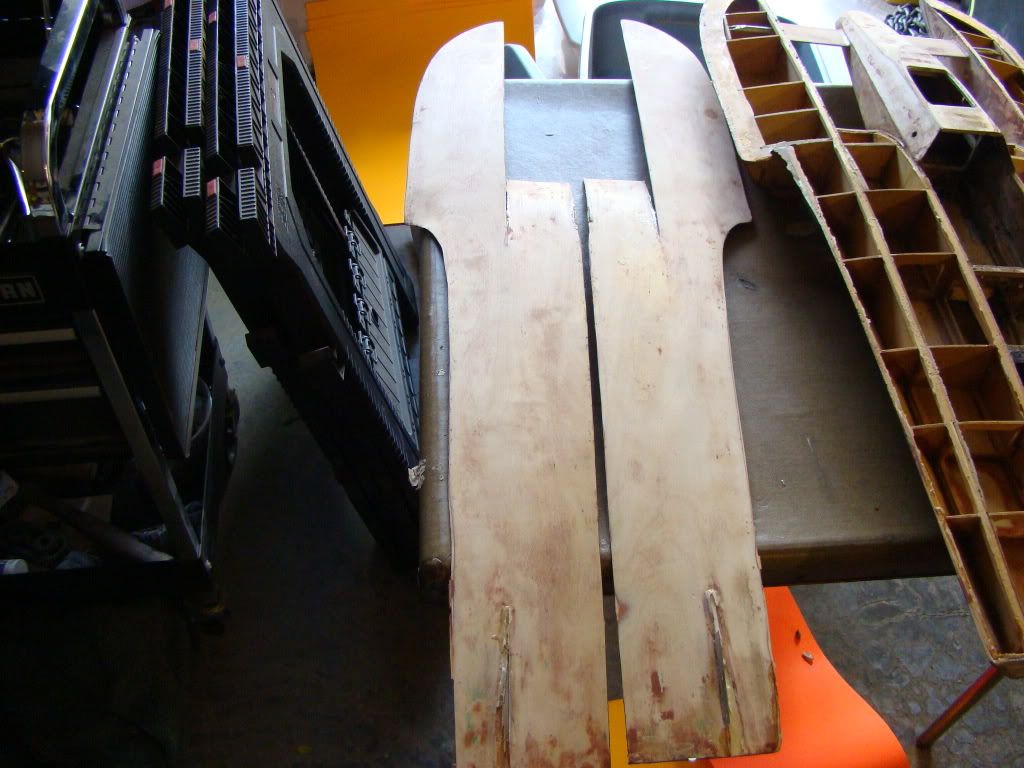
thats what joe is pickingup.. fiberglass aeromarine hull.here is some pics of my boat for inspiration for you . its full glass hull .
cheers wayne B)


thats what joe is pickingup.. fiberglass aeromarine hull.here is some pics of my boat for inspiration for you . its full glass hull .
cheers wayne B)
my boat is not an aeromarine hull , but its from my own mold.thats what joe is pickingup.. fiberglass aeromarine hull.here is some pics of my boat for inspiration for you . its full glass hull .
cheers wayne B)
")
I would love to but $ is tight. Send some pics and prices to [email protected] and i will kick it around...Hi Kevin if you would be interested in buying another hull I have a Miller American and an Atlas Van lines I would like to sell. I could e mail you pics if you like. Mark.
Hey Kevin - You might want to back-up a little. If this is your first boat and/or you're not racing it, you may want to simplify the process. A lot of what has been suggested is aimed at making your hull more competitive. Nothing wrong with that but if you're just learning, you might want to just clean it up, re-deck it, leave the shaft, etc & go run it. Even veterans sometimes have problems with multiple tank set-ups. You will learn a lot & will probably be ready to move up from there.Thats a good looking boat!!
All these ideas and tips, you guys have my mind going 100mph. I'm not going to go the authentic paint path but I do like the 2 or three tank idea. I'm still brainstorming the radio box in the nose and how that's going to work. Another question is the drive shaft. Should I leave it fixed or go with the adjustable flex shaft?
Again, thanks for all the input guys/gals. I need to come up with a solid game plane before I start cutting and gluing. This thing is going to take me months to finish....
I would go what dasha said,plus use 1/32 ply on the top skins and use 1/16 for the bottom running surfaces....and as from what I see we're not the only ones that uses Bob smith industries 30 slow cure epoxy to use to glue our wood with. With Dumas kit all the mohogany is junk,to frail..If I have to ever do another dumas kit? I would be replacing the mohogany with ply.Kevin,
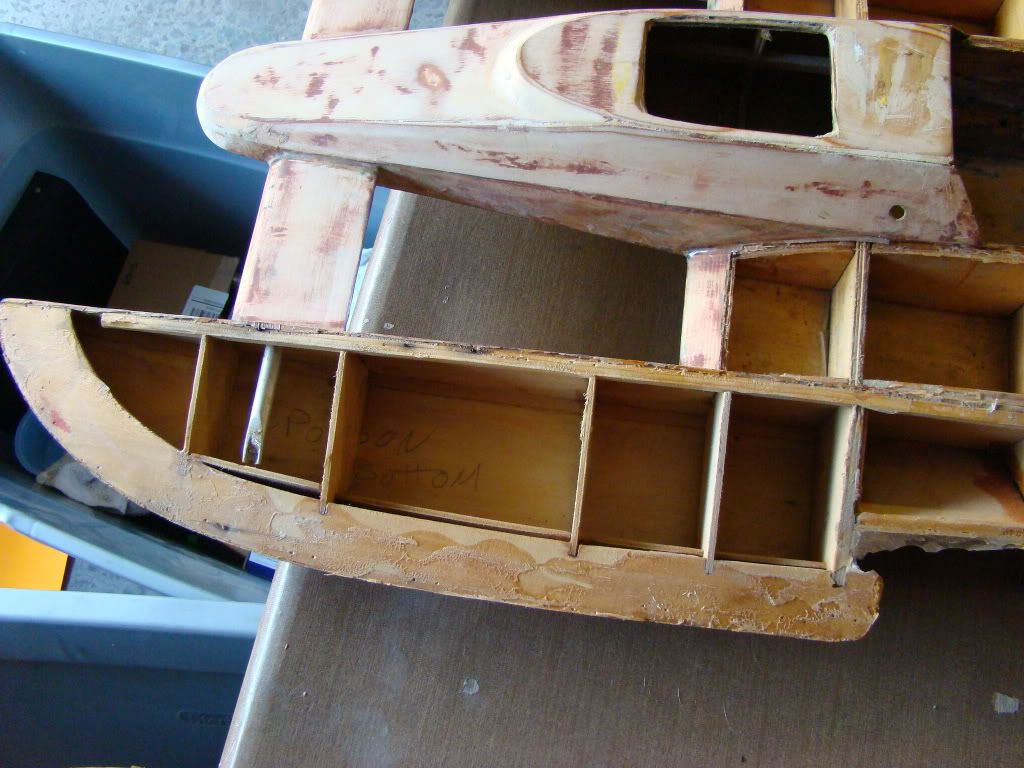
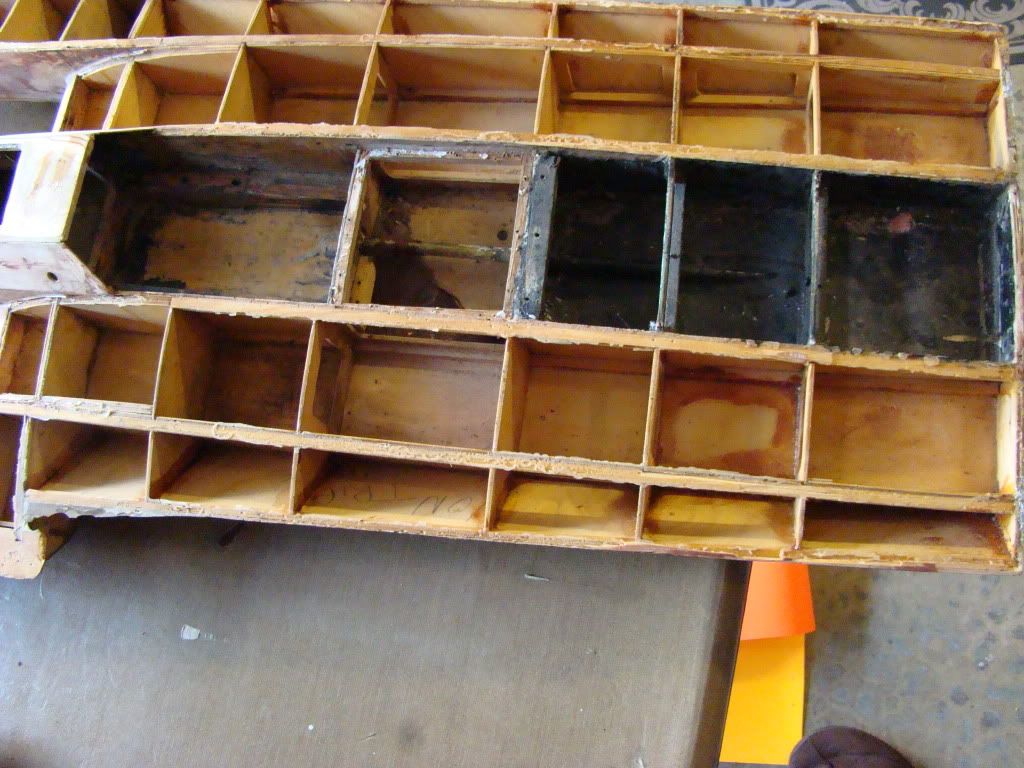
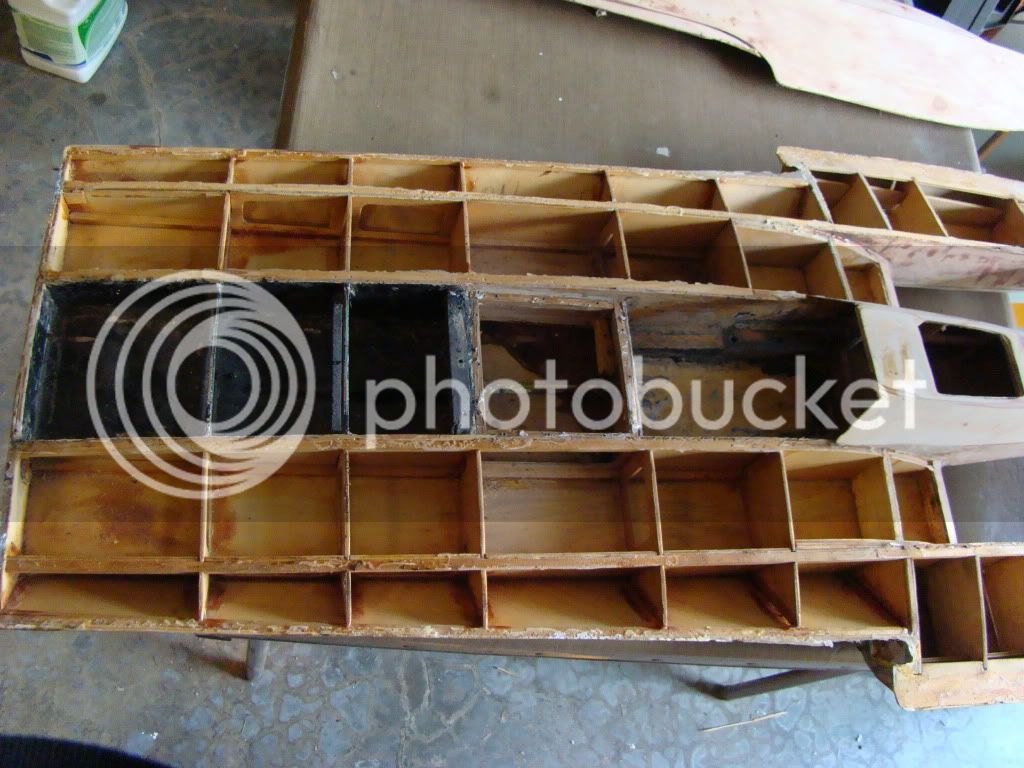
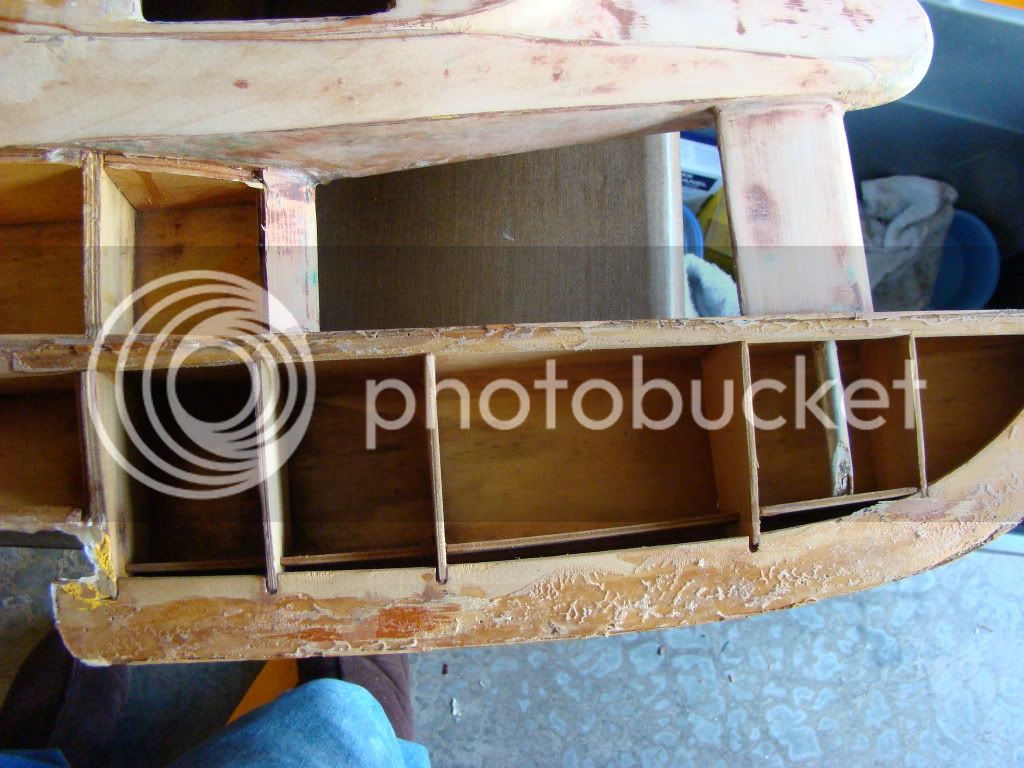
Here is a pic of the internals of a Dumas Miller I helped a Friend with in 1990 or so. Martin framed the hull and I made some significant changes to the sponsons, and to the inside of the hull to make it stronger,added some foam for additional strength, and flotation.This hull has the fuel tank forward of the engine, and the radio box aft. The servos were accessable through a taped on hatch in the center section, the receiver and battery were tucked in to the section to port of the main radio box. I built new uprights and horizontal wing foam cored, covered with 1/64 ply as I recall. I think I used the 'TIMBER' that came in the Dumas kit for tail feather construction - for repairs to my house. The boat was finished with K&B Superpoxy - no longer available.
I prefer to build with 30 minute Slow-cure Epoxy. I like Bob Smith Industries - it comes in two 9 ounce tubes, the resin with a black lable the hardener with a yellow lable. Most LHS put their own lable on the tubes, but if you look on the back at the bottom you'll see Bob Smith Industries.I have never liked any 5 minute epoxy product. They often cure rubbery, and some are water soluable it seems. I do use West Systems Epoxy for coating and for putting fiberglass cloth on wood hulls. Good luck with your project. CHEERS !!! Bob
Enter your email address to join: