Denis Tomicki
Well-Known Member
- Joined
- Sep 4, 2009
- Messages
- 126
Eh all!
I'm new here on IW. Back into Boats after 20 years.
Just got my IMPBA and joining NLMBC
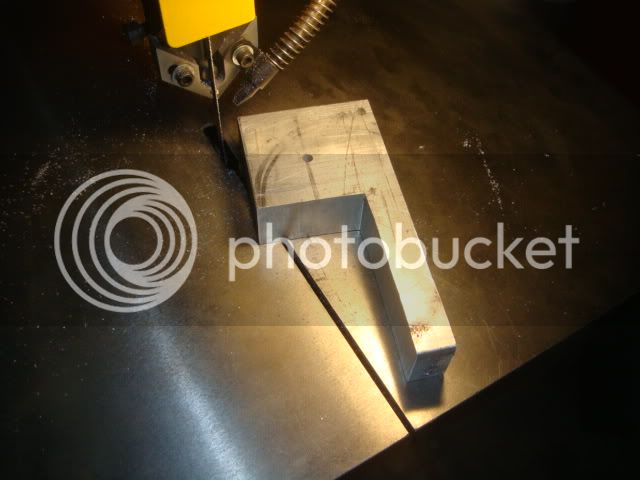
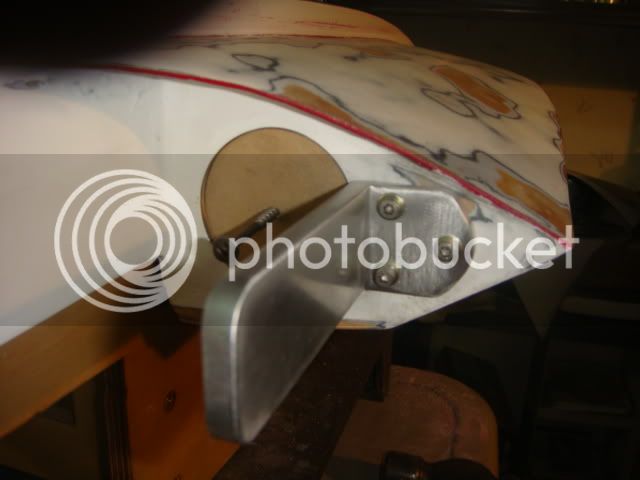
I'm in the process of rebuilding a Newton Hull that I scored a month ago.
Been sitting since mid 80's All seems good no cracks or worps/rot.
Plane to race her next year!
She's gonna be a 1967 Miss Budweiser. The pretty stuff will happen over the winter.
Looking forward to getting her wet in the next few weeks")
Figure I'll share the Build with ya!
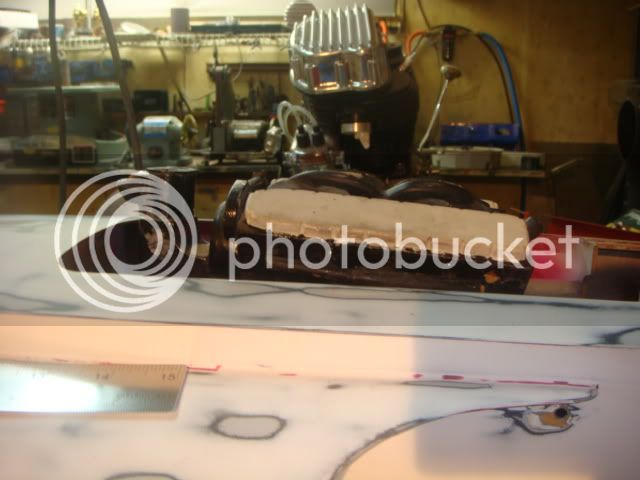
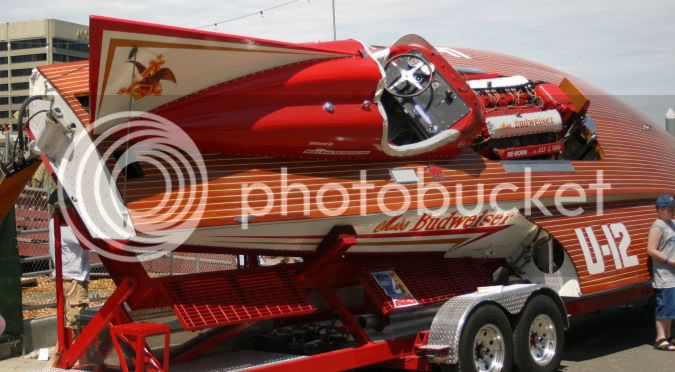
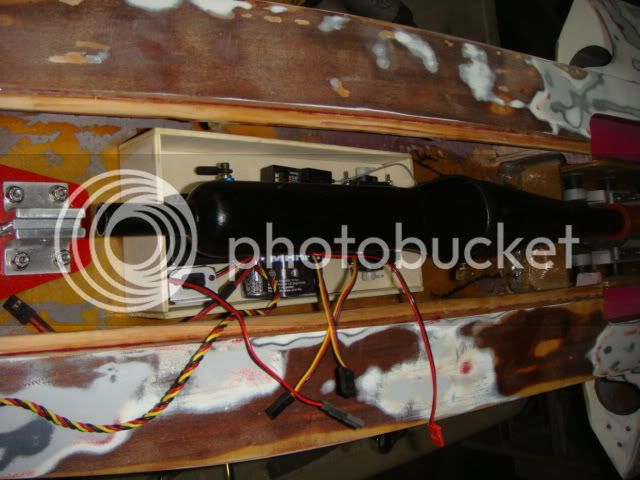
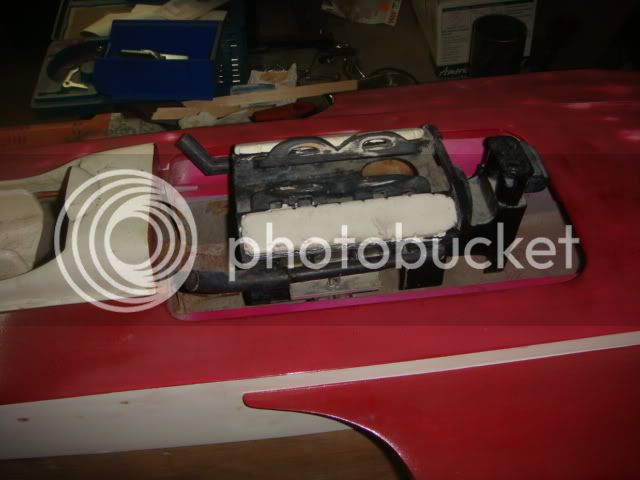
Here she is when I got her. Cowl and engine are wrong for Miss Bud
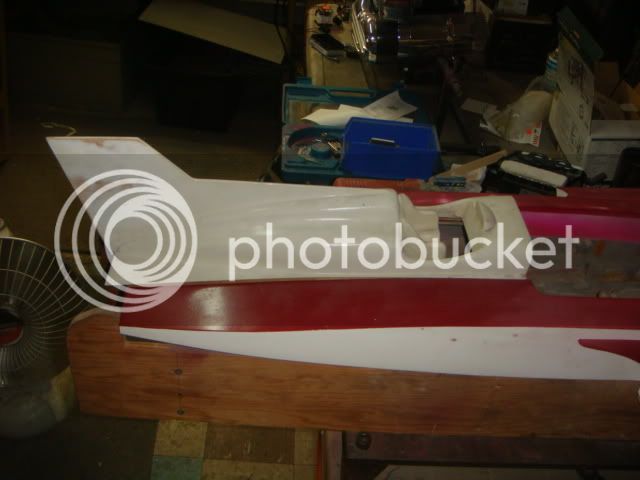
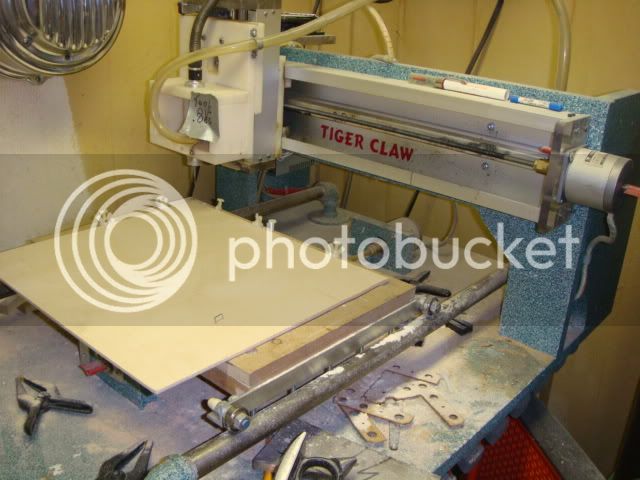
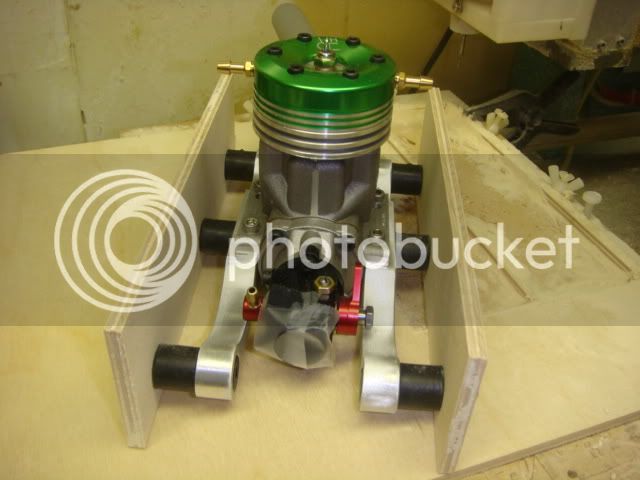
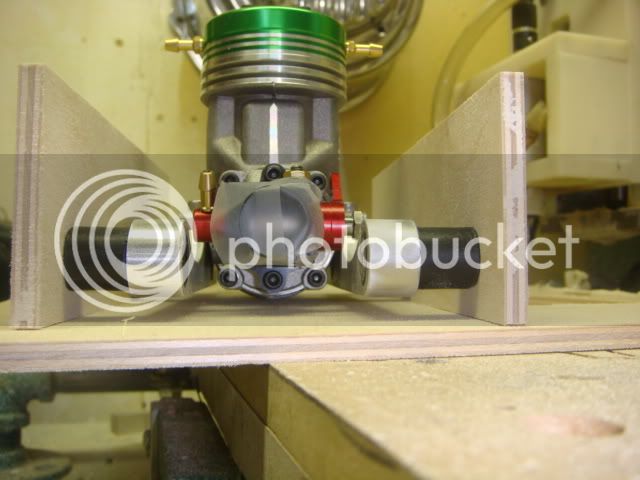
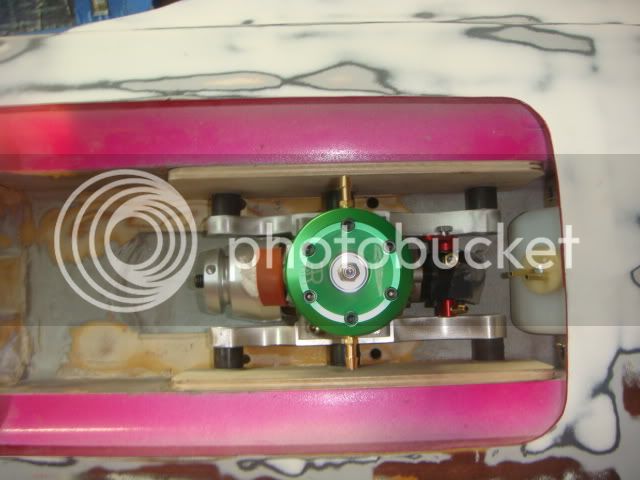
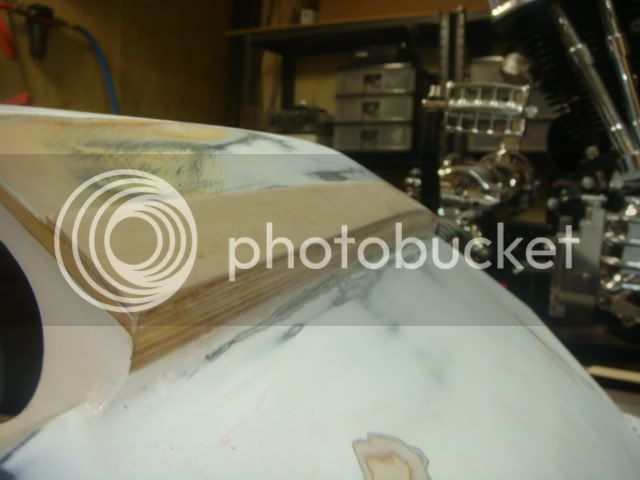
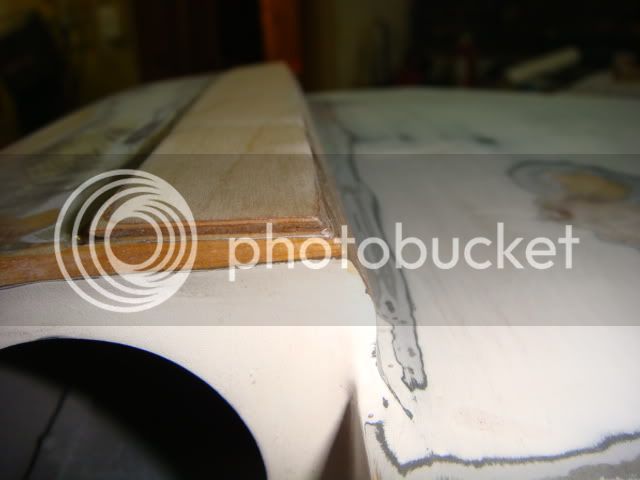
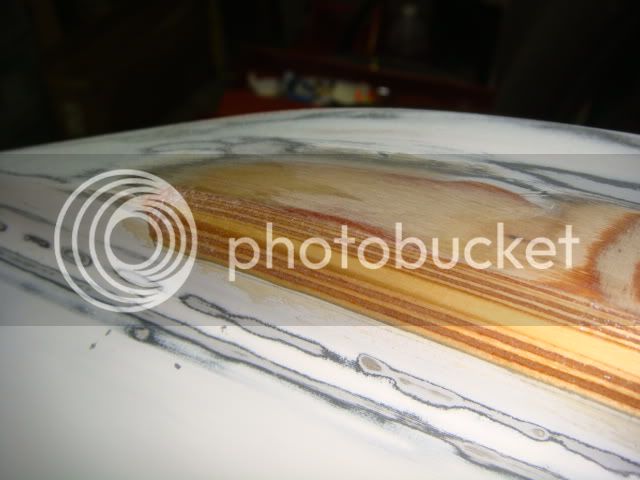
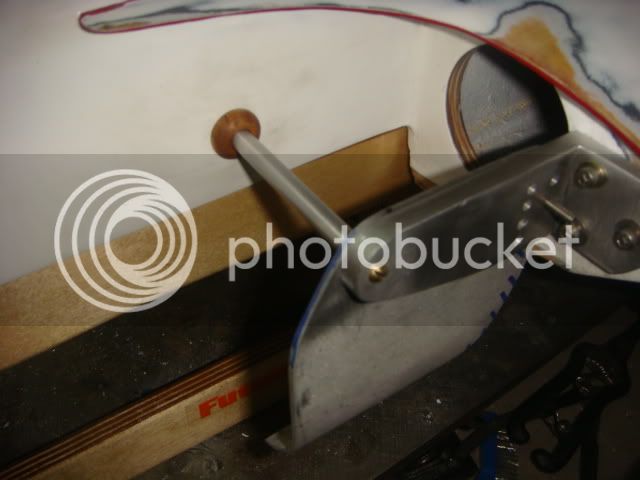
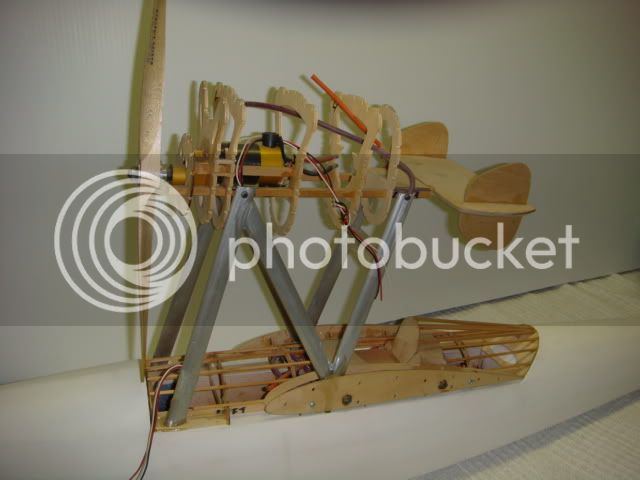
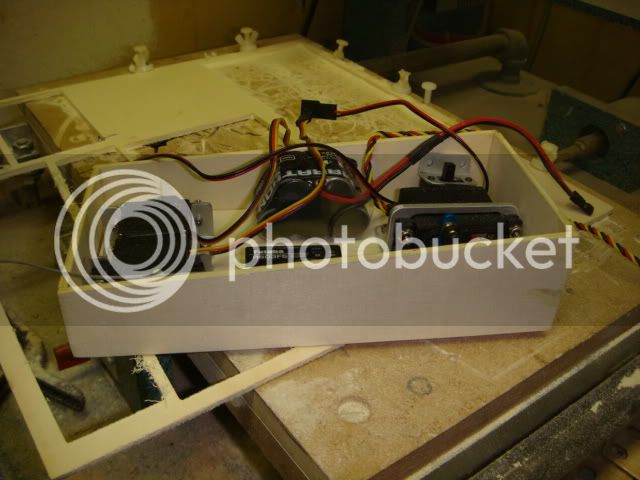
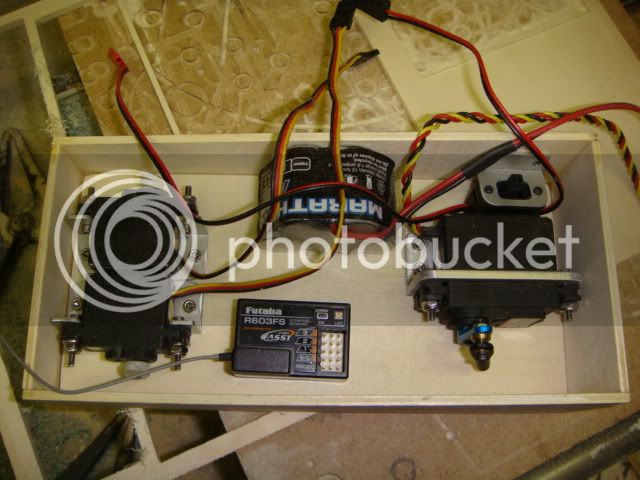
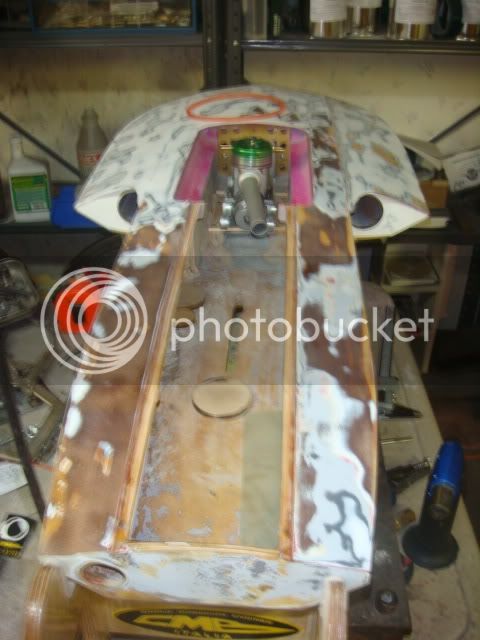
Here she is sanded down with new engine mock up.
I'm new here on IW. Back into Boats after 20 years.
Just got my IMPBA and joining NLMBC
I'm in the process of rebuilding a Newton Hull that I scored a month ago.
Been sitting since mid 80's All seems good no cracks or worps/rot.
Plane to race her next year!
She's gonna be a 1967 Miss Budweiser. The pretty stuff will happen over the winter.
Looking forward to getting her wet in the next few weeks
Figure I'll share the Build with ya!
Here she is when I got her. Cowl and engine are wrong for Miss Bud
Here she is sanded down with new engine mock up.