46" Gas F1 tunnel build

Intlwaters

Help Support Intlwaters:

This site may earn a commission from merchant affiliate links, including eBay, Amazon, and others.
Hi guys

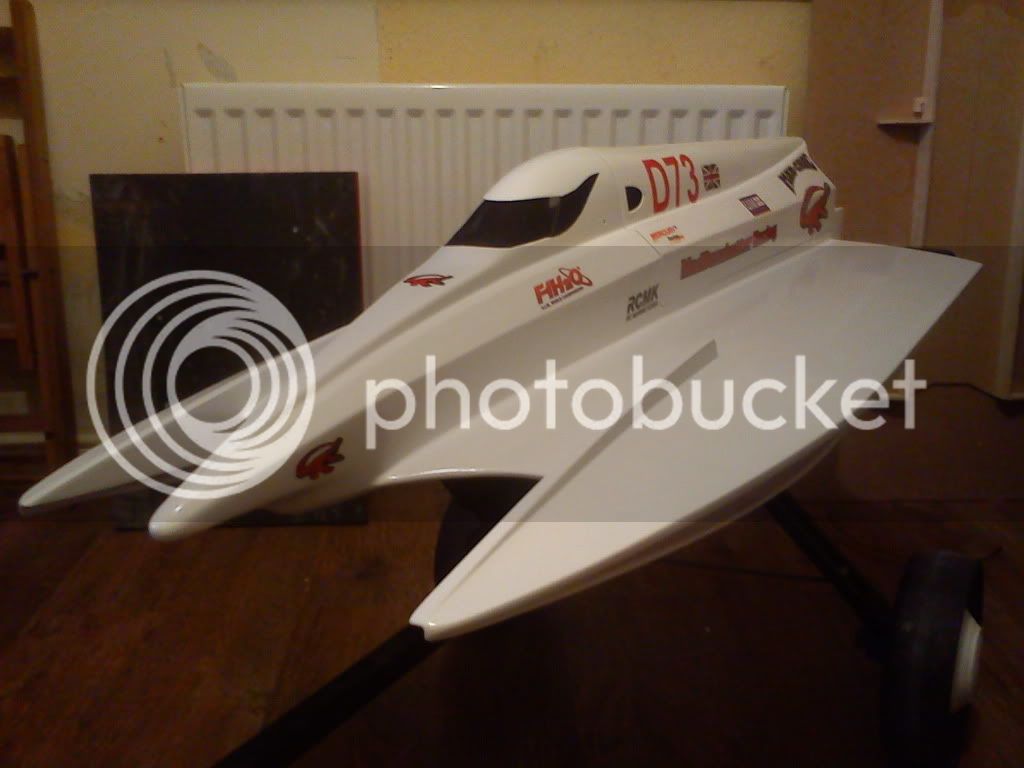
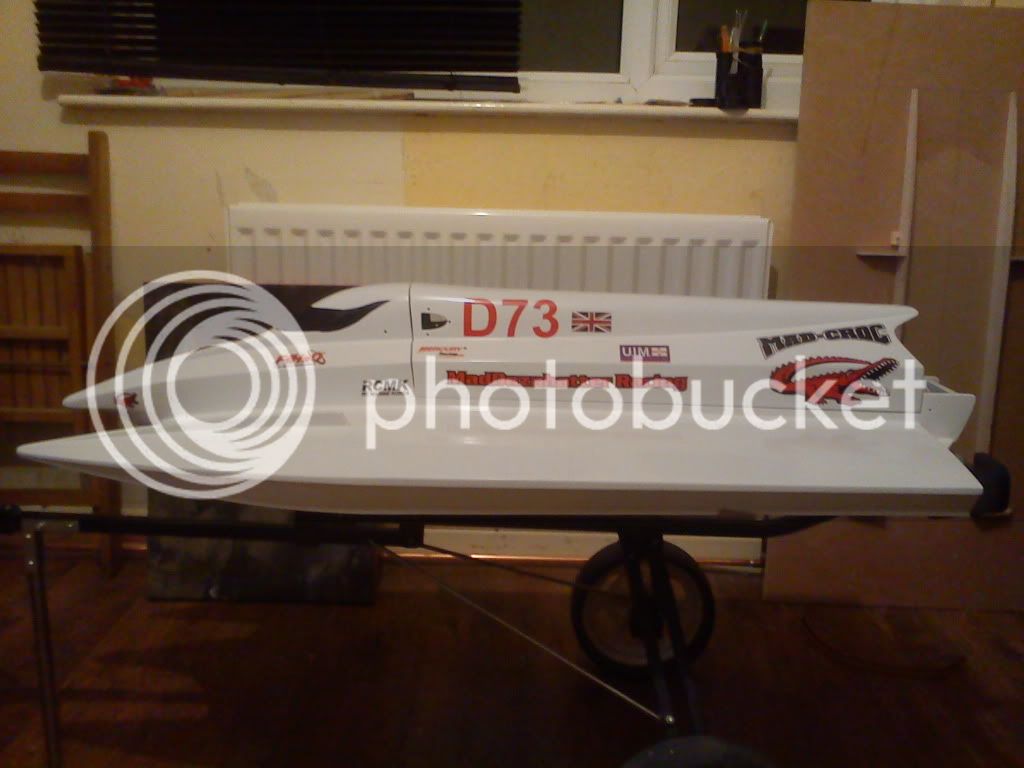
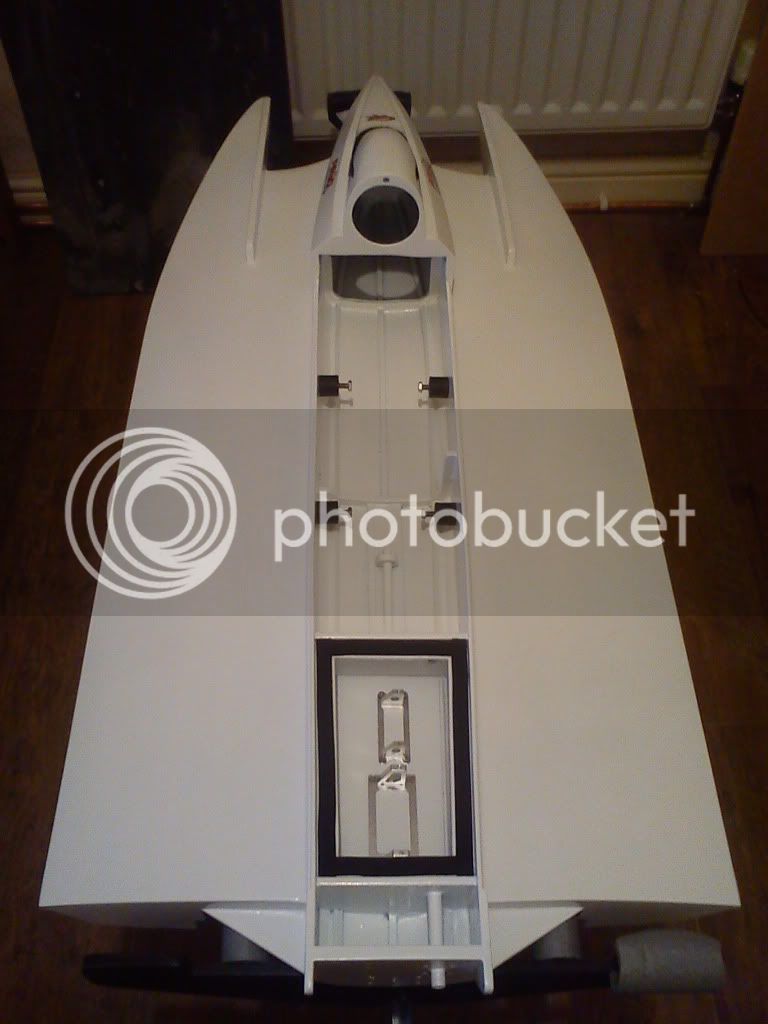
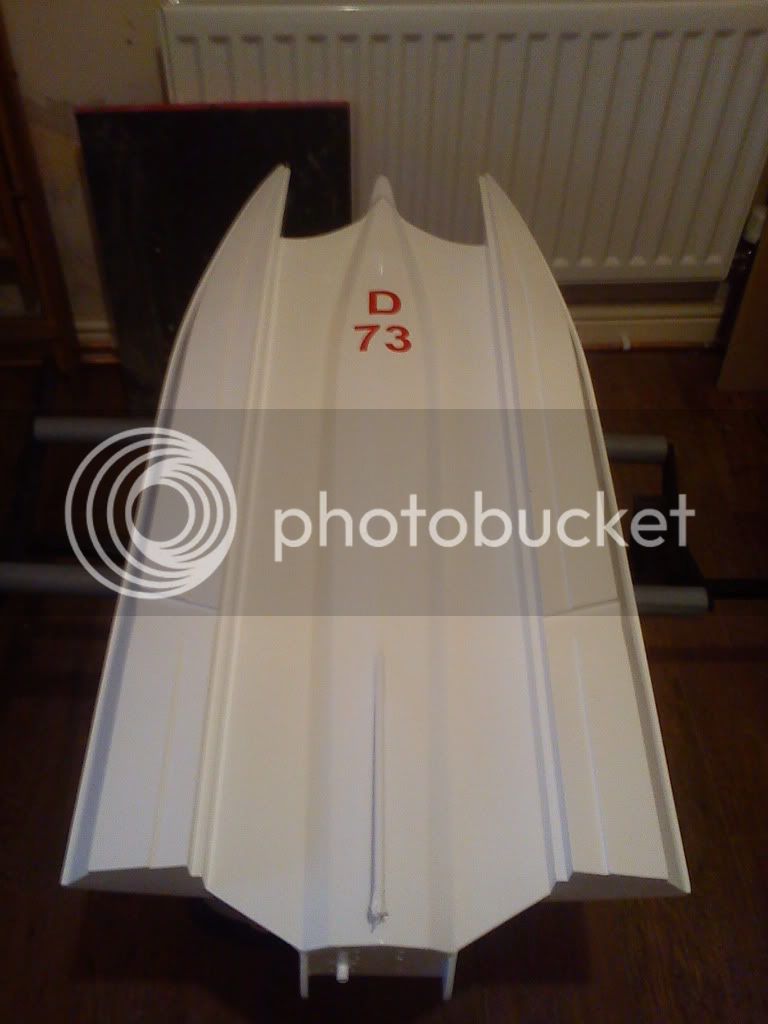
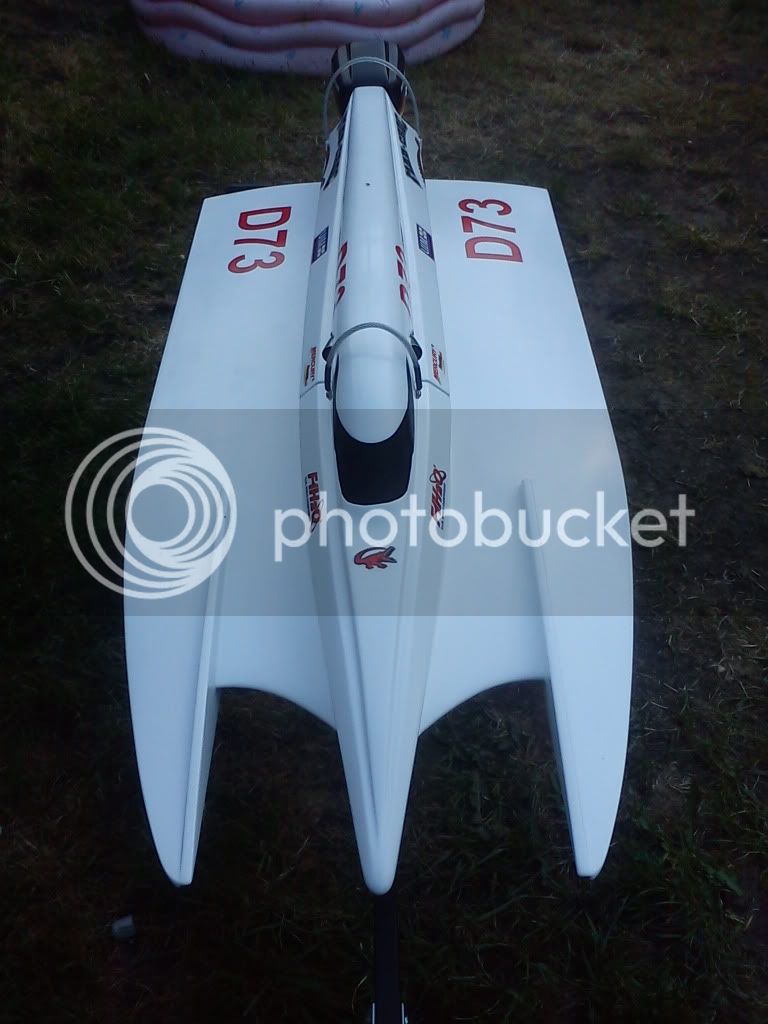
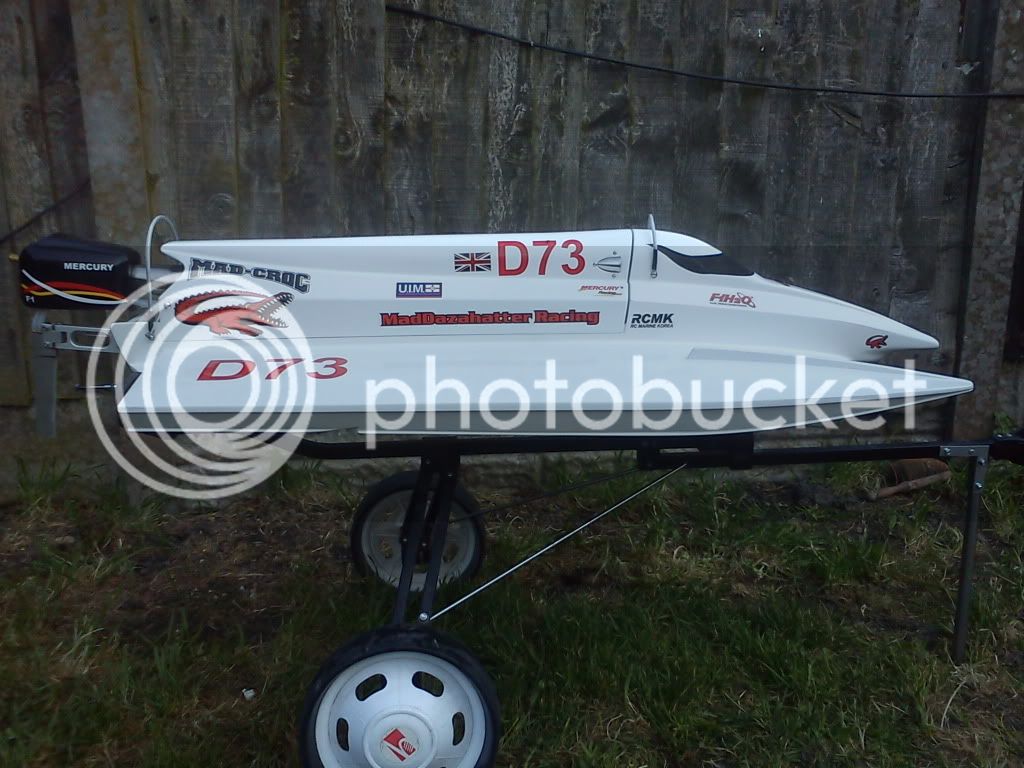
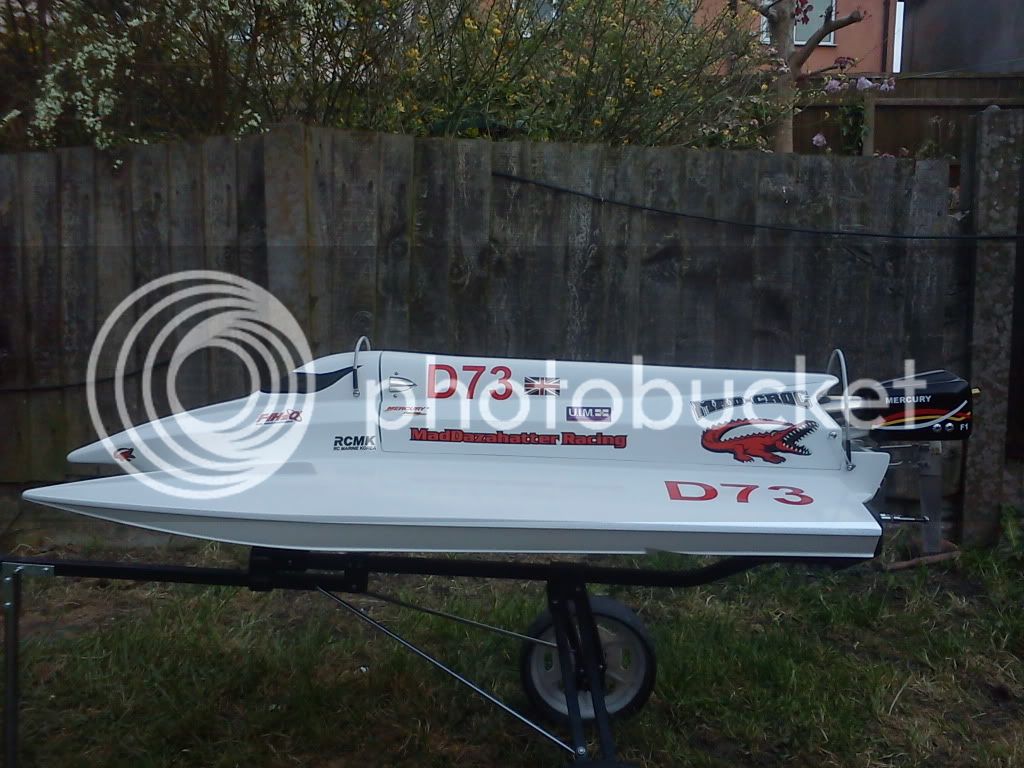
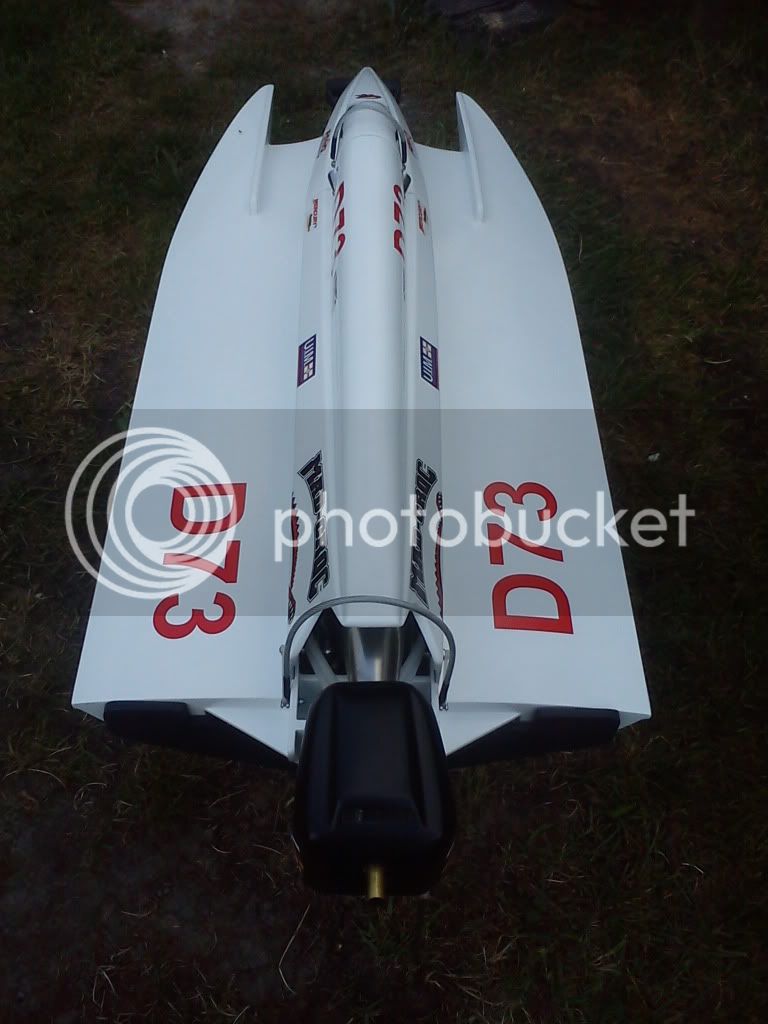
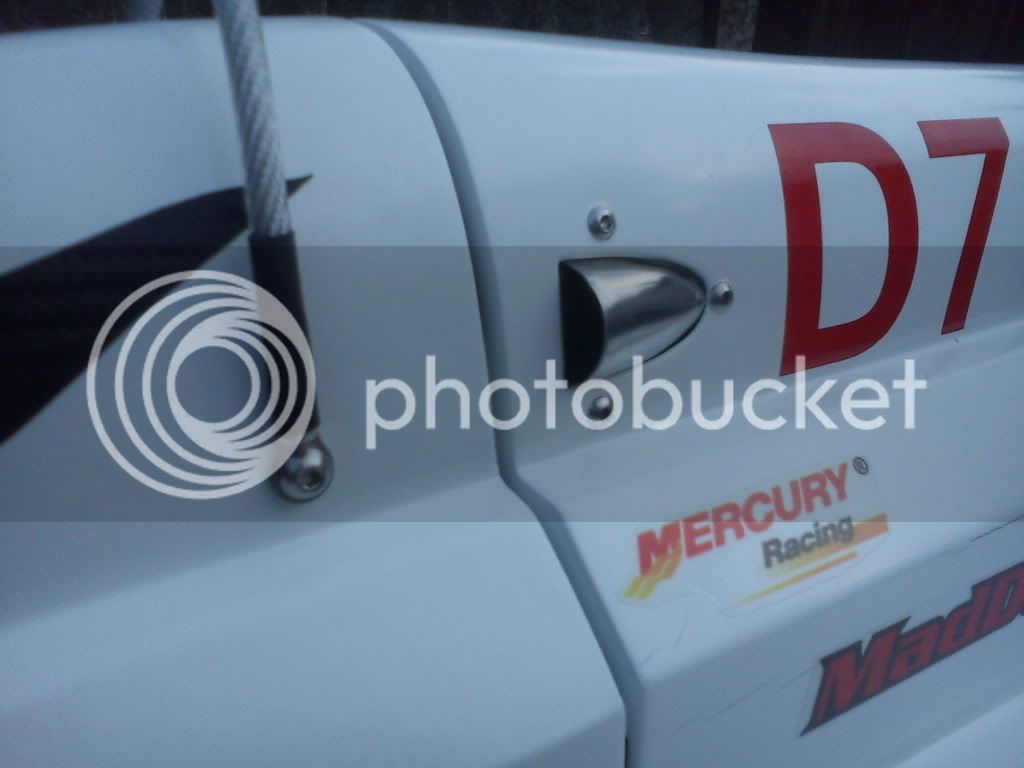
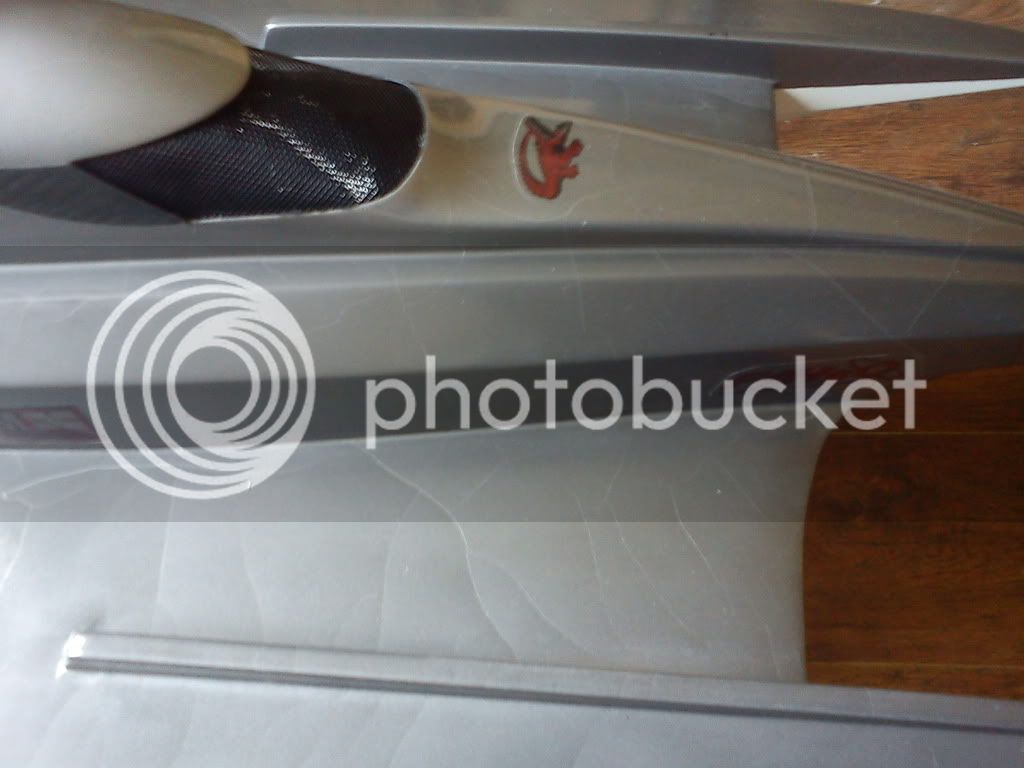
Dont know what happened to the paint,these marks appearred about 5weeks after been painted,iv stripped the hull back and currently sanding back,looks like the lacquer has reacted,but the time line its happened doesnt make sense especially after it was baked aswell straight after the process so would of expected it to of happened alot sooner if not straight away,iv been intouch with the paint manufacture and said im not the 1st,apparently they changed the formulation of there paints, the primer,colours and the lacquer are all they same make i used

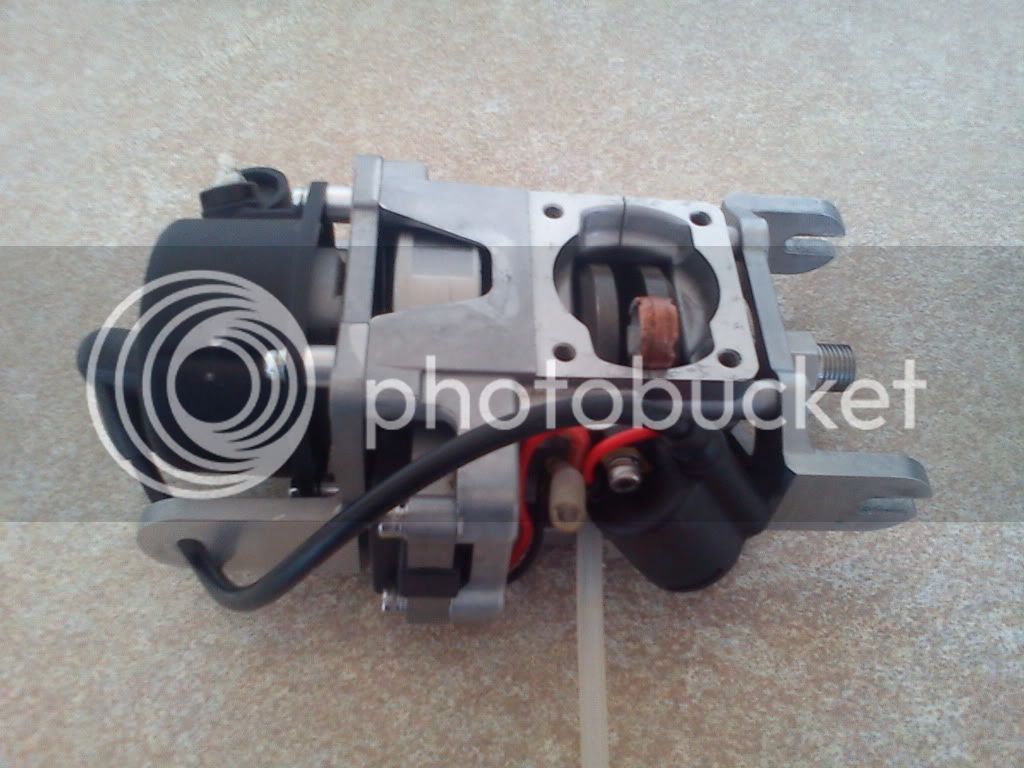
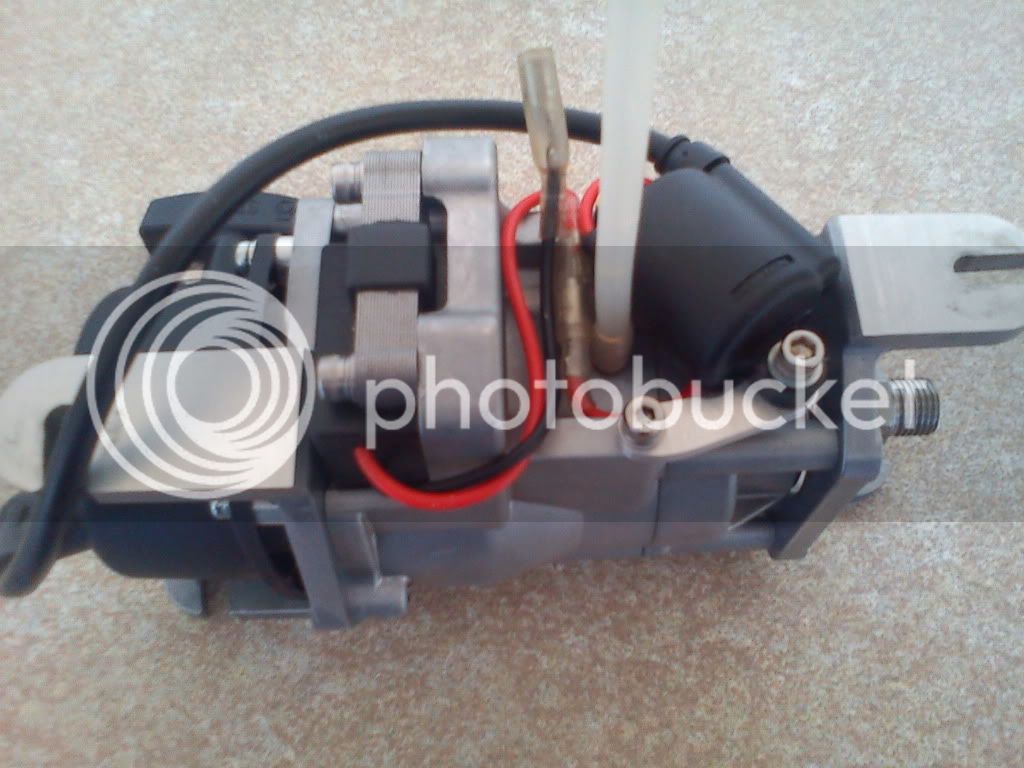
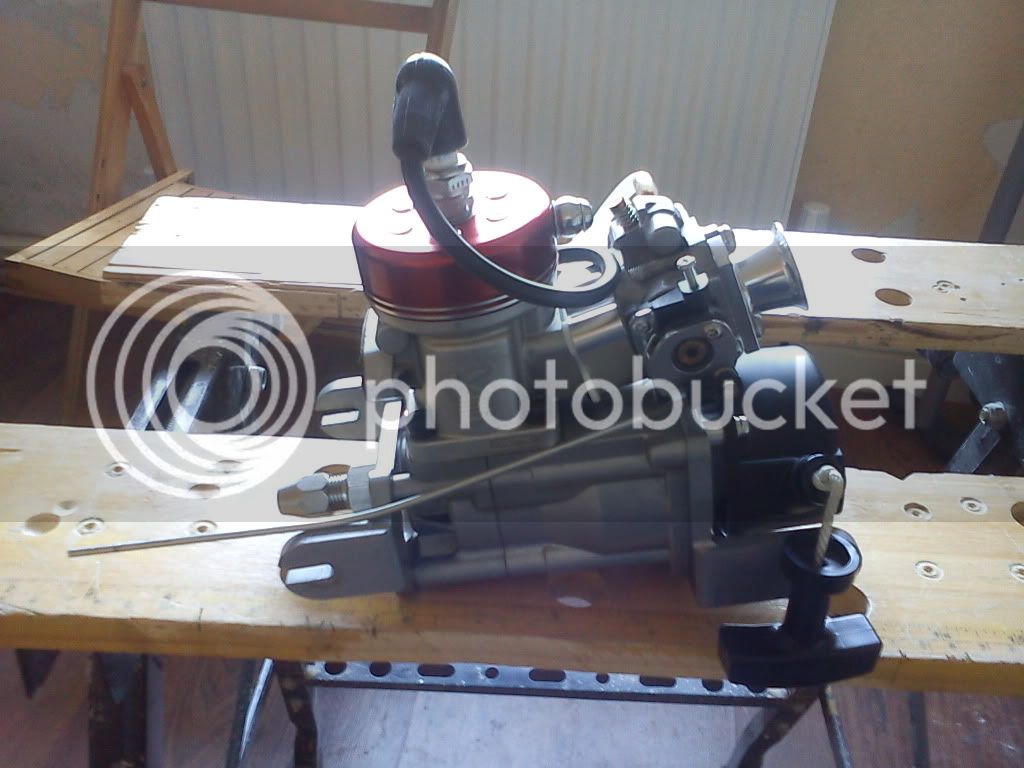
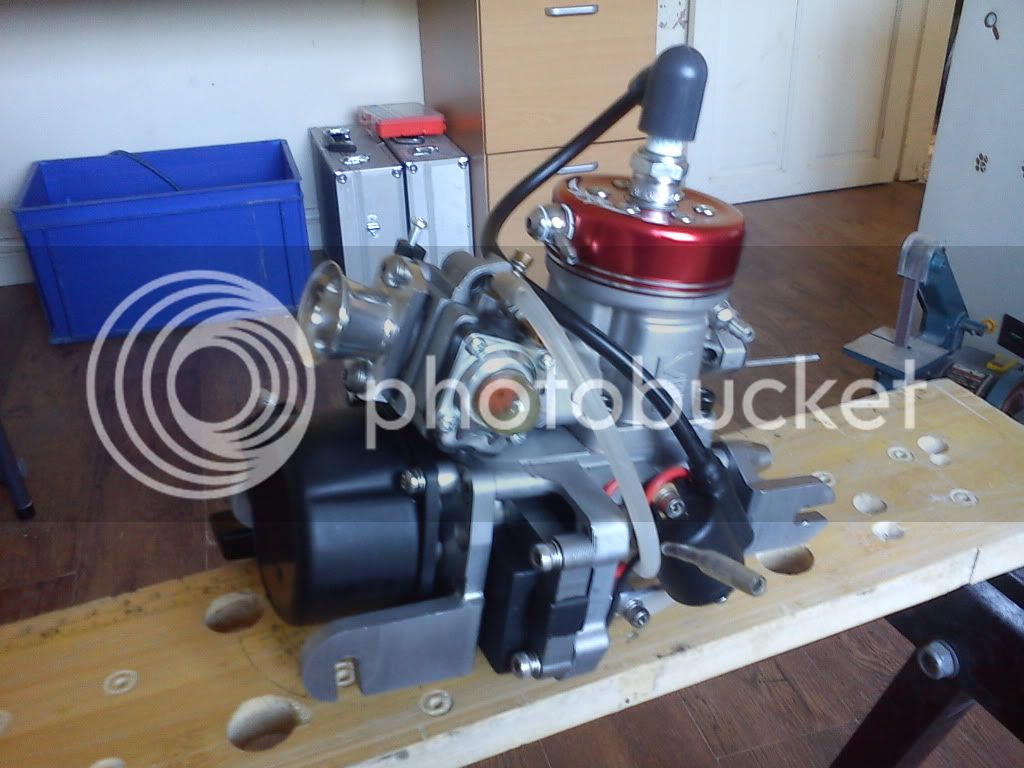
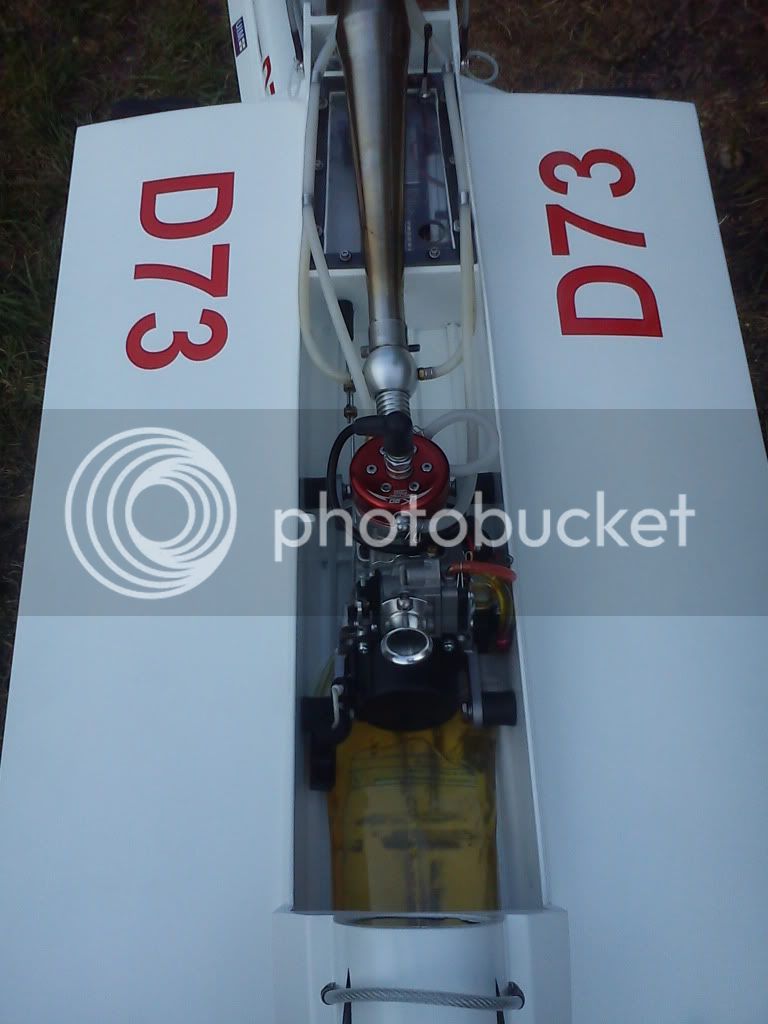
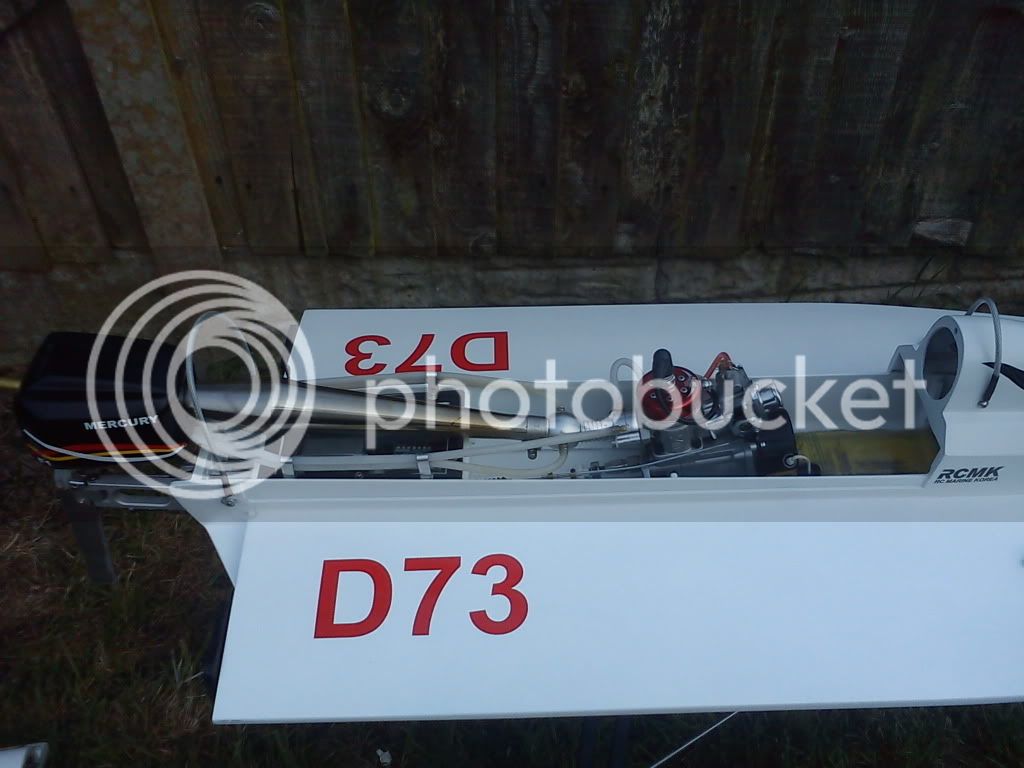
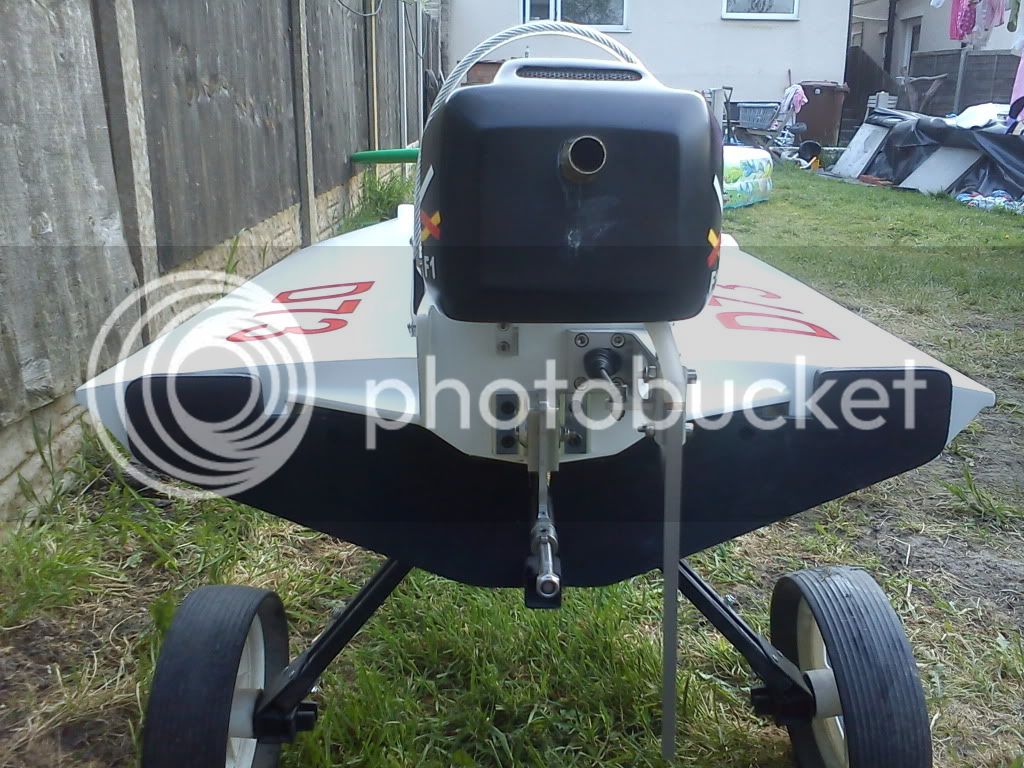
as it stands at mo the hull is near prepped for repaint and also made a couple of mods the main 1 iv raised the whole centerpod & canopy 12mm to abit more clearance as it was very close but will help with the airflow through aswell

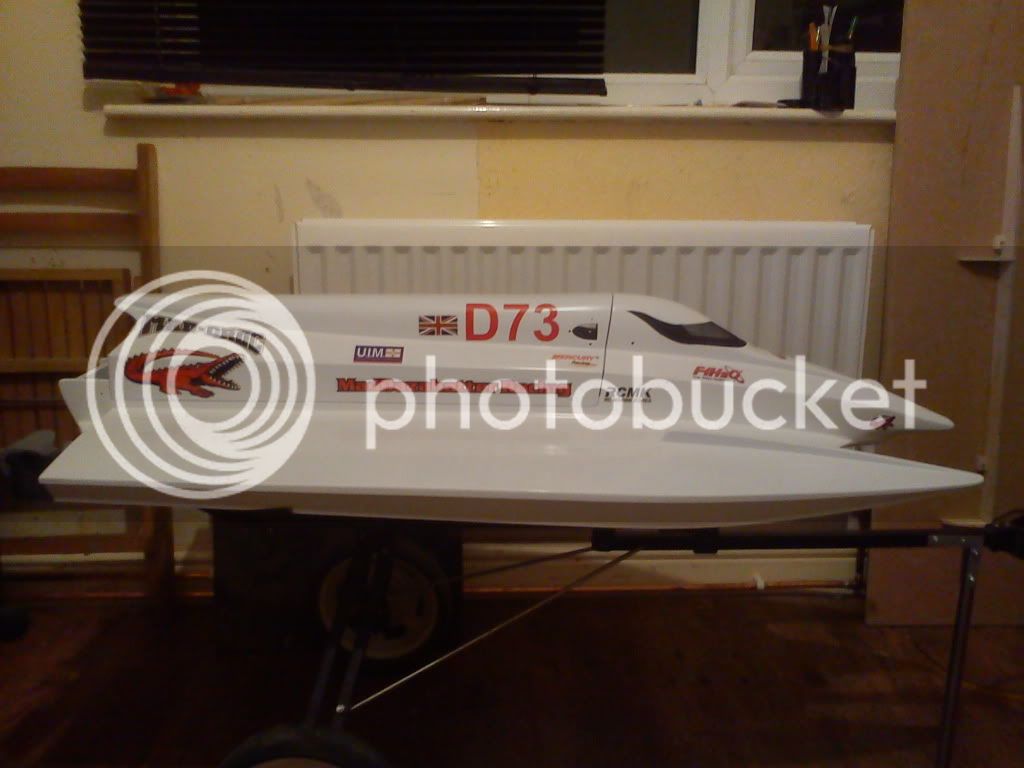
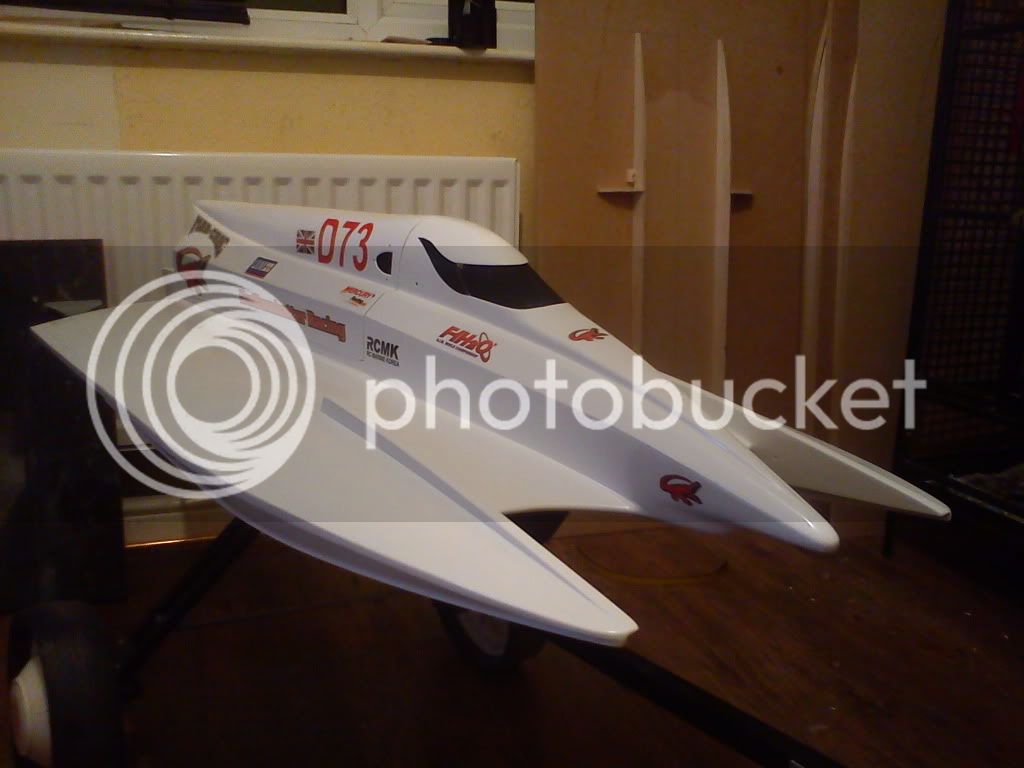
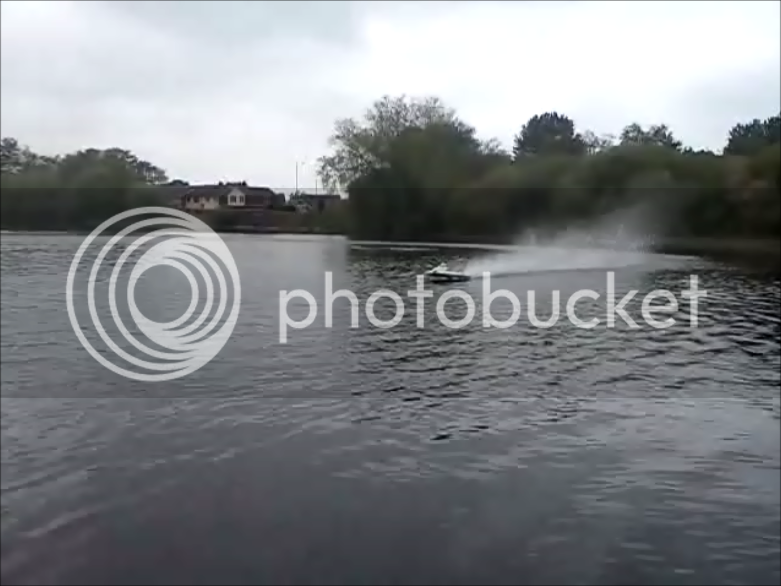
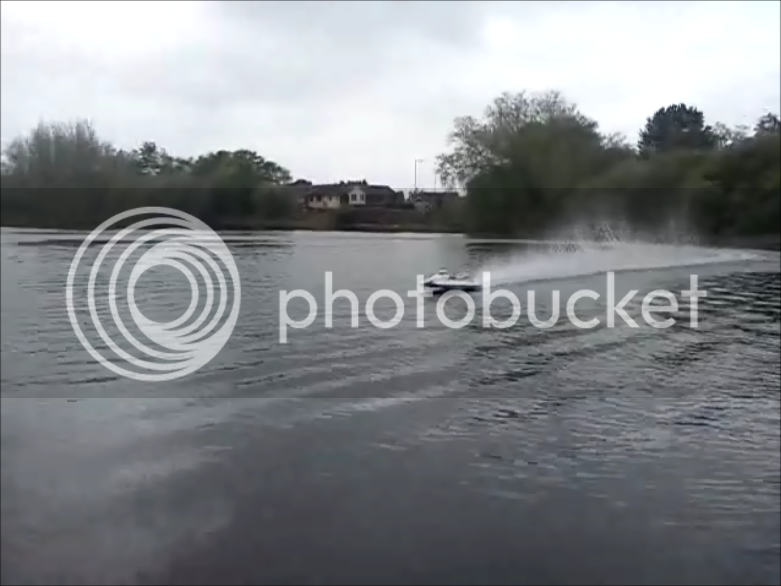
the pics are what iv sent to the manufacter of the paints,im far from happy about it and all my other previous to this1 has never had any issues and it was done in the exact same way but with the old formulation but the main thing now is get it repainted back together and on the water as soon as,iv just joined the BMPRS and hoping to start racing it,1st race is next weekend but dont think ill have it ready in time but will see

DSC01949.jpg


DSC01948.jpg


DSC01947.jpg


DSC01946.jpg
 
Darren,

FYI, a lot of us are having issues with the wrist pin spacers coming apart in the K30. It seems as though they are made out of the wrong material and/or are not at the proper hardness. Many are simply machining the sides of the piston to allow enough clearance to use Zenoah spacers. Mine came apart on the stand at the WTC at 5000rpm thank goodness, instead of on the water at 18k. Bent the crank but the rest is ok.
 
Last edited by a moderator:
OK thanks ron for the heads up

ill have to strip the engine then and check it,how much they taking off or how much clearance is need ill have to order some as iv only got another set of K30 1s great last thing i needed but better to do it now than later on

if this is the case ill add the 1 stroker aswell then looks like a full rebuild coming up :(
 
Last edited by a moderator:
How's that for a great tip Daz!! Much cheaper to fix now and you will have more power!!! Pluses all round!
 
LOL hey dion

stroker crank already in also drilled and tapped nipple into crankcase while it was apart in case the carb does need the external pulseline

Hopefully got the problem sorted will know for defo monday when i get email back
 
Iv also pulled the motor apart

So iv added the 1stroker crank,drill and tapped a nipple for external pulse for the bigbore carb if i need it

Hopefully sorted out and having piston machined to use the zenoah wrist pin spacers

When i added the bigbore carb i noticed the inlet port had a lip along the bottom and 1 side so iv also carefully filed it away and profiled it so it matches the ISO block for better flow

better matched the crankcase transfer ports to the cylinder jug so hopefully see some improvements once it back together

The hull should be reprimed tomorrow and need to go and order my race number vinyl aswell

Made the grab handles using 4mm plastic coated stainless steel wire wit eyes on each end crimped and silver soldered with a small piece of heat shrink on and drilled the holes ready to fit so havnt got to do it once painted

the handles themselves look pretty good just not easy to od n the F1 style hull but rules are rules

Will post some pics soon
 
Got the the bottom end back together now,fitted the 1mm stroker

matched the crankcase transfer to jug ports,i did do it before just made them match better and drilled and tapped the crankcase for nipple for the external pulseline if need for the carb but might just run it anyways,also matche the ISO block to inlet port on jug aswell,had to trim the teflon gasket aswell but looks much better now

and made a bracket to support the ignition coil due to adding the nipple in the crankcase

DSC01960.jpg


DSC01961.jpg


DSC01962.jpg
 
Hull now down the paint shop for barcoat and primer and baked should have it back later today just hope i have no more problems :rolleyes:
 
Last edited by a moderator:
Engine is now all finished up and ready to fire up again once the the hull returns from paint shop,hopefully picking it up thursday all fresh n shiny again,the items i ordered should be here in the next day or 2 aswell so will have a couple of days to hopefully get it back together setup and fire it up

DSC01963.jpg


DSC01964.jpg
 
Hi all

There was a change of plan ended up painting it myself so lots of hrs work later and drying time here it is its new paint its not 100% but she does look alot better than before

DSC01972.jpg


DSC01971.jpg


DSC01970.jpg


DSC01969.jpg


DSC01973.jpg


DSC01974.jpg


Plenty left to do yet reinstalling everything and getting it all setup and firing up the engine for the 1st time again

More pics soon
 
Thanks Dion

Cant wait to get it back together now and running again,im intrigued to see how the engine performs with the mods

but at least it looks loads better than before

:D
 
Build is complete and looking good again

DSC01977.jpg


DSC01980.jpg


DSC01976.jpg


DSC01975.jpg


Added some stainless scoops either side to help with cooling and feed air to the bigbore carb

DSC01979.jpg


DSC01978.jpg


DSC01981.jpg


DSC01982.jpg


DSC01983.jpg


Tomorrow will connect to the hose pipe in the garden fire it up and make any adjustments needed
 
Got it fired up after 6 pulls,sounds ok so far got a nice throttle tone to it

Only issue is it seems too rich and got abit of over run once you let go of the throttle trigger,youll notice at the end of the vid starts revving up by itself so some adjustment is needed

Cant wait to run it properly and see how it really performs

 
Finally managed to get it on the water and ill let you guys be the judge

heres some pics i snipped from the vids

The vids are uploading now will post once finished

Snapshot529-05-201212-33.png


Snapshot429-05-201212-32.png


Snapshot329-05-201212-23.png


Snapshot229-05-201212-20.png


Snapshot129-05-201212-19.png


Snapshot629-05-201212-35.png


sorry about the quality of the pics
 
which 1 LOL

I flipped it and landed on the OB cowl and snapped the bracket LOL so need to make new stronger bracket

i didnt run with the canopy to start with just trying to get it setup somewhere near 1st,next runs will be with the canopy on
 
Back
Top