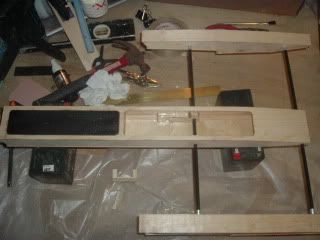
The Sullivan SS-4 fits in there with room to spare. Maybe some 90 degree angle flipped up on the front and rear (3/8" x 3/8"?) so that it could be screwed into some small wood blocks.
Terry, some of us like the Bling of a metal fuel cell. Right now it looks like the vent bubble in the tank may be just a hair higher than the tub. I want to cover the tank if possible. I know it sounds kind of dumb if I want a fuel cell in there then cover it up. I do have some sheet Lexan that would still show it off.


 ).
).