Hey Craig,
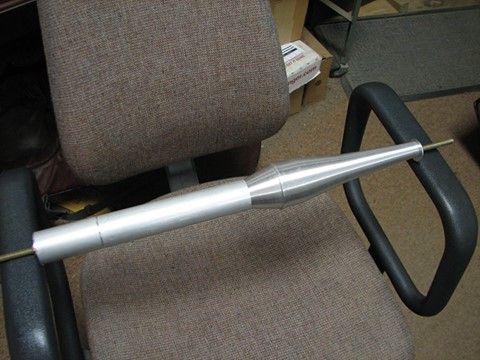
Ah ha!! I thought the pipe looked familiar.
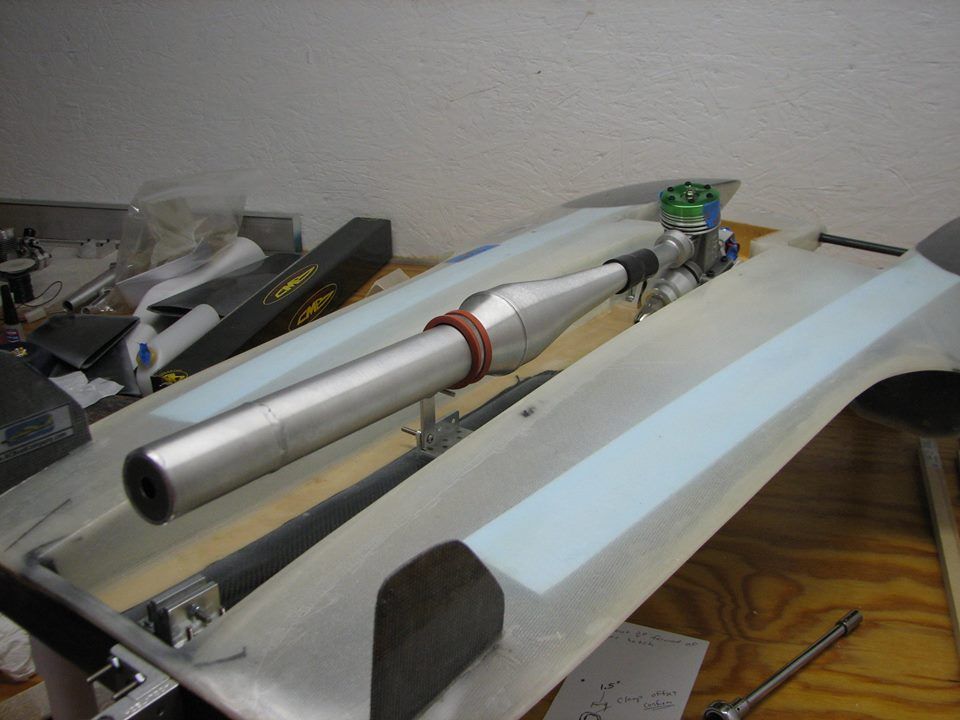
I few years back my buddy came up with what he thought was a MACS #1362 Muffled Marine. Tried to run it in a scale boat and engine ran VERY HOT, but quiet. Finally decider to cut the rear section off this pips and found a whole bunch of washer type baffles which increased the back pressure to the point of effectively throttling the engine down - killing performance. After some further investigation, we found that MACS Mufflers also had Super Q(uiet) Muffled marine pipe in their inventory - Stock # 1362 which we believe this pipe was.
Here is a suggestion to keep water away from the carb:
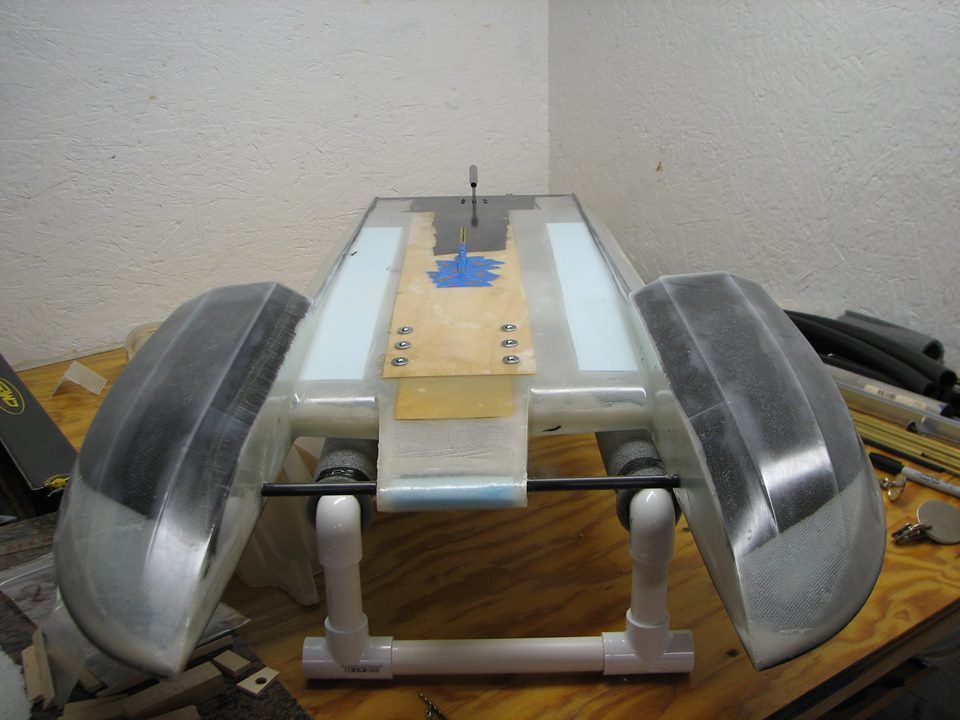
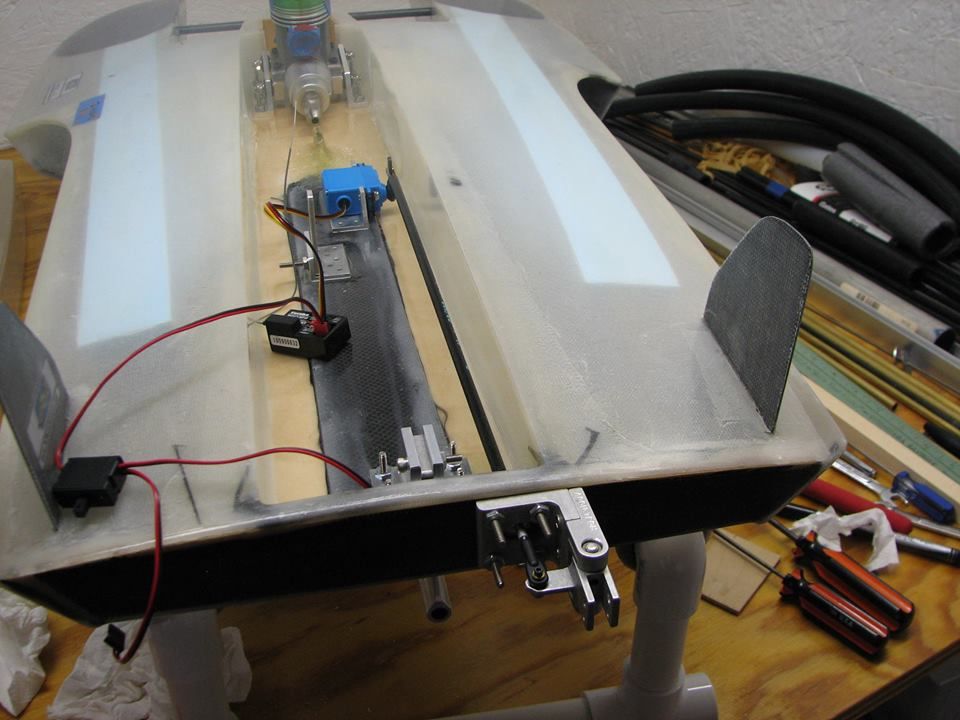
I build a ledge inside my cowls about 1/2" wide during construction. In the attached pic the area forward is filled with Styrofoam for flotation, and capped with 1/32" birch plywood. This ledge fits the top deck very closely. After painting, I cover the deck area where cowl will sit with Saran Wrap pulled tightly across the deck. Roughen the "ledge" of the now finished painting cowl with 220 wet and dry paper and clean it with rubbing alcohol. Squeeze a bead of clear silicone aquarium tank seal onto the ledge all the way back to the rear deck insert, and place the cowl in position on the hull deck - fastening whatever latch system you're using, and weight it down some. Let it set up for as long as the product used recommends, trim around inside and outside with a shape blade, and you now have a good seal between cowl and hull. The clear silicone on the ledge will also prevent the cowl from grinding through the finish on your hull deck also to keep your paint job looking better for as longer period.
CHEERS !!! Bob