JAE Gas Outrigger Build Thread

Intlwaters

Help Support Intlwaters:

This site may earn a commission from merchant affiliate links, including eBay, Amazon, and others.
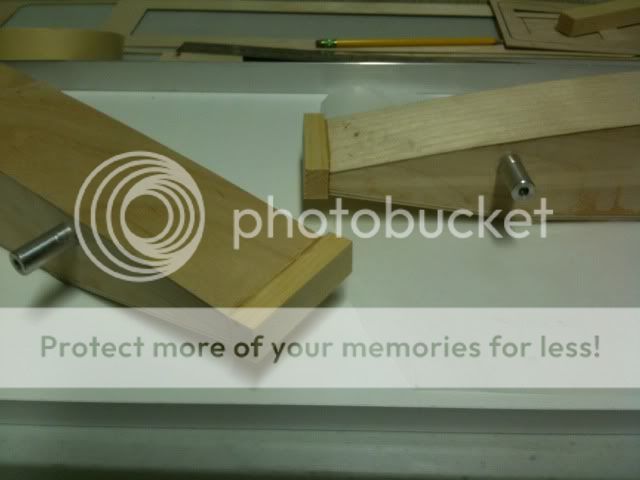
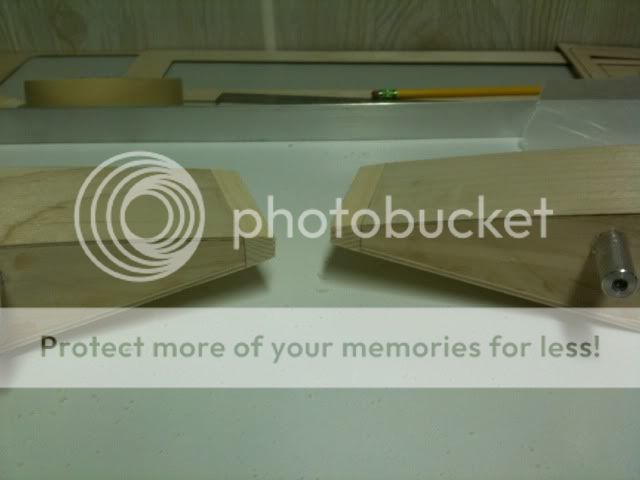
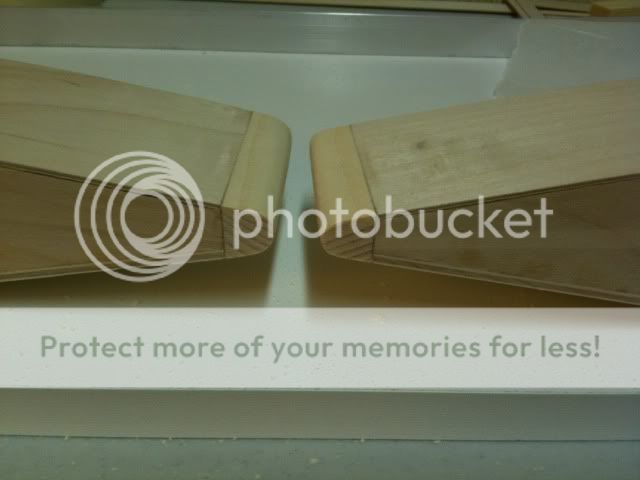
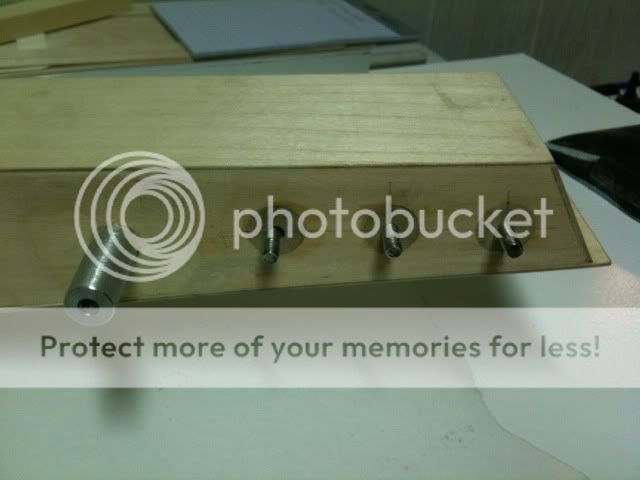
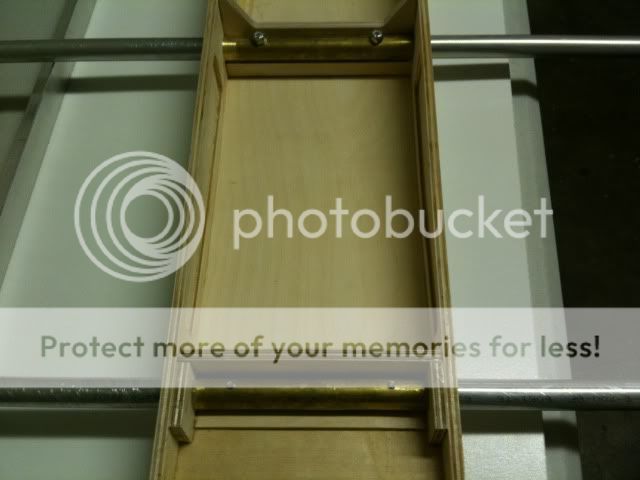
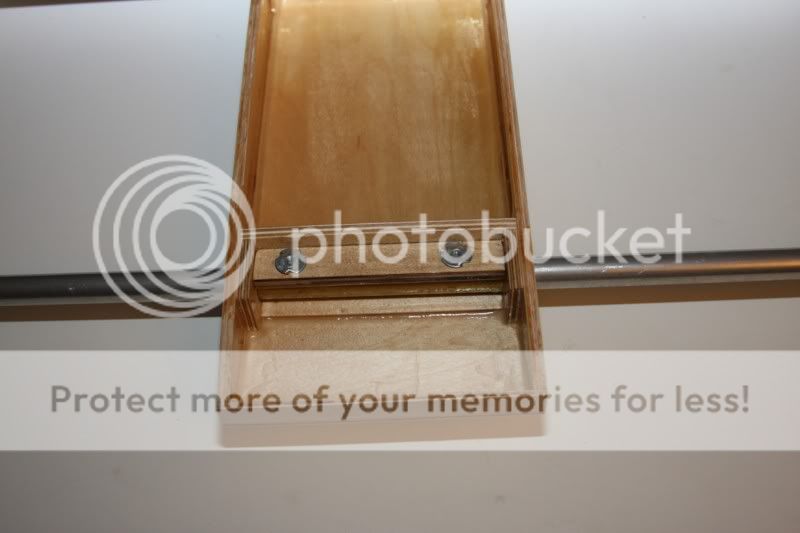
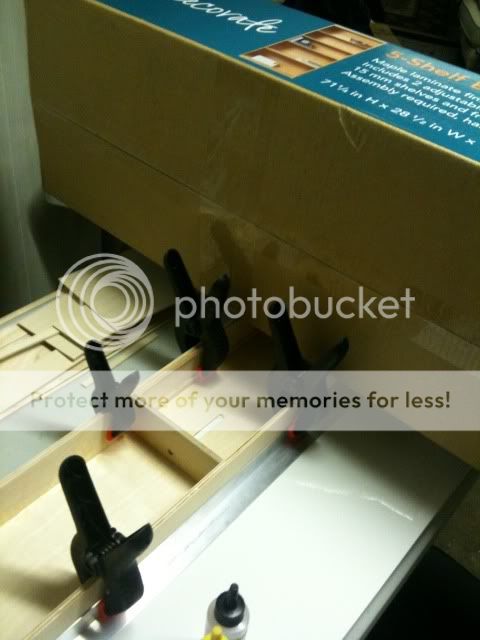
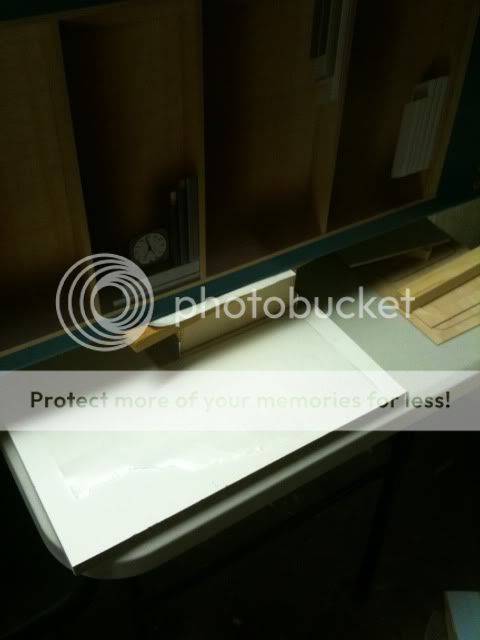
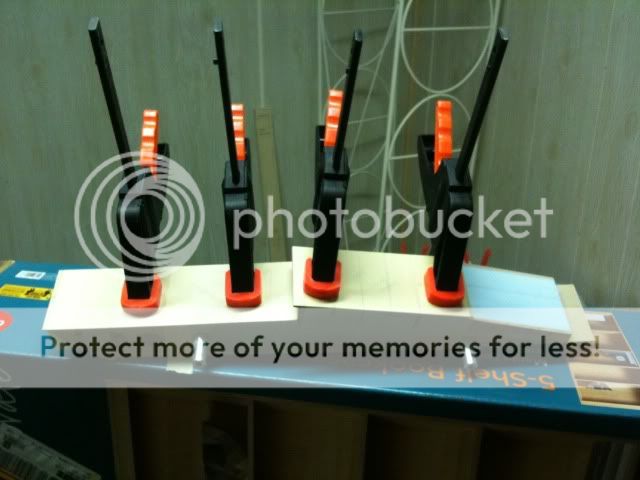
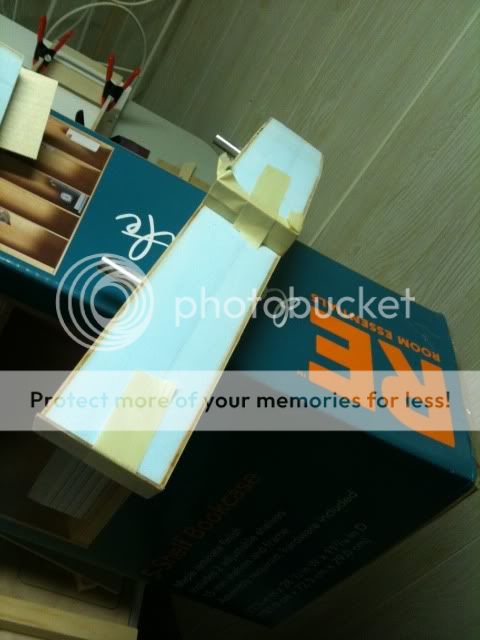
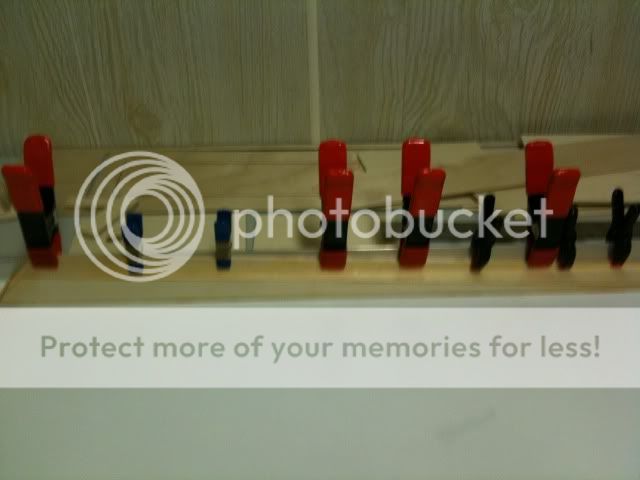
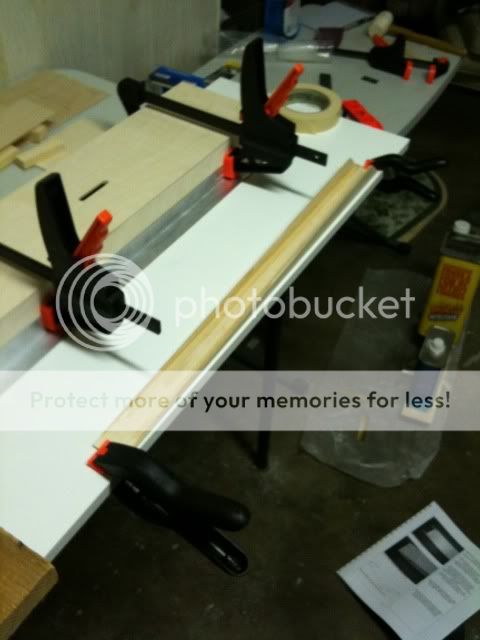
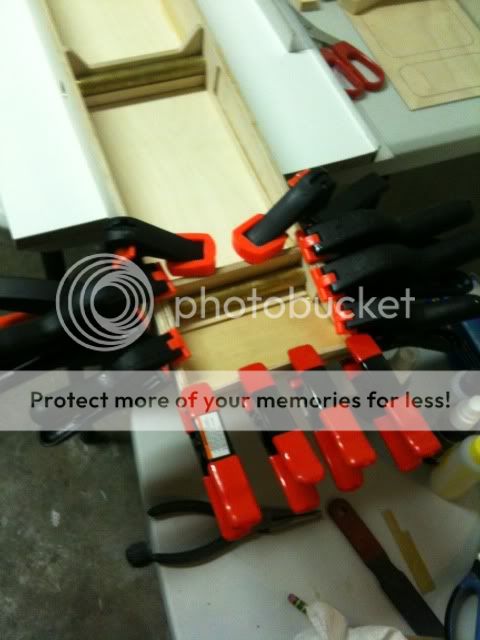
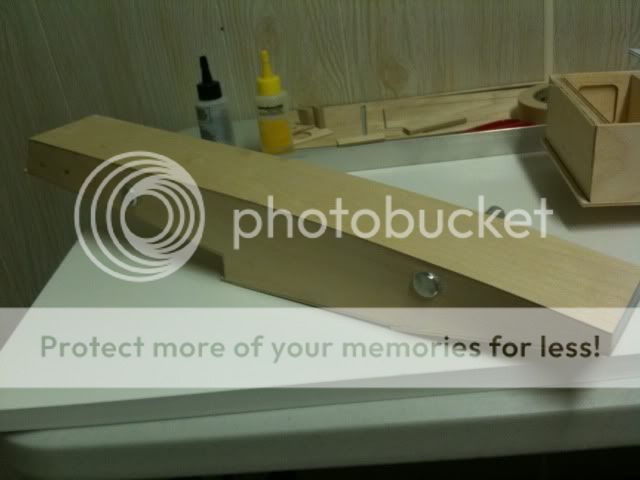
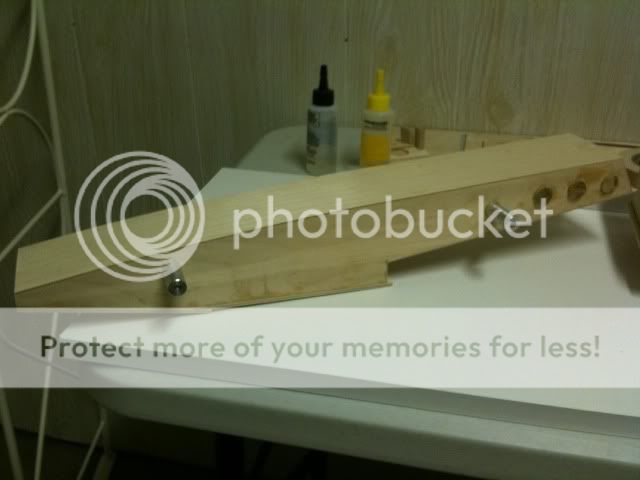
According to directions the jig was only needed for attachin the bottom which I did. I also left it in the jig while adding transome doubler and the front nose block mount. In the meantime I've been doing sponson work. Built the servo mounts. As soon as the tub is out of the jig Im going to assemble the ski.
 
One change (addition) I made was putting blind nuts in the front. Since the front is sealed I wanted more hold than a few threads in the boom.

DPP_1339.jpg
 
That's a good idea on the blind nuts, as there won't be a whole lot of contact area witht he screw in the booms. I think I'll be incorporating that into my build as well.

Well today I continued on with working on the sponsons and finished gluing the tub bottom in. One note, again where I got a little CA glue "happy" was on the transom itself, I had to sand the doubler down some to allow it to sit flush with the transom. Another handy little note I've made for the next build. And now for the pictures.

9fa1415c.jpg


5bd99839.jpg


As you can see here, tub is in the jig clamped to angles, I wanted to make sure that I had plenty of weight while attaching the bottom, so I grabbed a shelf I haven't assembled, probably weighs about 50lbs or so, the bottom should be attached quite firmly!

11c72fc6.jpg


b15cf690.jpg


Here I show the progress on my sponsons. Building the right sponson was a little crazy... I always pre-assemble before I glue and the fit was good on the aluminum plugs and wood dowels. I cleaned up the side plates and was off epoxying like a madman. I decided to scuff up the aluminum plugs before gluing as well for a little extra insurance. The sponsons are going together quite nicely, assembling per directions and allowing to cure a full 24 hours before I move onto the next step.

d72bd569.jpg


And finally the servo mounts. Pretty straightfoward to build, I went ahead and modified the steering servo mount before gluing to allow for the wires exiting the servo. I'm using a standard size JR high torque servo (around 320 oz.), was gonna use it in my scale boat but that's kinda on hold for now... (sorry Miss Bud)
 
More work on the boat tonight. First thing I decided to begin assembling the ski. I used the jig for this as I wanted to make sure it was straight and square. I simple clamped the side to my piece of angle and butted the ski bottom against the angle for a perfect 90 degree. I tacked it with CA, every couple inches, used some CA kicker, then went back and went between each tack. Once it had dried I took some epoxy and ran it down the sides/bottom of the joint on the ski and allow to dry.

cb38472a.jpg


e7874f9e.jpg


I attached the middle bottom piece to the tub and weighed it down.

92823c33.jpg


Ok-question time. On my left sponson I made a mistake. After attaching the two plates I filed the step but messed up and didn't file it flat! I of course attached R1 and now its set. I sanded down the low side of R1 to try and get R2 to fit straight on there but it just wasn't going to happen. I went ahead and attached R2 as squarely as possible but there is a small gap between R1 and R2. So here is my question, I can fill the gap with epoxy or wood filler and sand flat, or I can just order an entire new sponson from Zippkits. Any input would be appreciated, once its setup I'll take some pix, but hopefully that description gives you an idea of my mistake.
 
Well I decided to go ahead with work on the sponson. R1 isn't really a ride surface, it's the rear of the step...if it proves to be problematic I'll buy the material from Zipp to build a new set. I have now attached all skins to both sponsons, the left sponson top is drying right now. I sanded the right sponson "nose" flat and kinda found a problem. As for the pine block, if I attach it longways, its too thin compared to the sponson skins, but I wasn't sure if it'd be ok to attach it flipped the other away because it wouldn't be long enough? Tomorrow night I'll have the left sponson read for the "nose" block as well. I attached the tub front. Man, that was some tricky sanding! Which I managed to mess up! Are there any tricks to sanding this to match the angle of the tub sides? I was able to fix it relatively ok, but I'd like to know for a future build.

Onto the pictures!!!

Clamps as far as the eye can see!!!

ed9c74ad.jpg


df4c759f.jpg


Almost finished! Once I figure out the pine block situation, I'll be able to attach that and start sanding into shape.

ba911dbd.jpg


ad7b3a1b.jpg
 
It's lookin' great...... ;)


Here is the big question.....are ya havin' fun learning how to build ??
 
Ya I am enjoying it!!! I'm keeping track of all my mess ups and I want to build another one this winter!!! I'm trying to get my dad to buy one so I can build it. It really is rewarding when I look at how far it's come. The kit goes together really well, I haven't ran across anything super technical...if anything I make it harder than it has to be!!
 
Ok, so I'll bring the thread up to date...

I put the bamboo sticks in, I didn't get them exactly as the instructions showed, but it's pretty close. I accidentally drilled too close to the transom doubler and wound up not drilling into anything! Some wood filler is in order and should be good as new.

I drilled the turn fin dowels out today with the drill press. On dowel #1 I went halfway from the outside and then drilled from the inside....ya, that didn't turn out great, I was a little off. So I decided on the other dowels I would drill them straight through with the drill press. They came out very nice, fortunately screw #1 isn't that bad off.

I countersunk the boom tube screws on the bottom of the hull, glued the radio tray support in and that's about it. As soon as I get my tax return from Uncle Sam I'll be ordering my engine/mounts, rudder and stuffing tube and should be on my way!
 
Well I figured I'd show where I'm at now.

here I have the sponson nose blocks epoxied into place.

afdf9b2d.jpg


here they are sanded flush with all surfaces of the sponson.

3fece843.jpg


and finally I rounded them using a sanding block with 80 grit. They came out quite nicely if you ask me.

06086561.jpg


here I installed the screws for mounting the turn fin. I went by the directions on the first screw and tried drilling halfway each on a drill press...needless to say I was a little off, the other two I just went straight through with the drill press. Sorry guys

96fd686a.jpg
 
ok, here is my inexperience talking but a word to other beginners. When you're drilling out your boom tube/sponson plug, you need a cobalt drill bit in order to drill through all the metal. It also helps if you use a nail or other object and a hammer to create a small hole where you want to drill. Obviously I found out all this after the fact. I think these tips could be added to the directions for other novice builders, of course make sure your sponsons are aligned correctly. Fortunately mine were in excellent alignment and needed no sanding.

3d4e7541.jpg


here's how the boom tube area looks within the boat.

9df8fed2.jpg
center-punching with a sharp center punch is always recommended when drilling metal.... absolutely necessary when drilling a round tube! In fact, when drilling in round tubing, it's a good idea to centerpunch, drill a pilot hole with a smaller drill first-then drill to final size.

Wes
 
Back
Top