Okay I have a few minutes to myself this morning so I thought I would post one of my current build projects. I started this project on RTRZone but someone there found me to be a threat to his business so I was deleted. So most of this will have to be written from memory. Luckly I did save the pictures. That's the best part anyhow. Well here it is.......
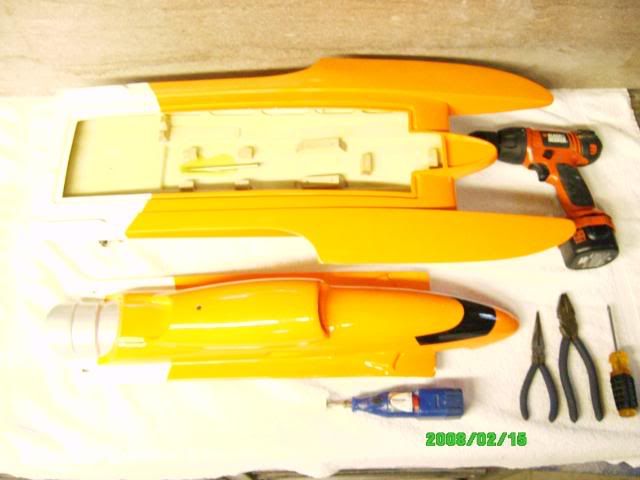
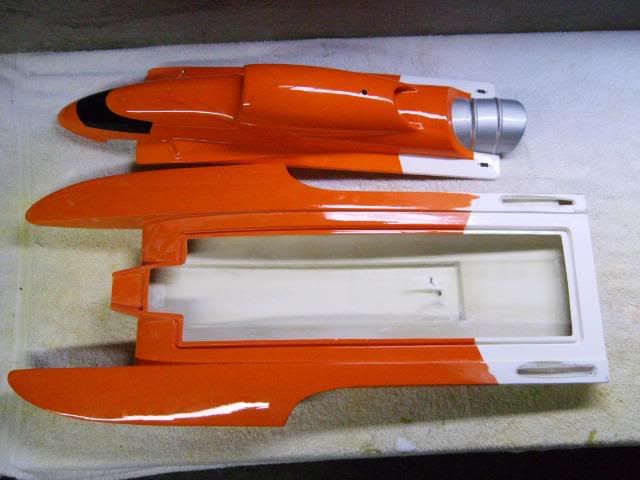
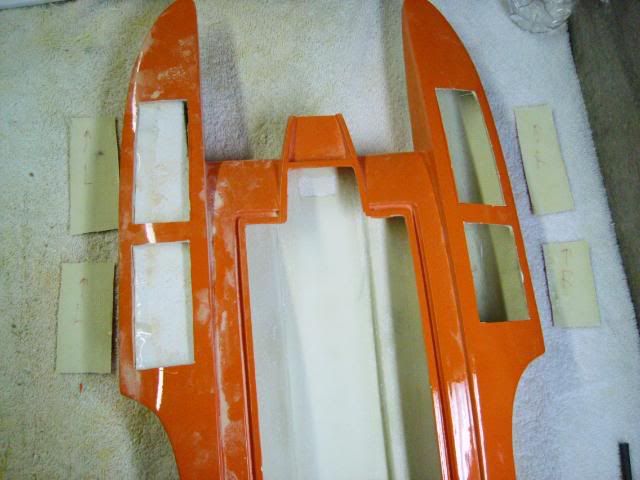
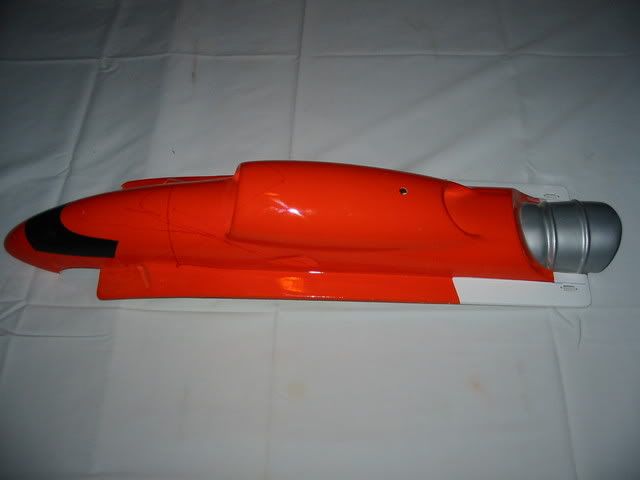
I'm starting off with a damaged Miss Vegas Hull............
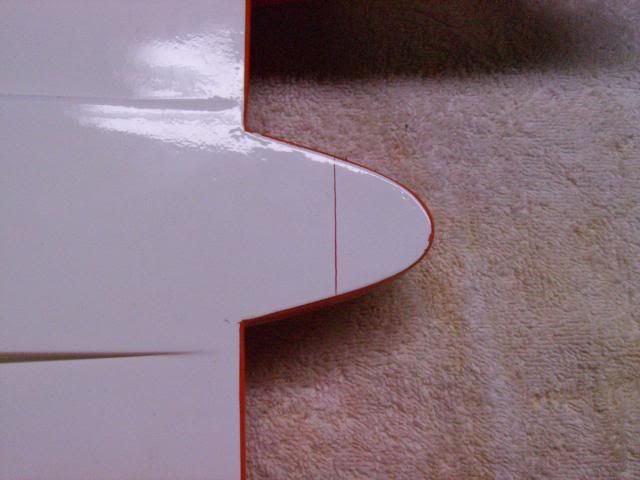
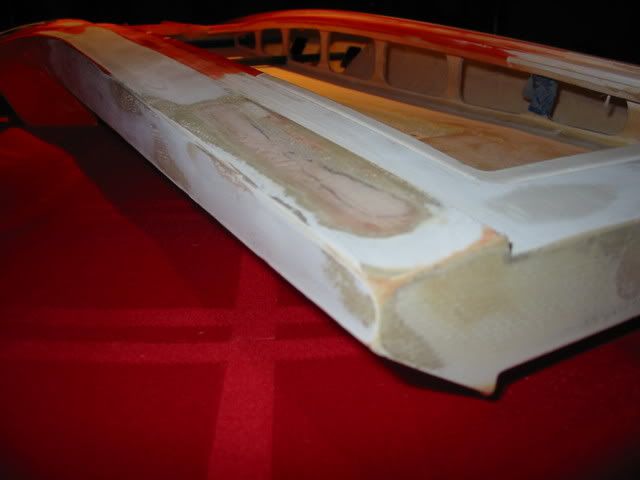
The right side of the transom and along the side was crushed in shipping. I was sent a replacement and they let me keep this one. Perfect for a Mod build project.
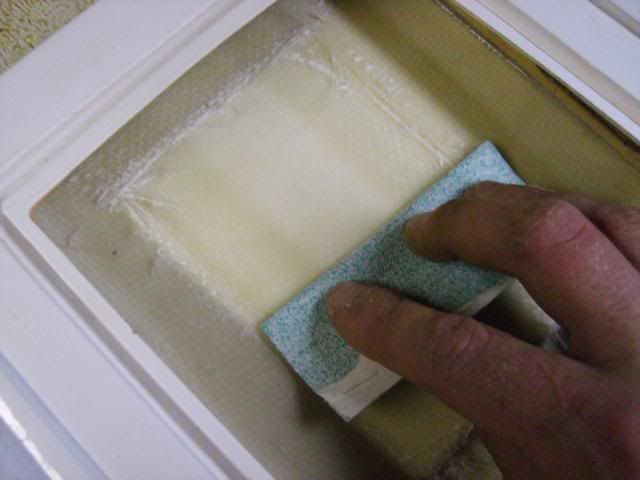
Then I sanded the interior with rough grain sandpaper, 80 grit.
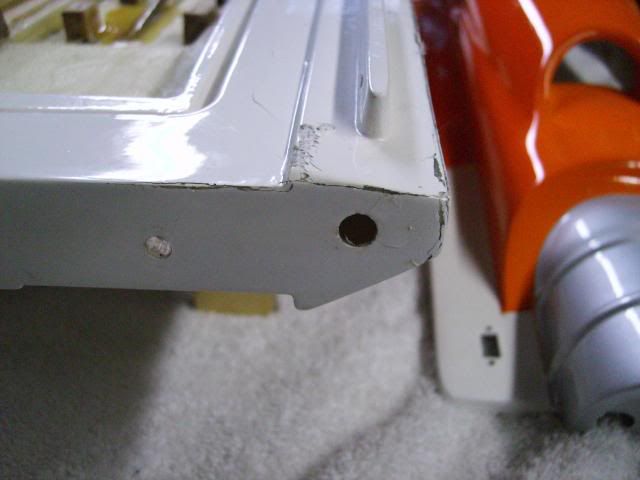
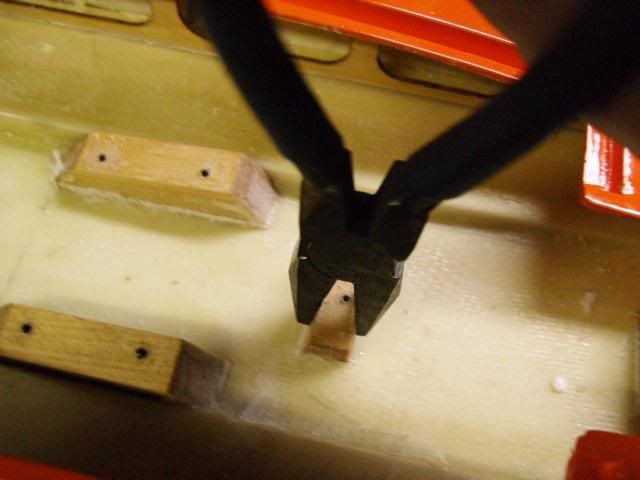
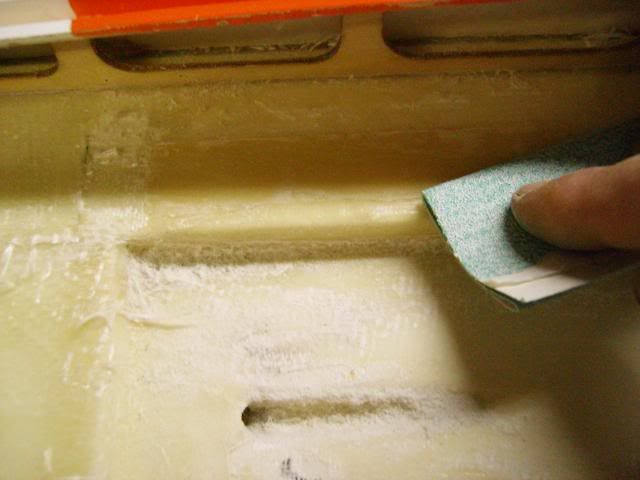
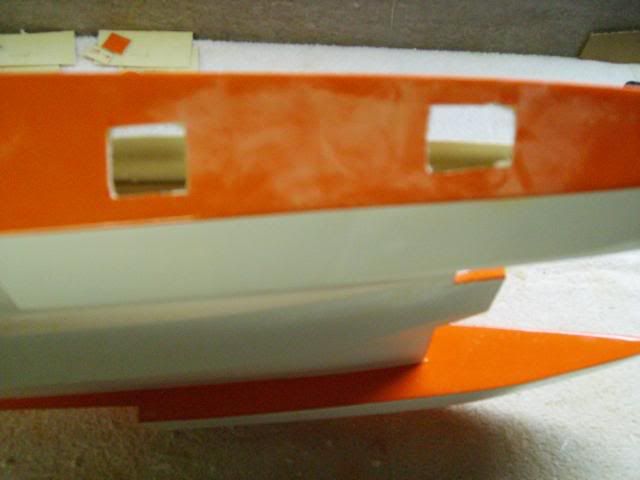
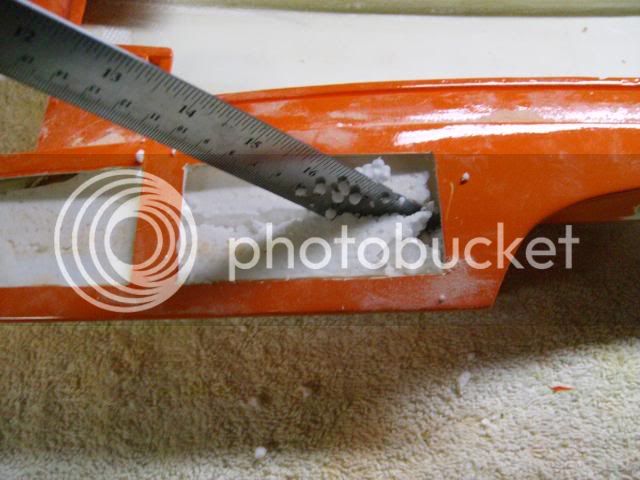
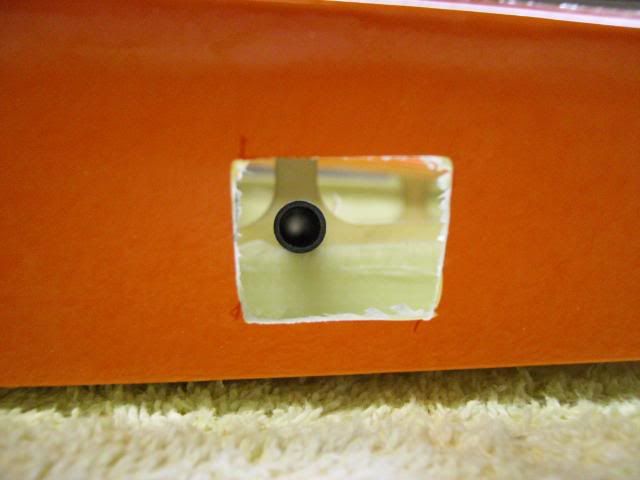
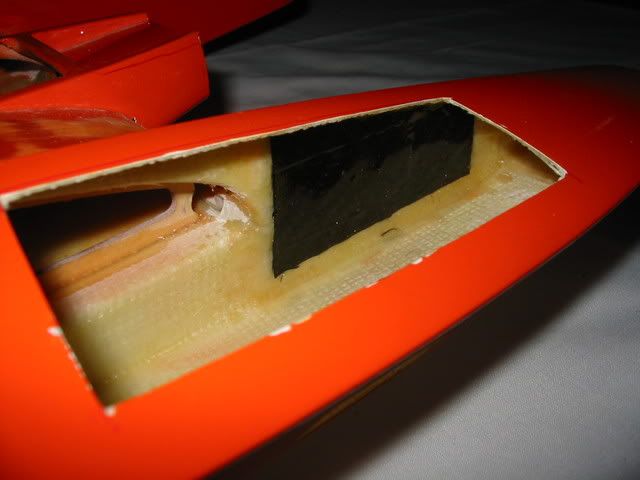
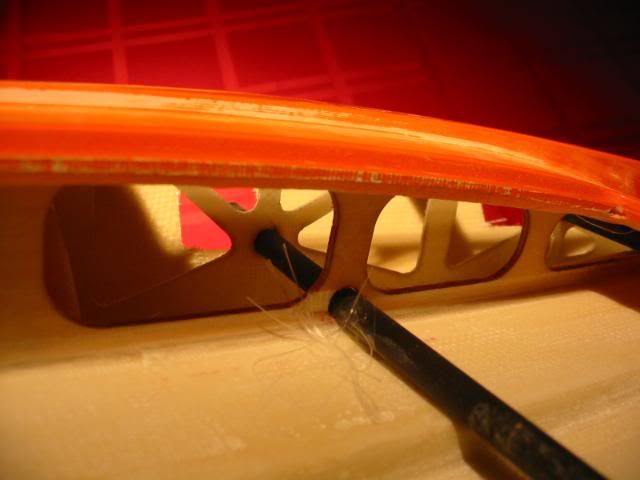
I also wanted to remove the rear wing. It only adds weight and creates drag. There's pieces of metal that help strengthen the fiberglass that needs to be removed to help create lift at the transom.
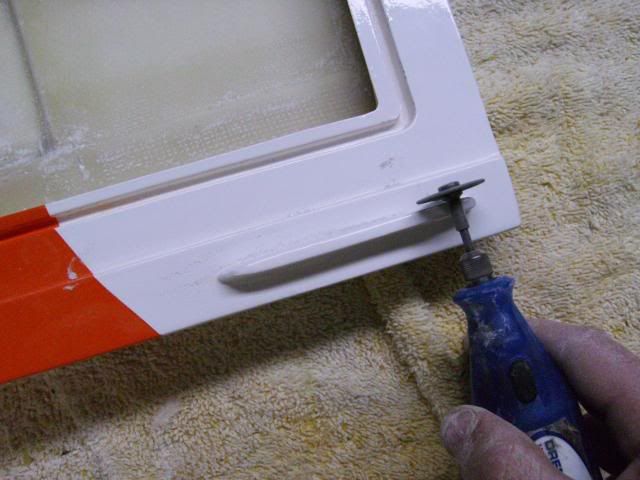
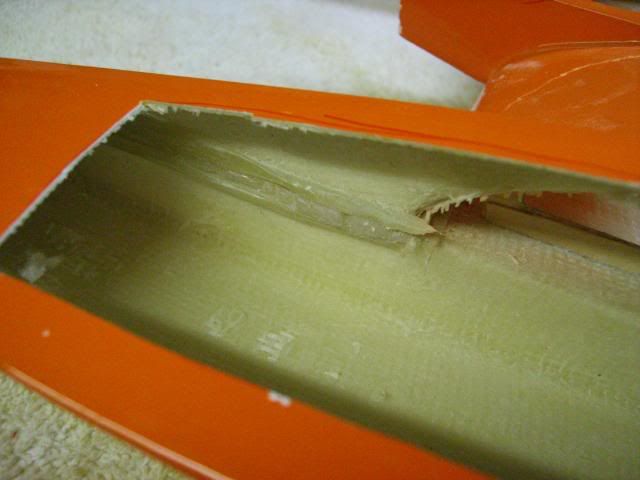
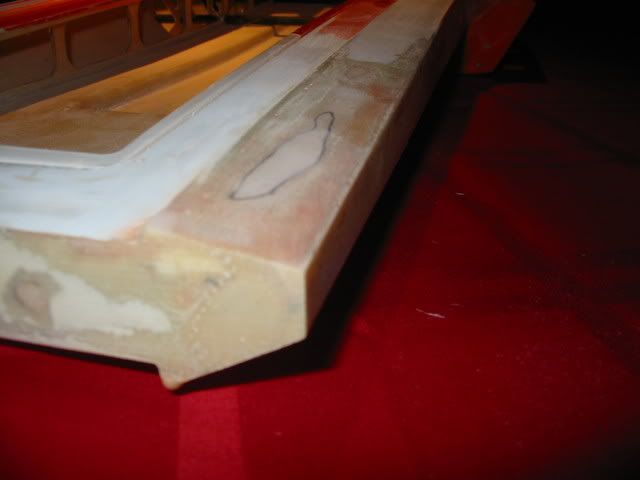
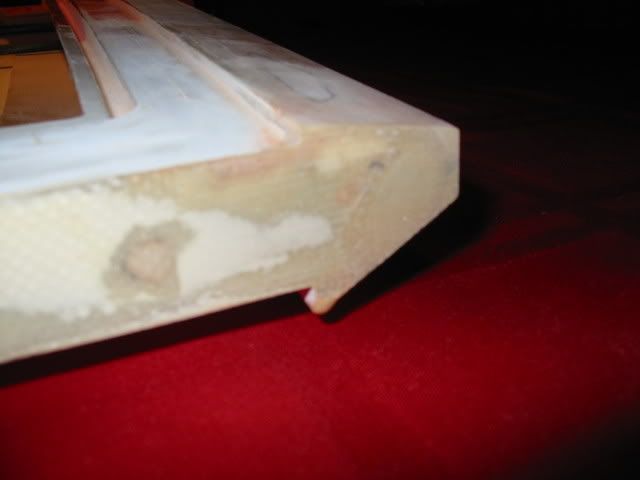
After cutting the brackets off I use a round dremel sanding bit to sand the cuts to a taper instead of a straight cut. This way when I come back and fill the holes with cloth and resin the new glass work will have more surface area to bond to.
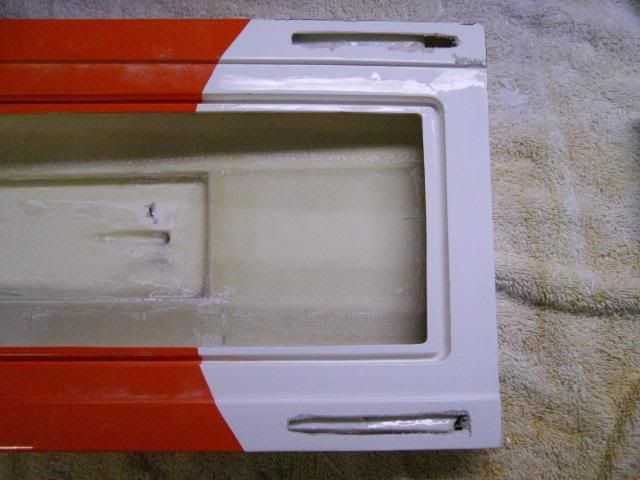
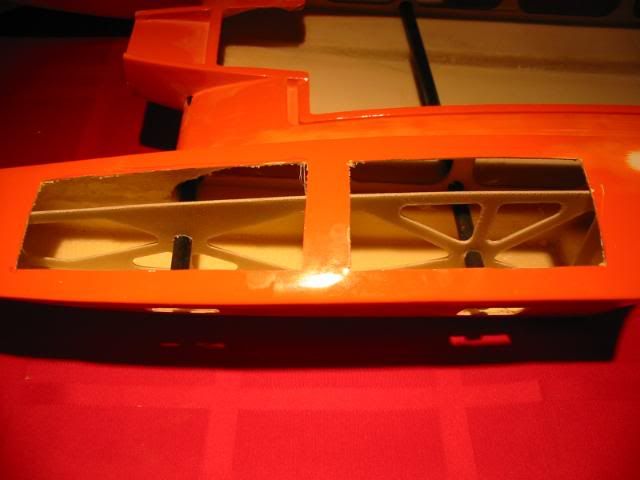
Next I chopped the nose off of the hull. This makes the canopy fit better and removes a little weight in the front.
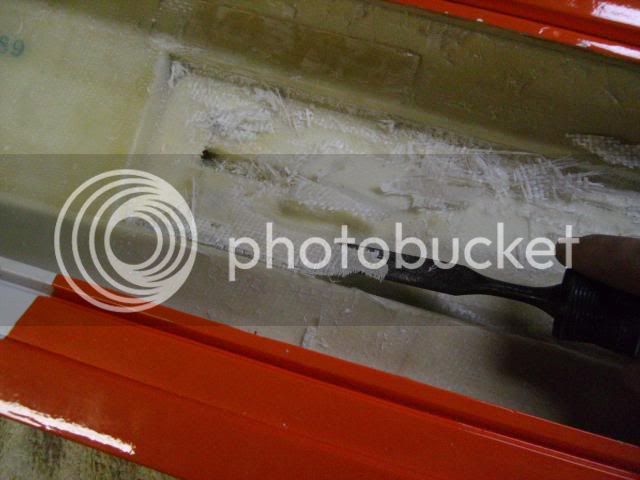
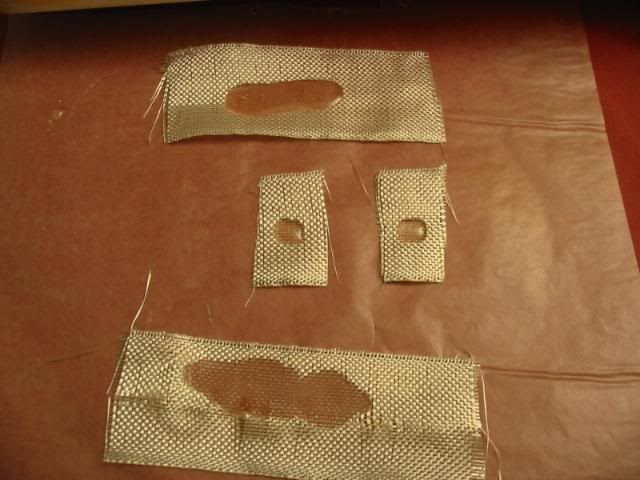
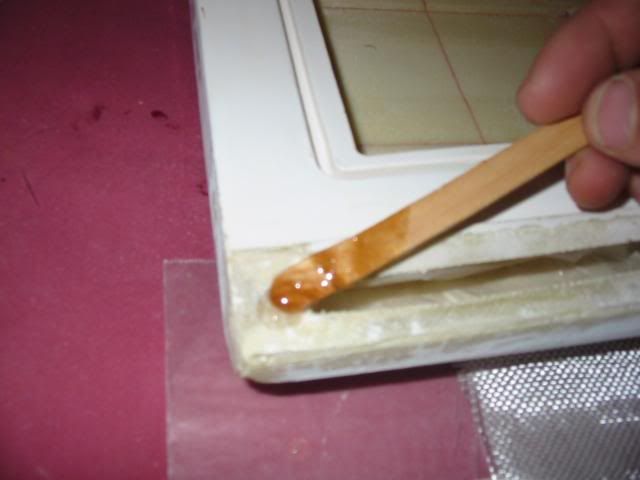
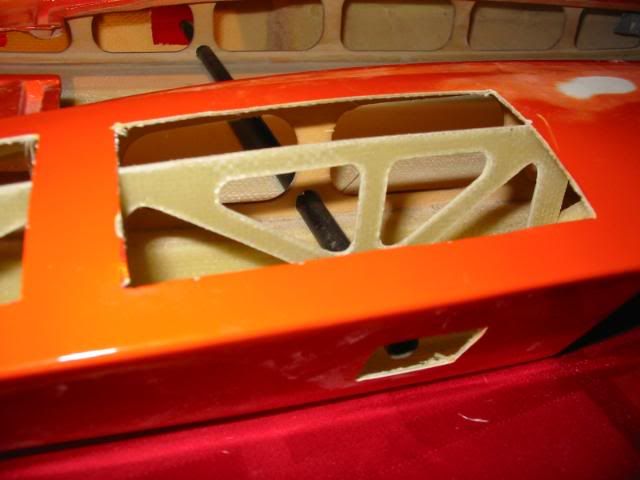
Next I'll begin the repairs to the damaged areas and the wing bracket cut outs. Here I put some wax paper inside under the wing cutouts to catch any dripping resin. Then I proceeded to cut the cloth to generously cover the area to be repaired.
Then, on a piece of wax paper I lay the cut cloth. I like to partially saturate the cloth on a piece of wax paper leaving the edges clean so I can easily handle the cloth. Then using a mixing stick I spread a thin layer of resin on the grinded surface to be repaired.
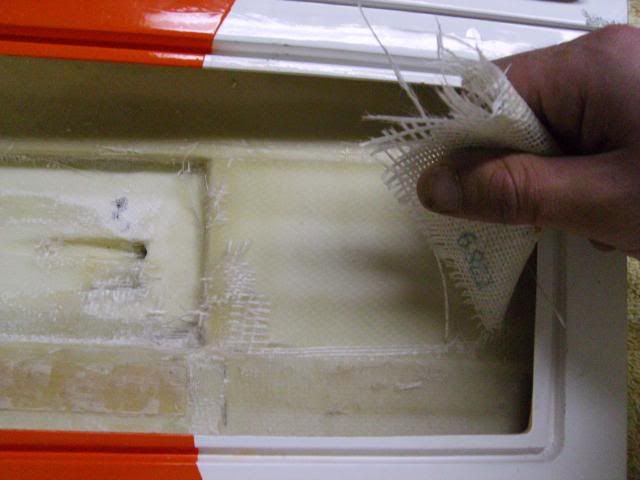
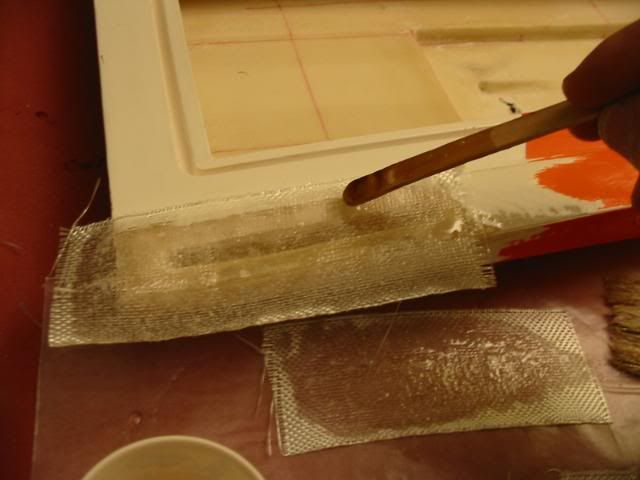
Next I place the cloth and using a paint brush I fully saturate the cloth and remove all visible air pockets.
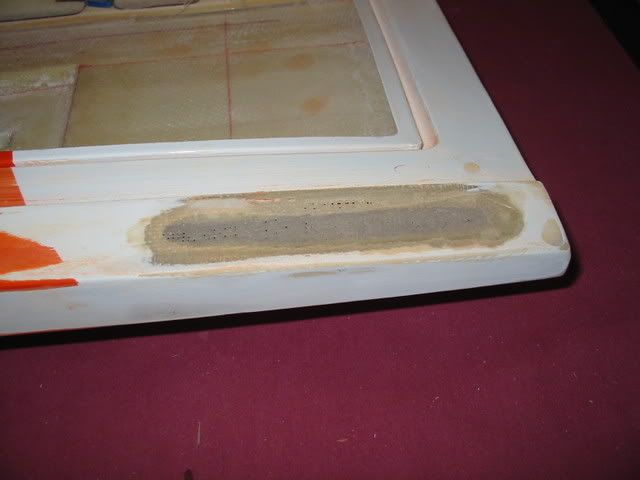
Here it has fully cured but it still needs some finishing work. What I like to do is mix resin with micro balloons to create a strong easily sandable filler and filled the voids and gaps. Then I come back and sand it smooth and its good as new.
On this build I plan to reinforce the structure to improve the rigidity of the hull and coordinate the CG tuning with the construction of the hull. I don't plan to use a radio box. I have been using alternative methods to water proof my electronics and I have not had a problem yet. Before, when I used radio boxes they seemed to leak and I have a problem after every days run. After each day I would have to disassemble the radio box and dry out my electronics. I don't think it's possible to make a radio box 100% water tight. My method has worked great so far and the best part is it eleminates excess weight. On my GX1 hydro I trimmed off 1-1/4 pounds from the radio box alone. Also, on my last Miss vegas build I added CF cloth to the front seams to prevent cracking under extreme loads, in case of a collision. It worked great. I hit a stump at about 3/4 throttle and it didn't leave a scratch.
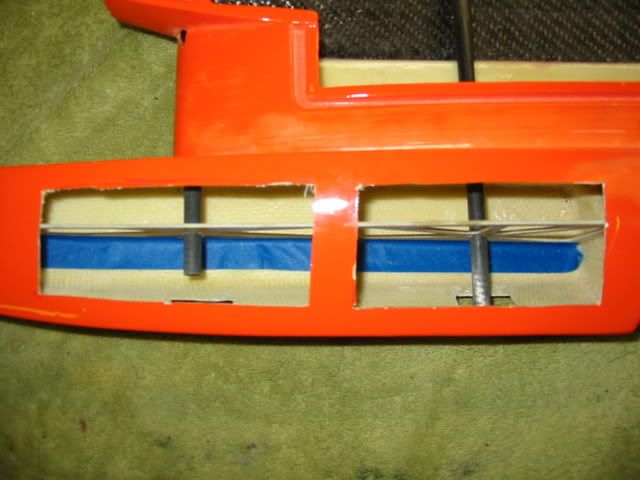
First I had to cut out a few holes to access the interior to install the bulkheads and add the CF cloth to the inside. On my last build I added the cloth to the outside and most of it was sanded off during the finishing process. This way the cloth will be on the inside and won't be affected by finishing.
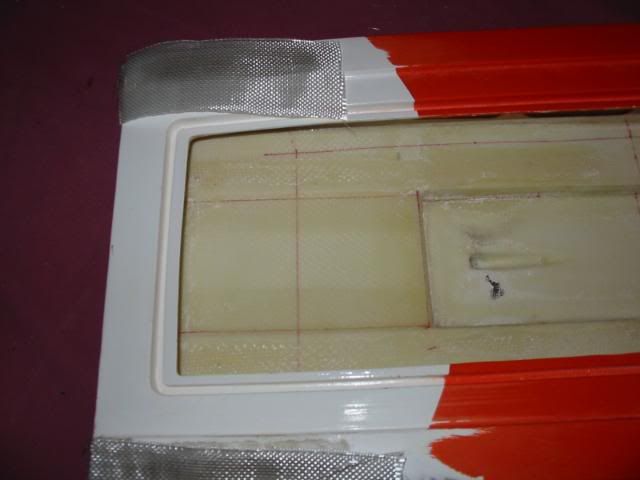
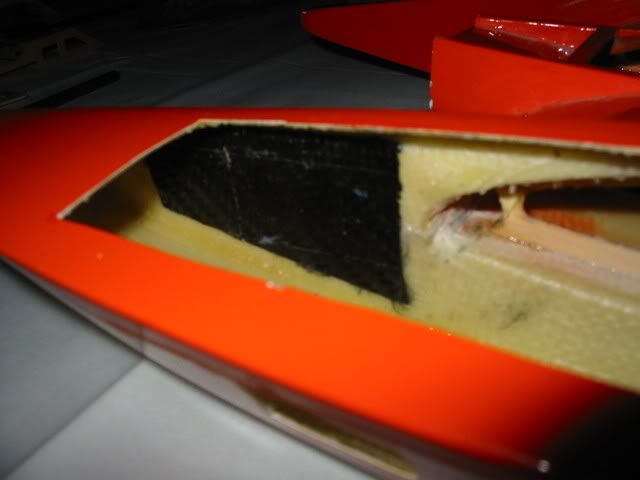
Here's where I'll be adding the CF on the inside of the sponsons. The first picture shows the seam before I prepped it for the CF cloth. The second shows how I removed access resin from the factory, again only adding unnecessary weight, and sanded it smooth for a nice bond between the CF and the hull.
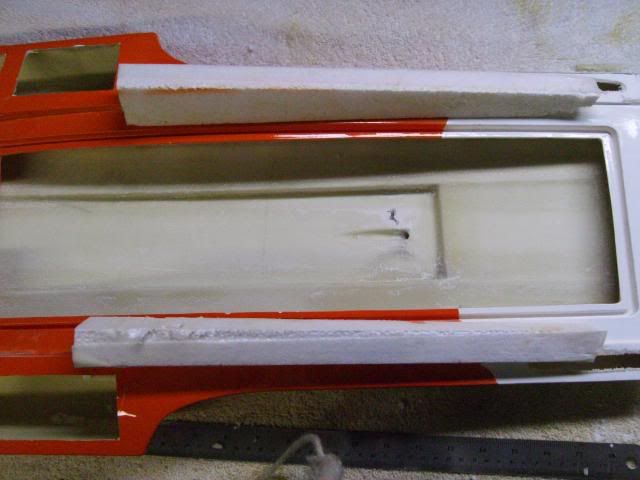
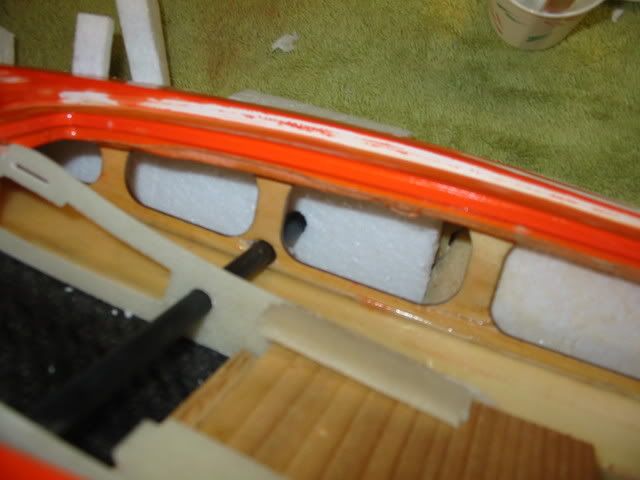
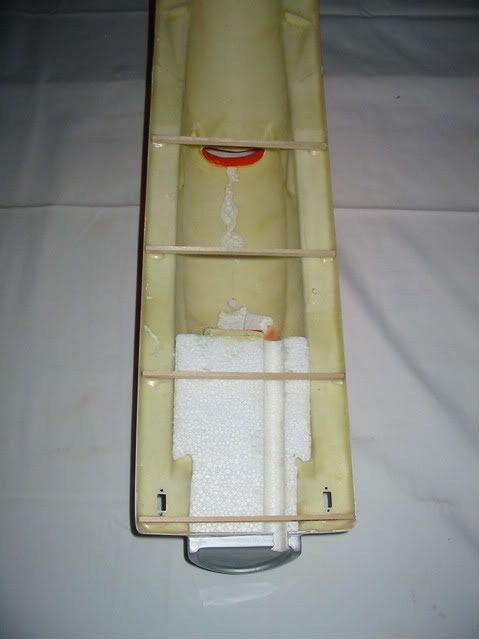
Next I removed the foam floatation and saved it for reinstallation where possible.
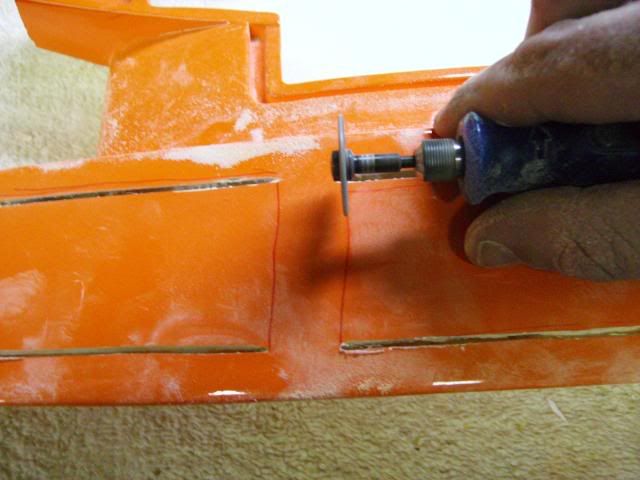
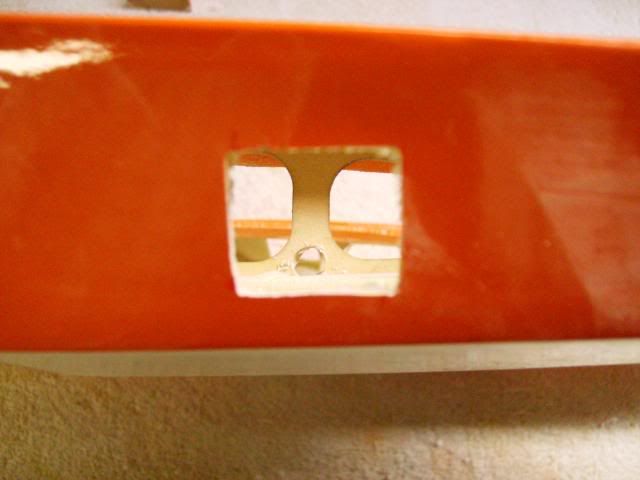
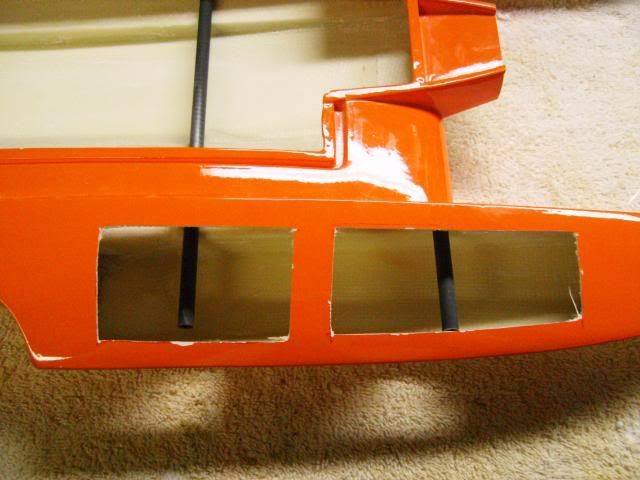
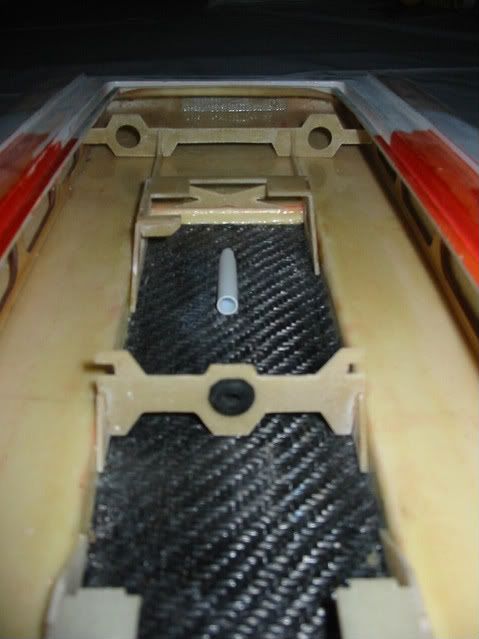
Next I drilled holes in the factory stringers where my CF arrow rods will go throught from one side to the other. This adds lateral support and reduces the longitudinal flex at high speeds. The rods will be locked in with bulkheads that glass in to the inside of the sponsons. These RTR hulls are made cheap and this will produce the same rigidity as having a thicker heavier built hull.
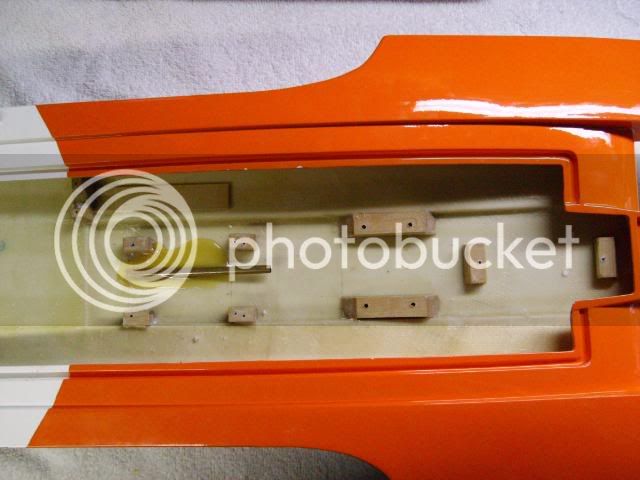
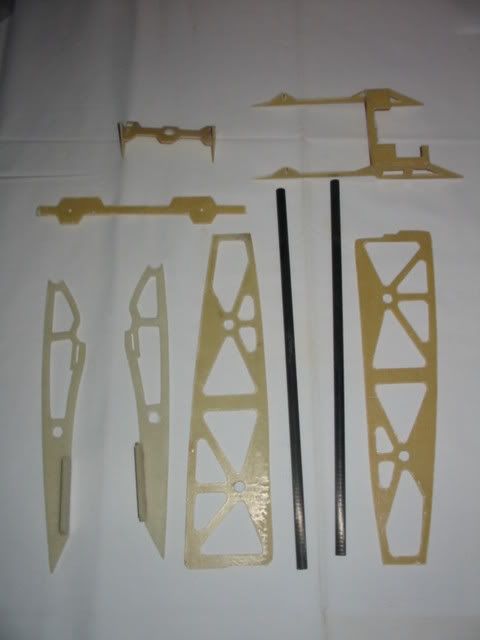
Here I made cardboard mockup templates of the fiberglass bulkhead designs I plan to use. Then I taped them all together to check the alignment and fit. Then I made adjustments accordingly and here is what I came up with.....
I use LDD6 to design my templates so I can just print out new ones when it's time for fabrication. I make the parts from polyester mixed with microballoons except for the engine rails. I like to use epoxy and microballons for any high stress parts. In the picture here you can see the different colors of the parts. the lighter ones are the epoxy engine rails and the more orangish/darker parts are the polyester composite parts.
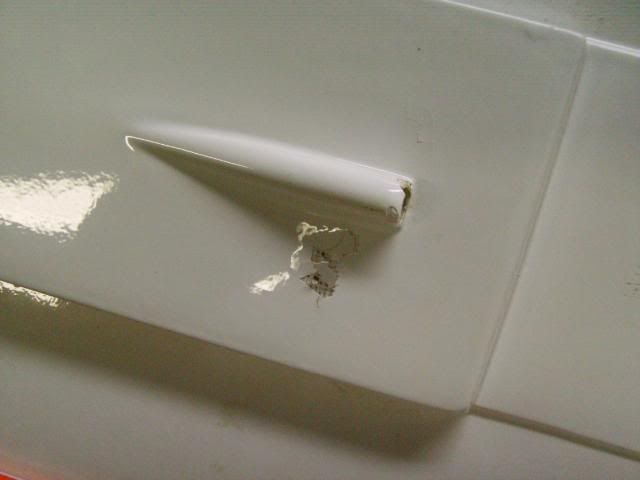
I was getting a little imaginative in this picture. Thought it might be a funny pic to add.
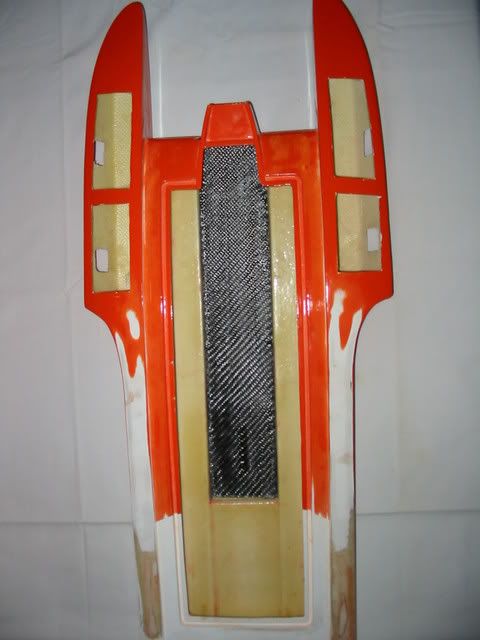
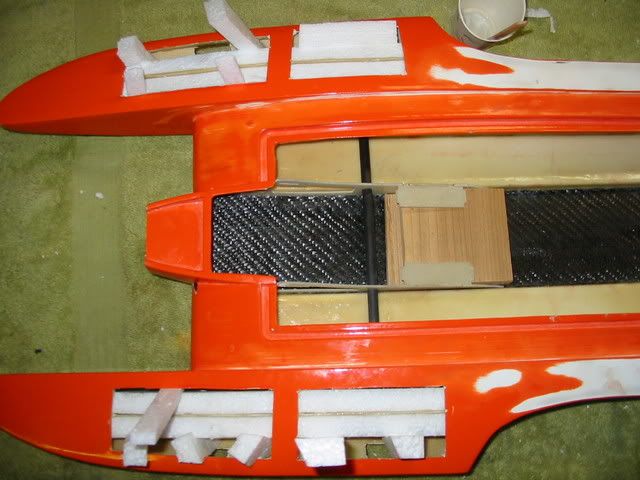
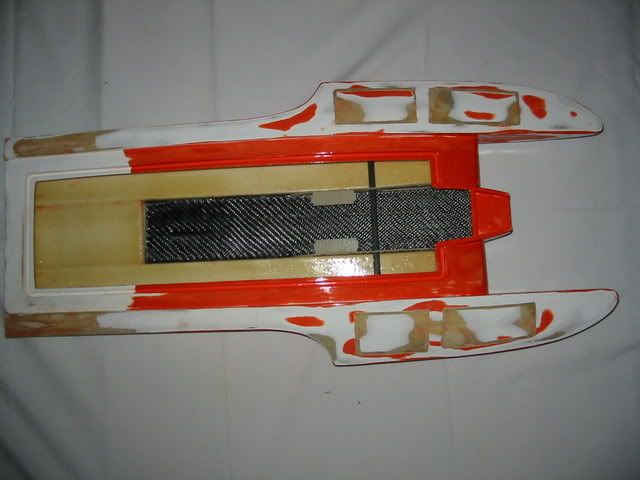
Here I've added a layer of CF cloth to the bottom. In the begining I removed a layer of cloth from the bottom so I needed top add a layer to build it back up some. The way I've done this is I cut a template from paper first. Then I cut out the CF cloth. Next I brush on a layer of thinned epoxy and let it set for about one hour. At that point it's still tacky so I lay the CF in place and use a small round object as a rolling pin to secure it in place. I let that set over night.
The CF cloth on the sponsons is done the same way. One side at a time.
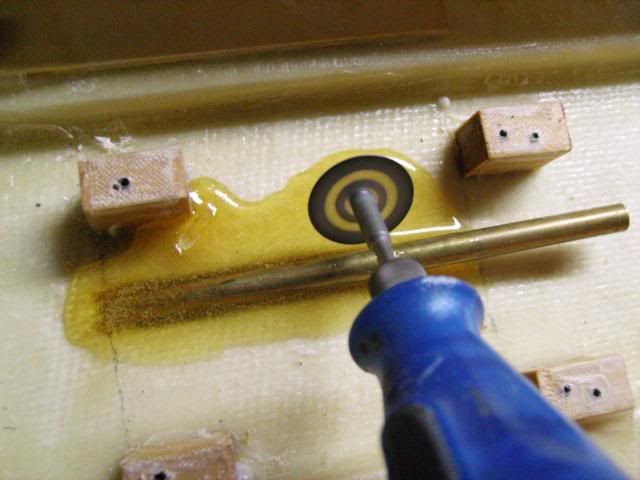
Next I fit the bulkheads in place. I glass the sponson bulkheads in place first. I position them by placing all bulkheads in the proper location and alinging everything with the CF arrow rods. Then I tape the bulkheads in place and add a coat of epoxy. I use epoxy here becuase I won't be using any cloth. So i want to use the stronger epoxy resin and not the polyester. I also do not add any micro balloons since I won't be sanding this area.
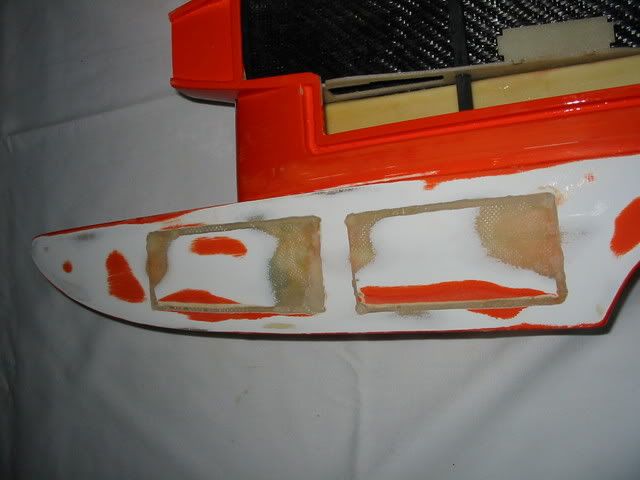
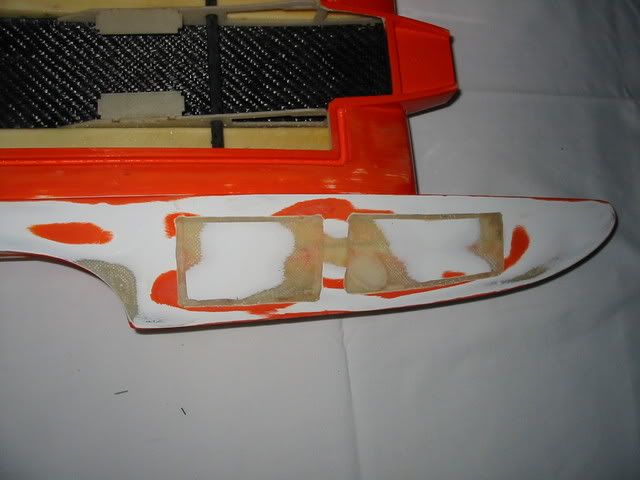
After that sets up pretty good I cut out a few pieces of new foam floatation for the sponsons. Then I reinstall the factory rear floatation. Next I add some stragiht epoxy resin to the bulkheads and then install the front foam floatation. I use some scrap foam the wedges to hold the floatation in place.
While that was settin up I also added some filler resin to the rear wing bracket cut outs. After everything had set up over night I came back and sanded the filler and checked the alignment of the sponson bulkheads.
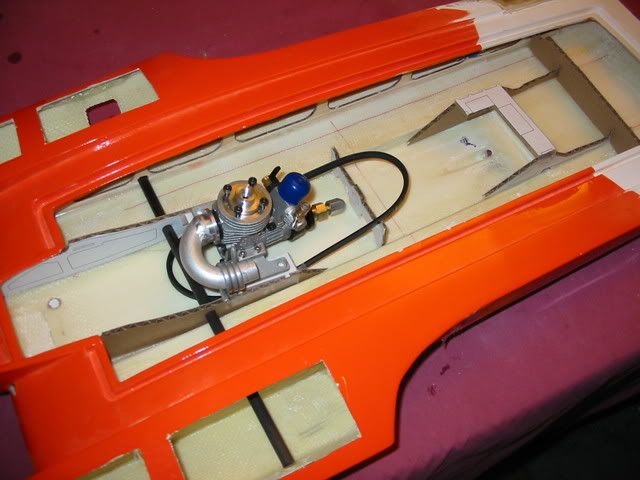
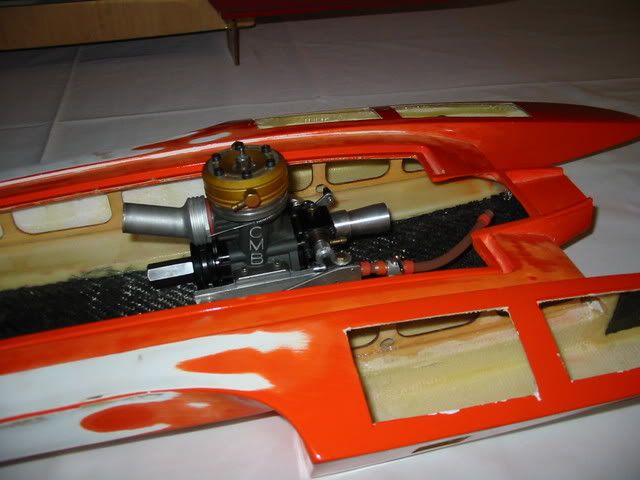
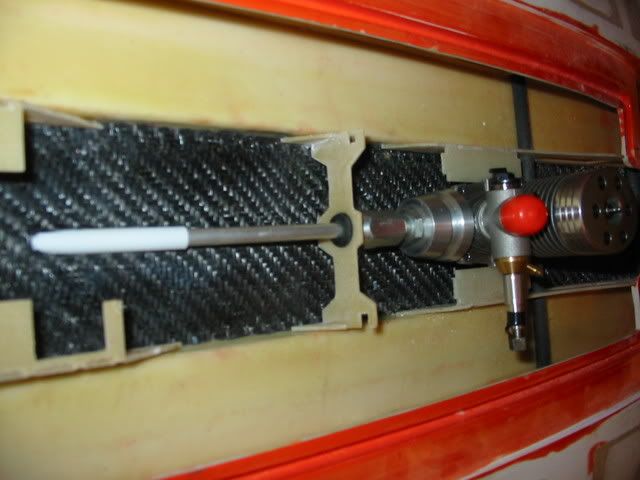
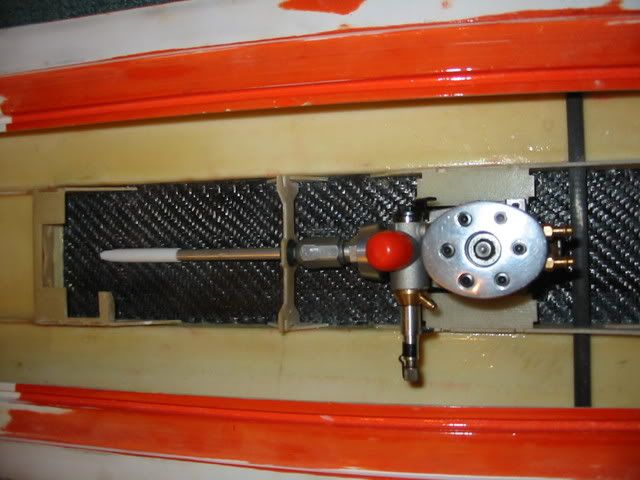
Next I tacked all the interior bulkheads inplace with some CA glue. This will hold everything in place during construction and I can easily remove and adjust the parts if necessary. Once I'm completely done I will paint a layer of thinned epoxy over the entire assembly. Also the CF cloth still needs a final layer of epoxy so I'll be sure to coat that entirely also. That'll hold everything inplace and form a solid structure. The only bulkheads I have left to fabricate are the engine mount brackets that support the engine mount. I just received my engine today so that'll be coming soon. Int he mean time I'll be working on the canopy mods. In the picture I used a 3.5cc engine to line everything up. I didn't have any .18's at the time. I also added a polyethelene stuffing tube sleeve. That allows me to remove and replace my stuffing tube with out damaging the hull.
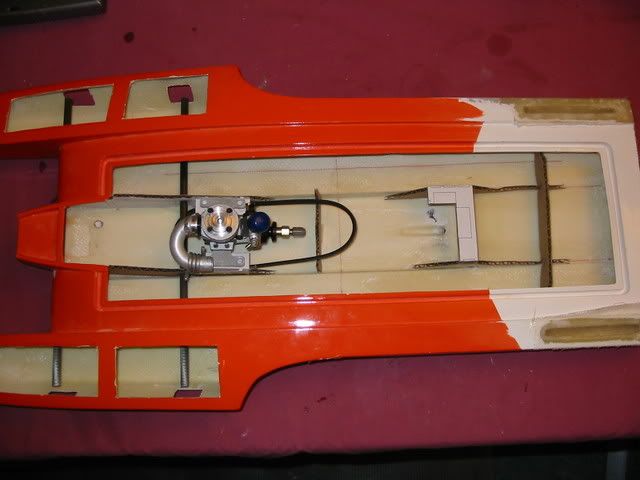
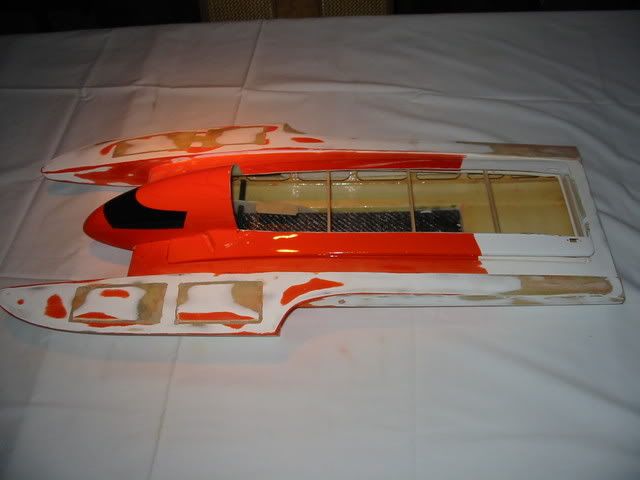
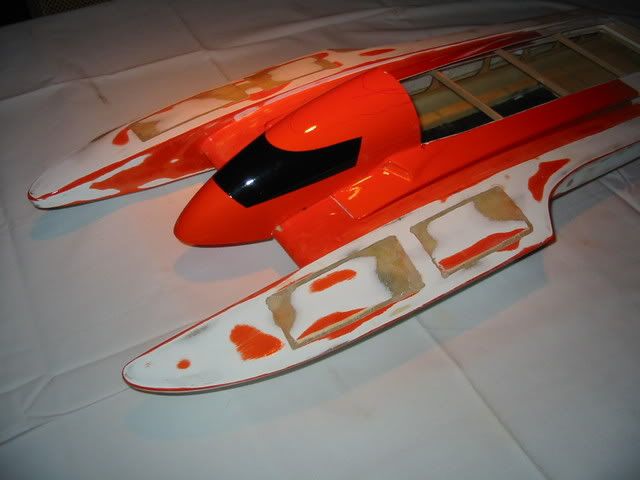
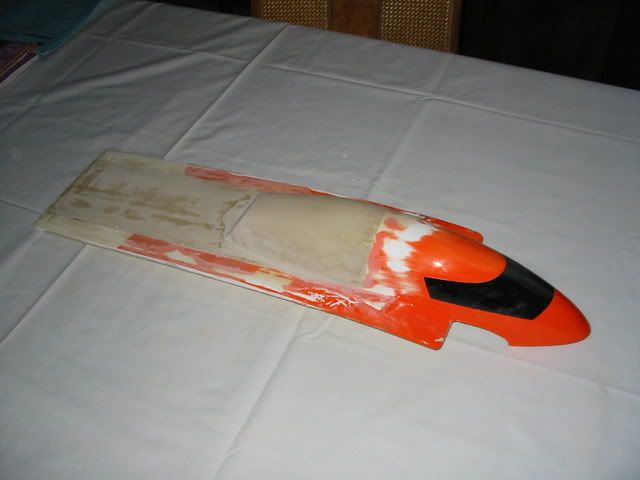
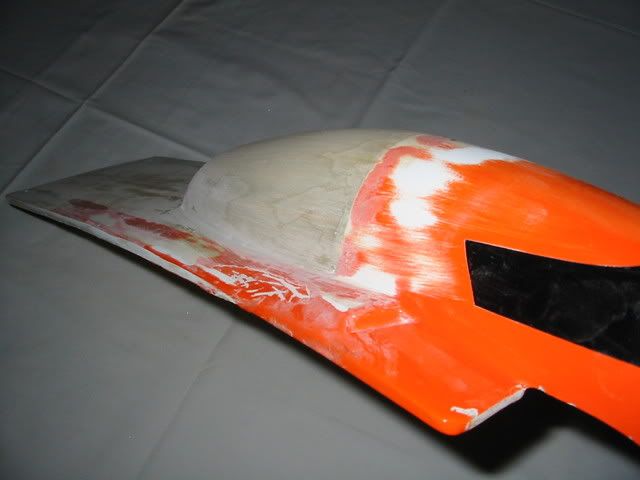
Here i've closed up the sponsons and finished all the body work on the hull.
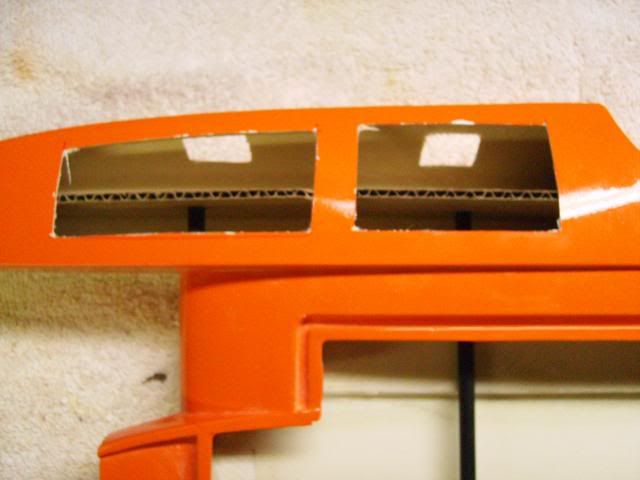
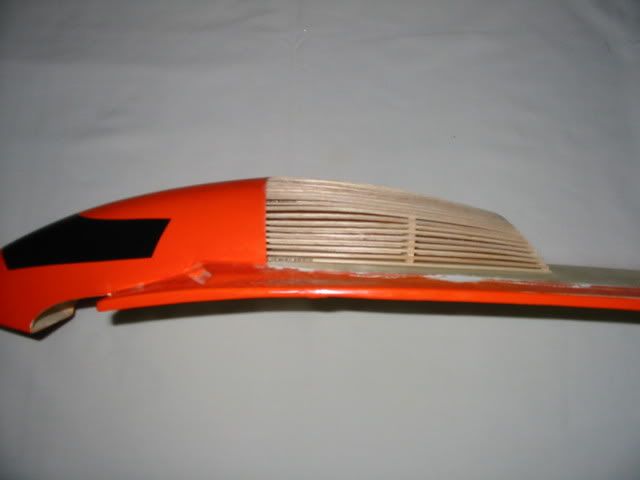
Next is the canopy. I'm going for that super sport low profile look. So I'm chopping the entireback end off the caopy and adding my own design. First I start out by adding some construction braces to help maintain the overall shape so it'll still fit the hull when I'm finished.
Next I chop the unwanted section of the canopy with my dremel and here's what's left.......
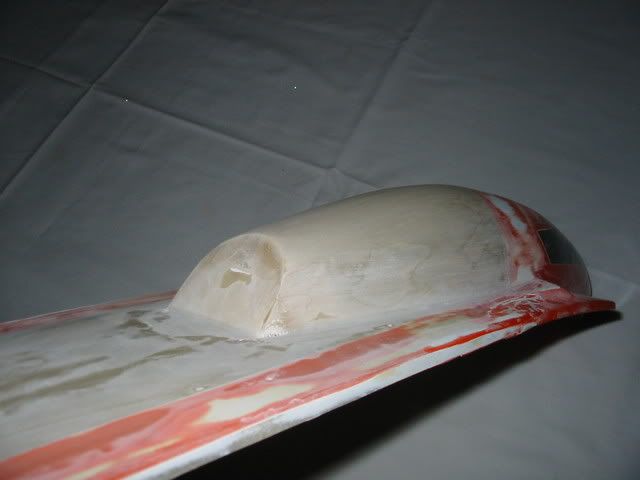
First I glass in the canopy with a generally flat surface slightly convex to match the existing shape of the canopy. I used a piece of poster board covered in wax paper and taped to the inside of the canopy. I then added a layer of cloth and some straight polyester resin. I want this first layer to be strong so I don't use microballons. then I add another layer of cloth and resin for a total of tow layer ont he first layup. Next I begin the new canopy shape by designing the frame work from cardboard. Then I use some balsa wood and begin constructing the frame work of the canopy.
I let that cure and then I brush on a heavy coat of polyester and microballoons so I can sand the shape I want.
finally I remove the balsa frame work from the inside and add a layer of cloth to form a solid bond with the factory canopy.
Great text/photo documents. Really like what you've done with the cowling. I have an old cowl that just might get that modification. I would recommend a little sponson work to help improve the speed.
Very nice Travis. Looks like this one will be better than the last. Although I don't have any RTRs anymore doesn't mean I can't watch what you are doing. Really like the addition of the bulkhead and CF rods in the sponson.
Great text/photo documents. Really like what you've done with the cowling. I have an old cowl that just might get that modification. I would recommend a little sponson work to help improve the speed.
JD
It's my understanding that in NAMBA Dist 3 hull or sponson mods are not allowed. One thing I have wanted to try is adding steps to the bottom center section ride pad. I've seen some people cut that section out to reduce drag. But I think that would create more drag by increasing the wet surface area and reducing lift. Adding steps to the center section would reduce drag without adding any wet surface area nor decreasing lift. Jerry, your sponson Mods have really been my inspiration and fuel my ambition to try new ideas.