Twin Outboard X-series Cat

Intlwaters

Help Support Intlwaters:

This site may earn a commission from merchant affiliate links, including eBay, Amazon, and others.
Hi Hendrik

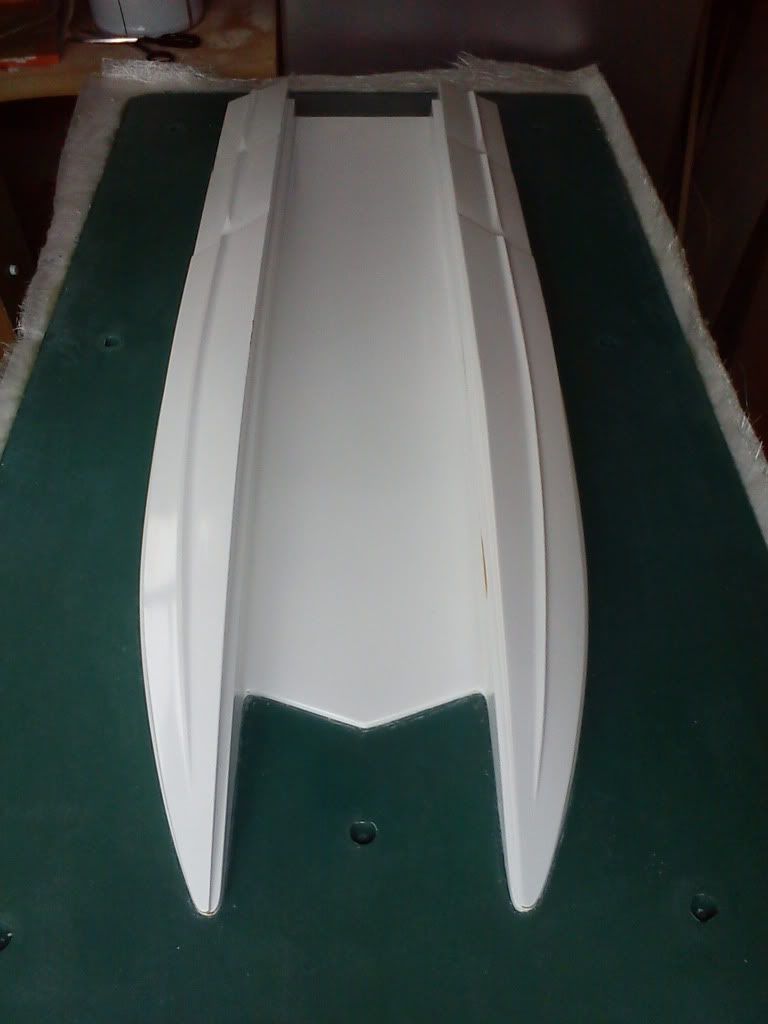
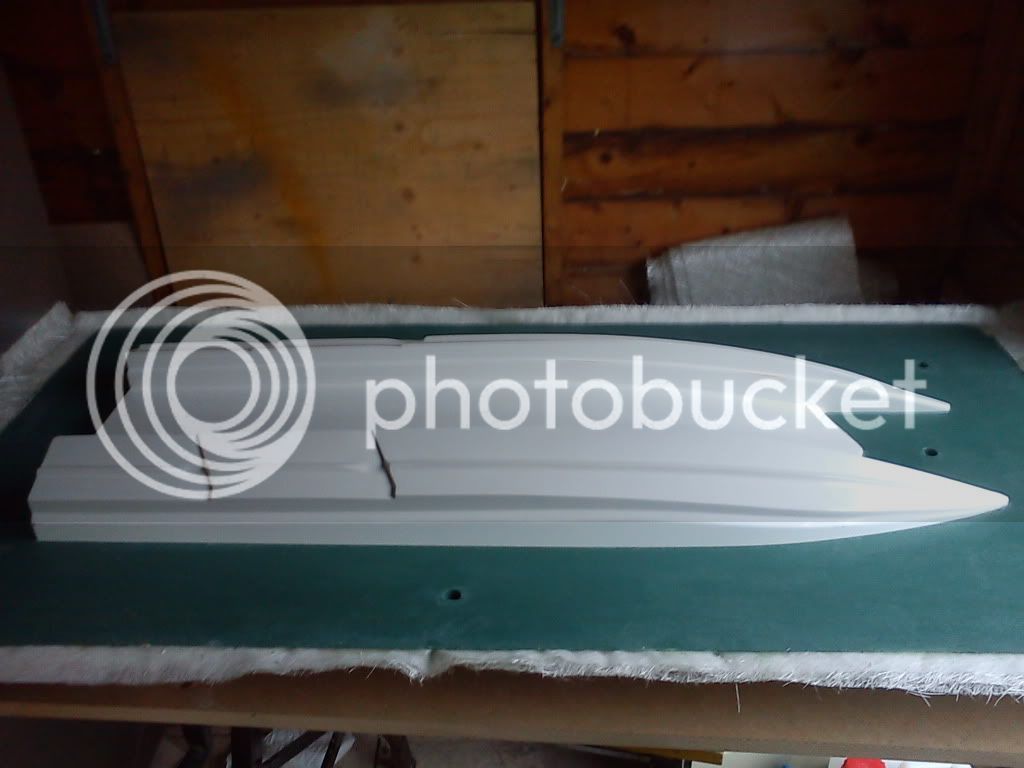
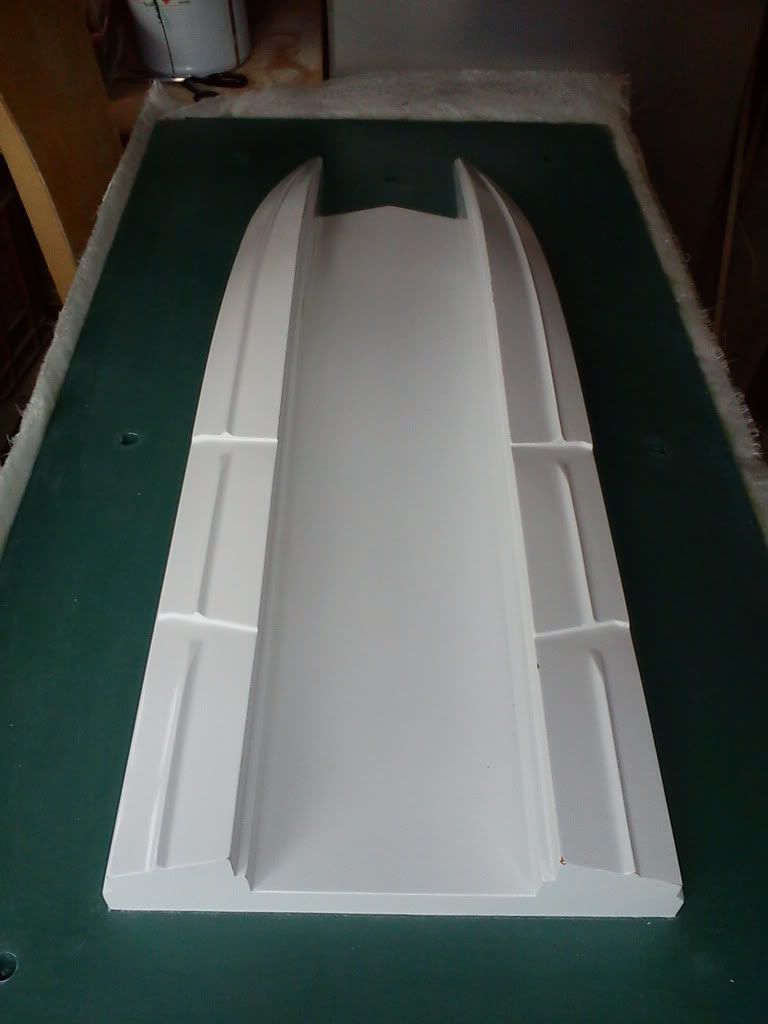
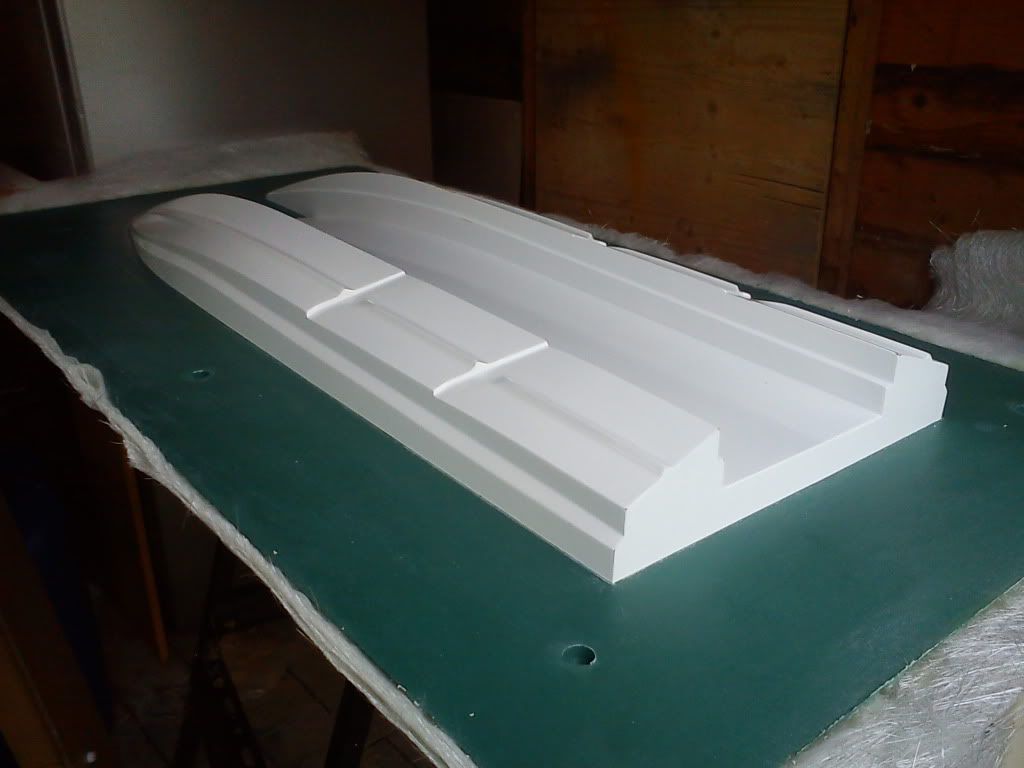
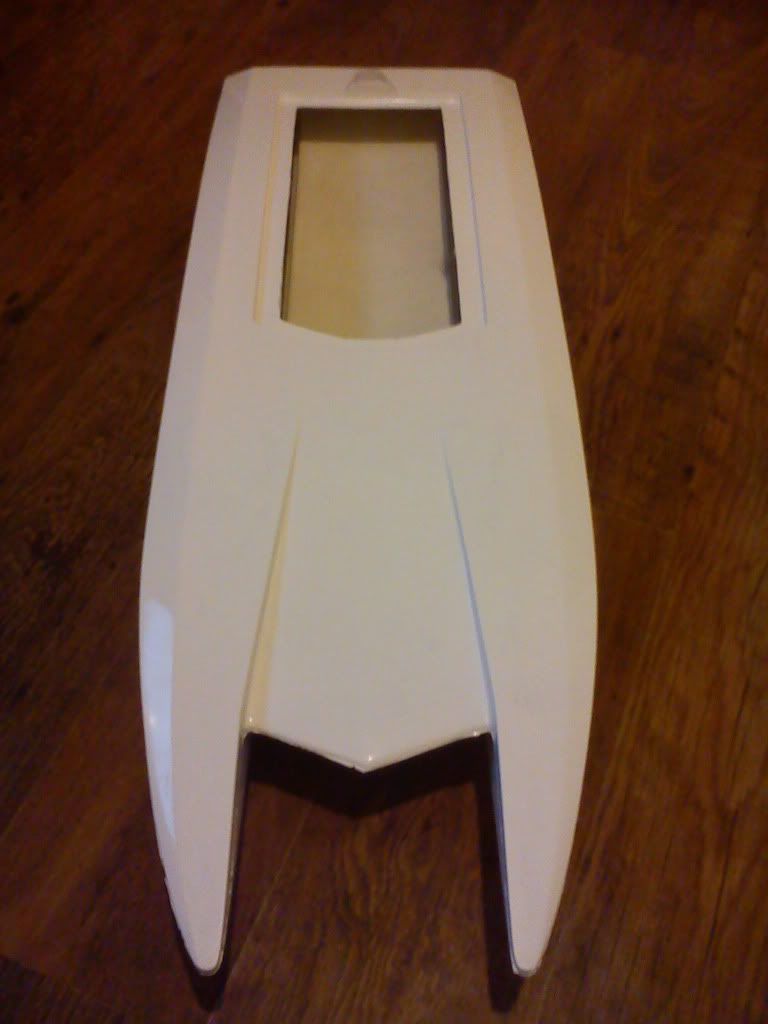
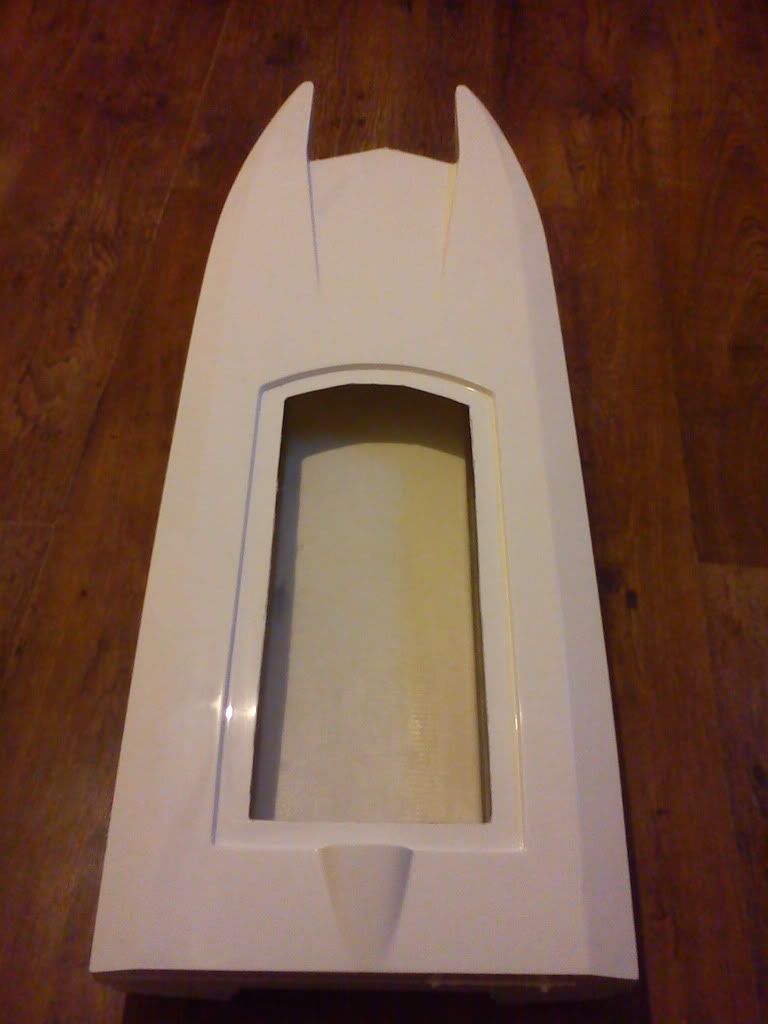
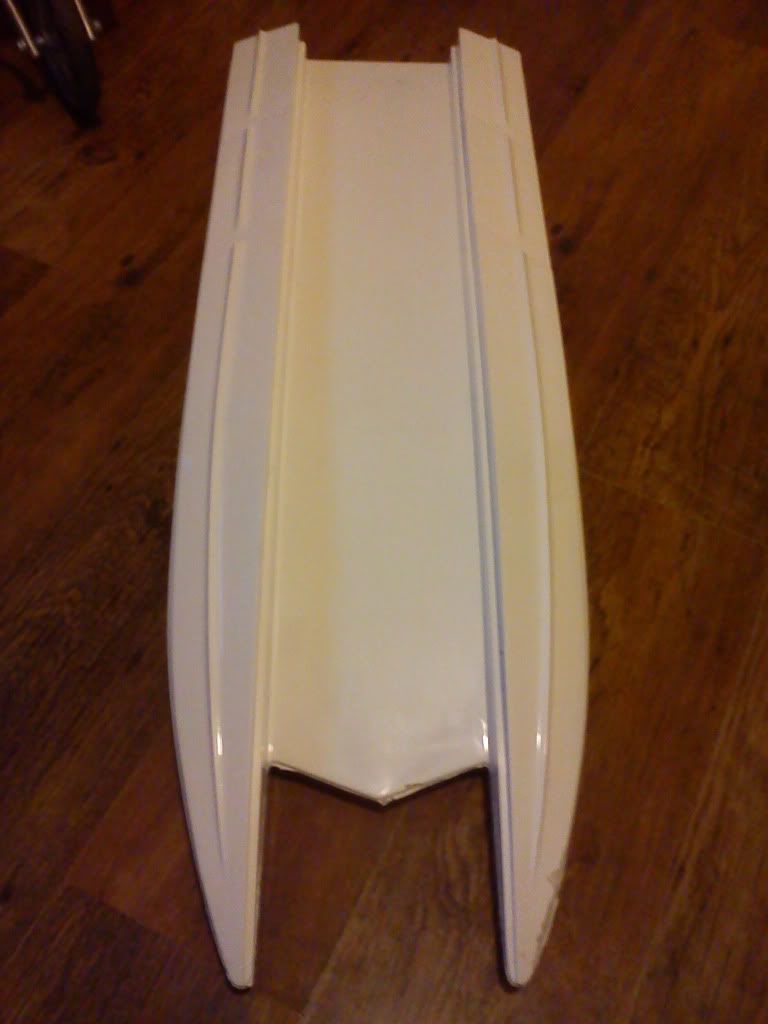
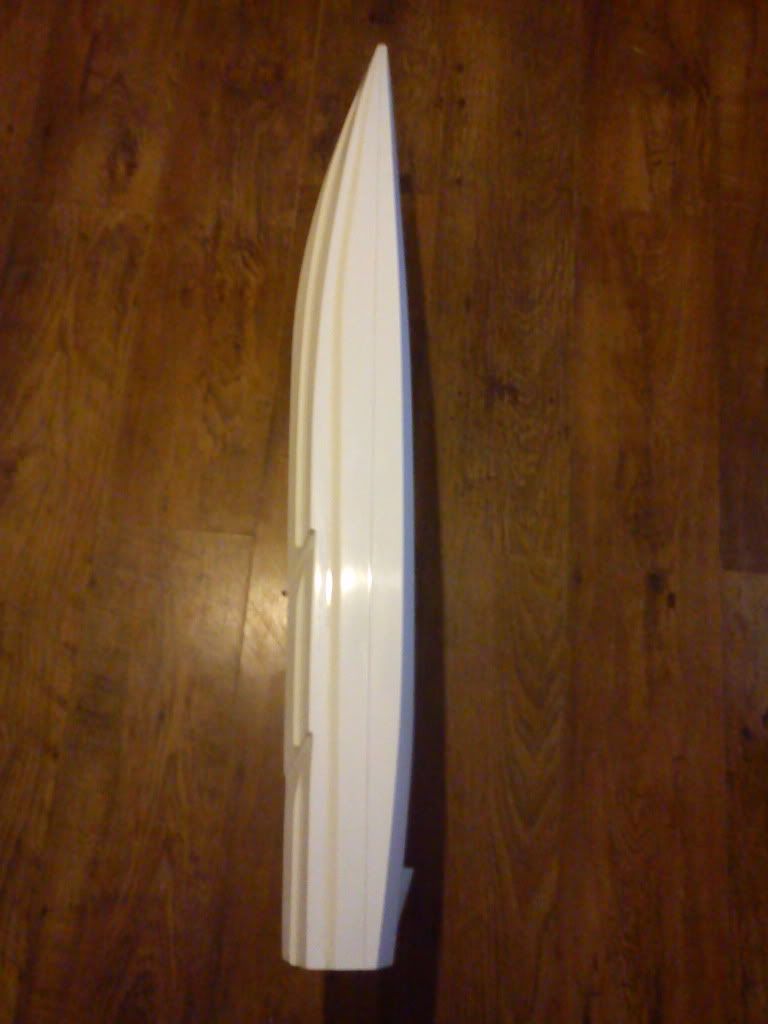
its getting there now

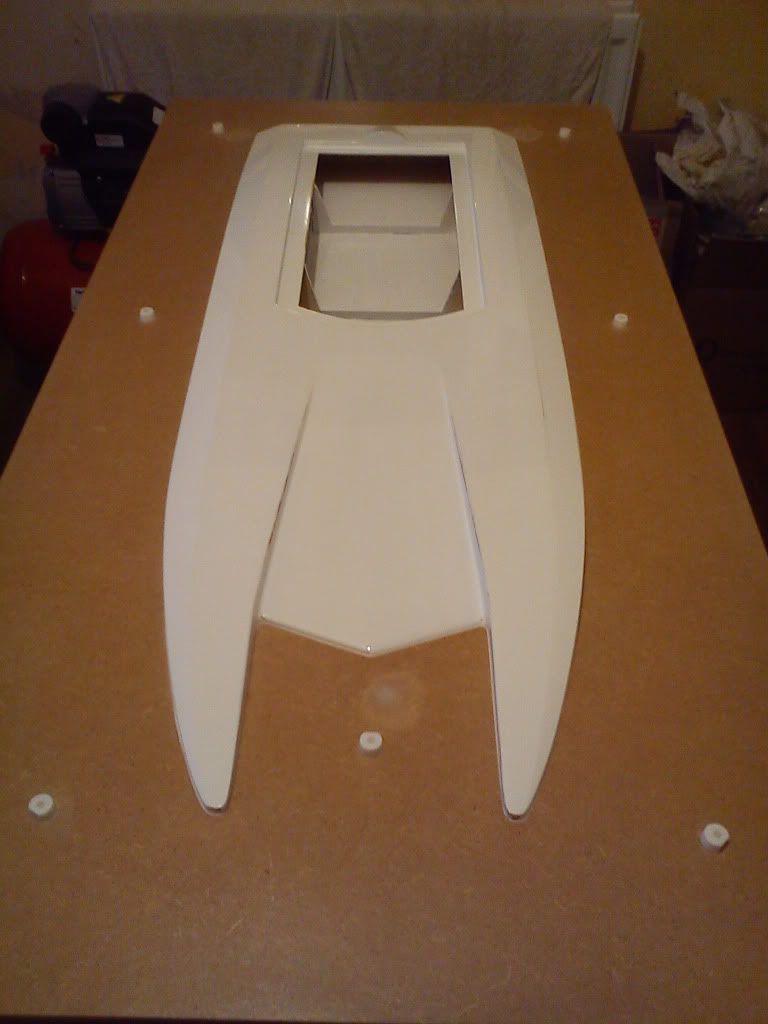
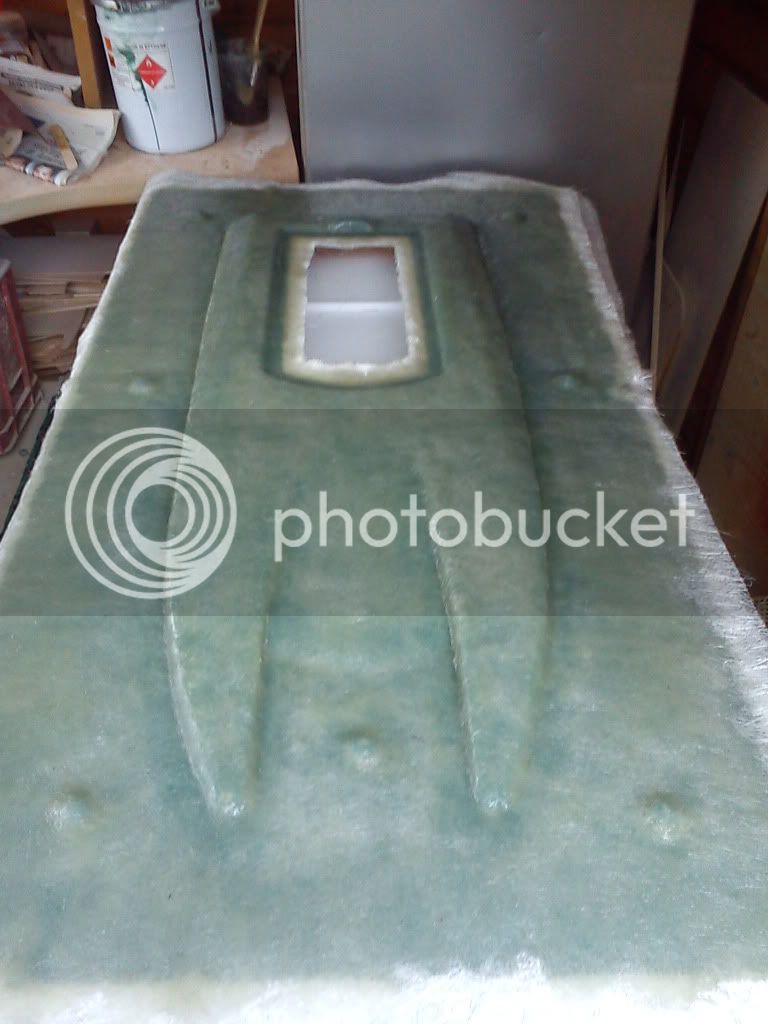
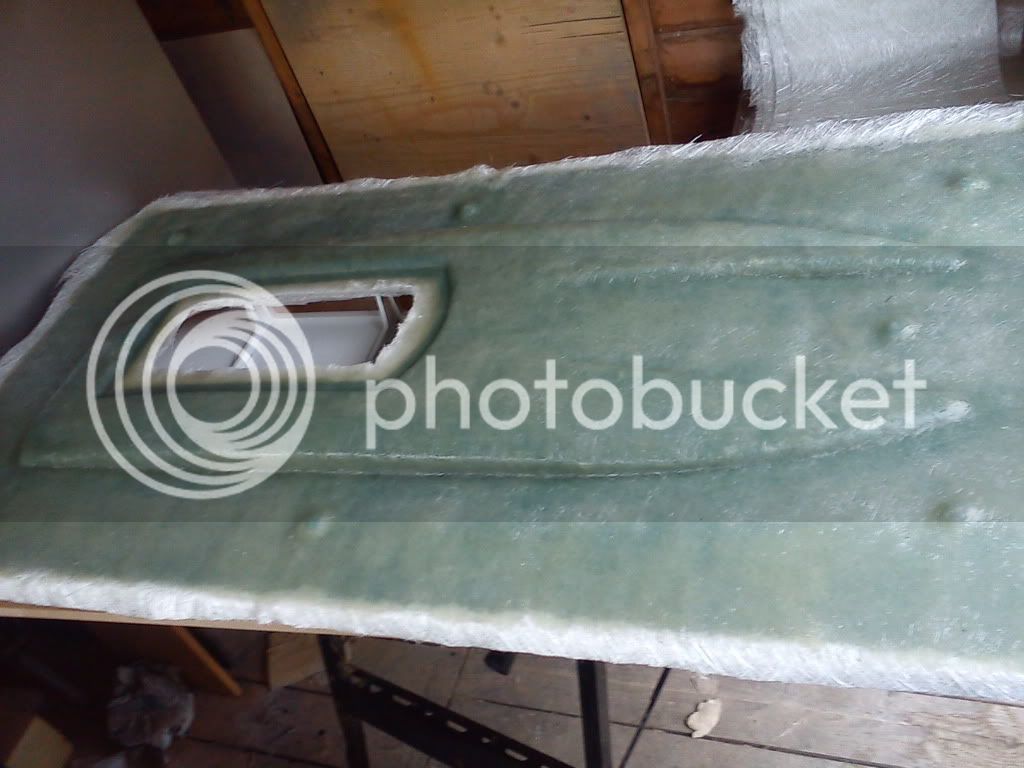
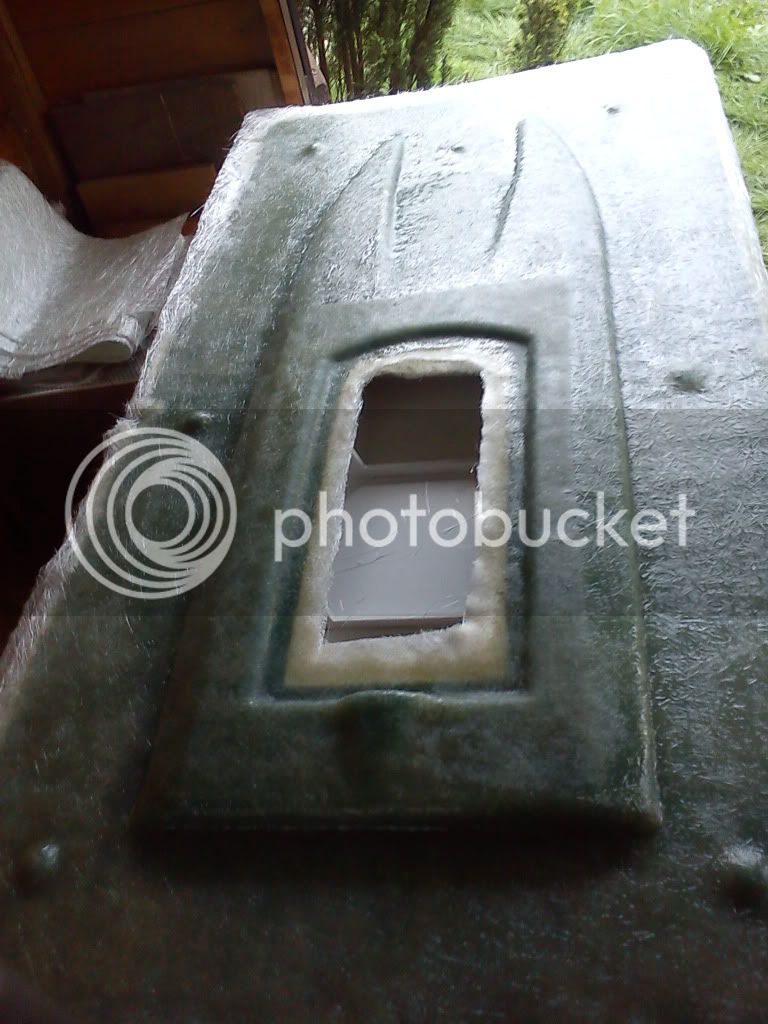
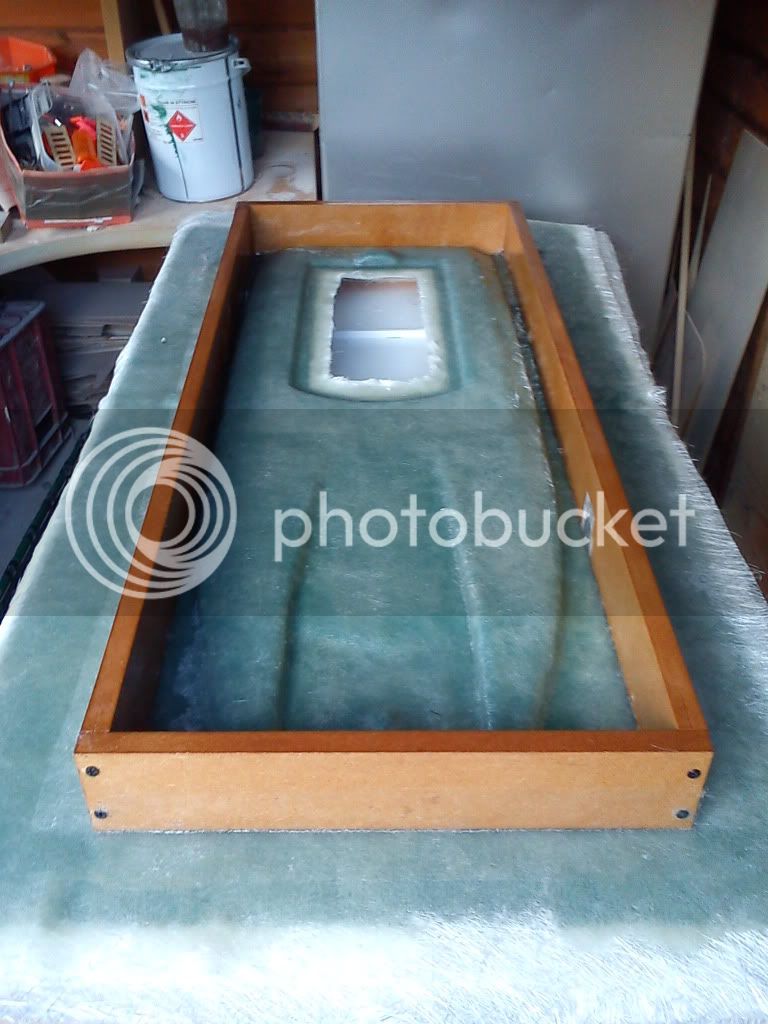
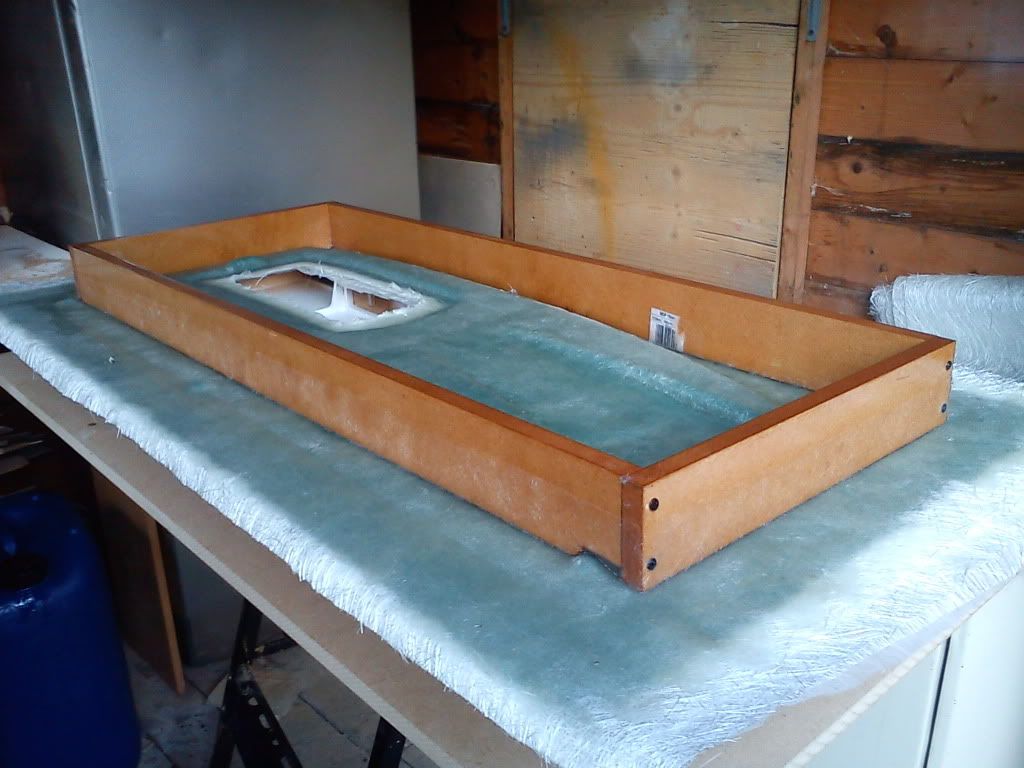
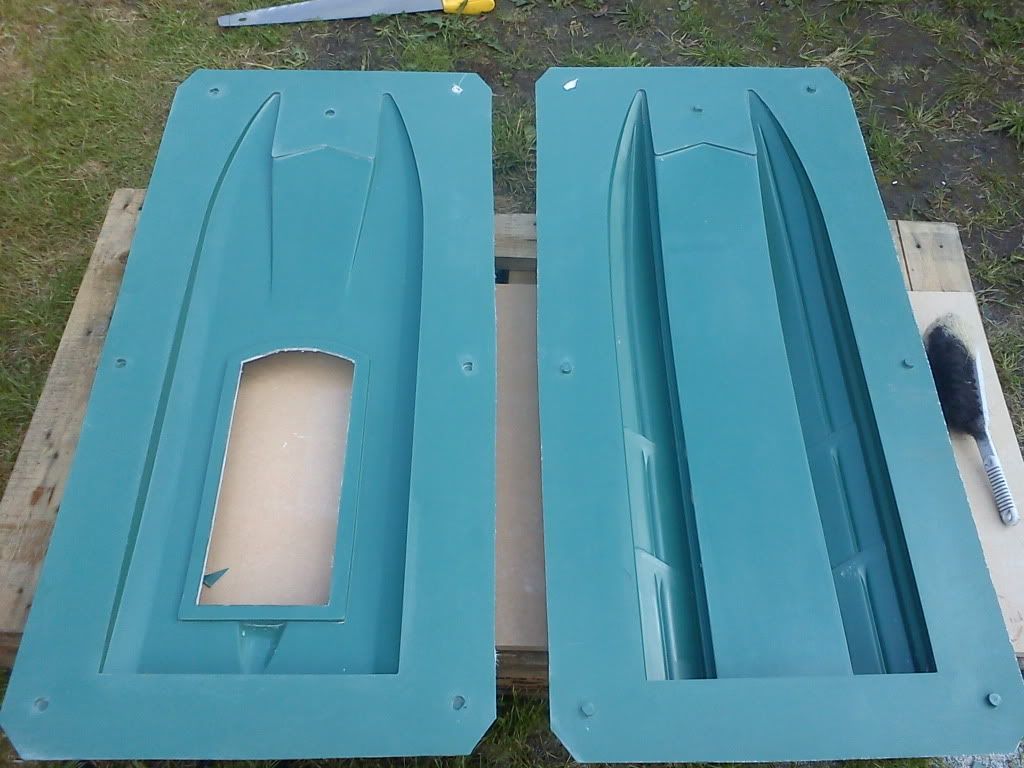
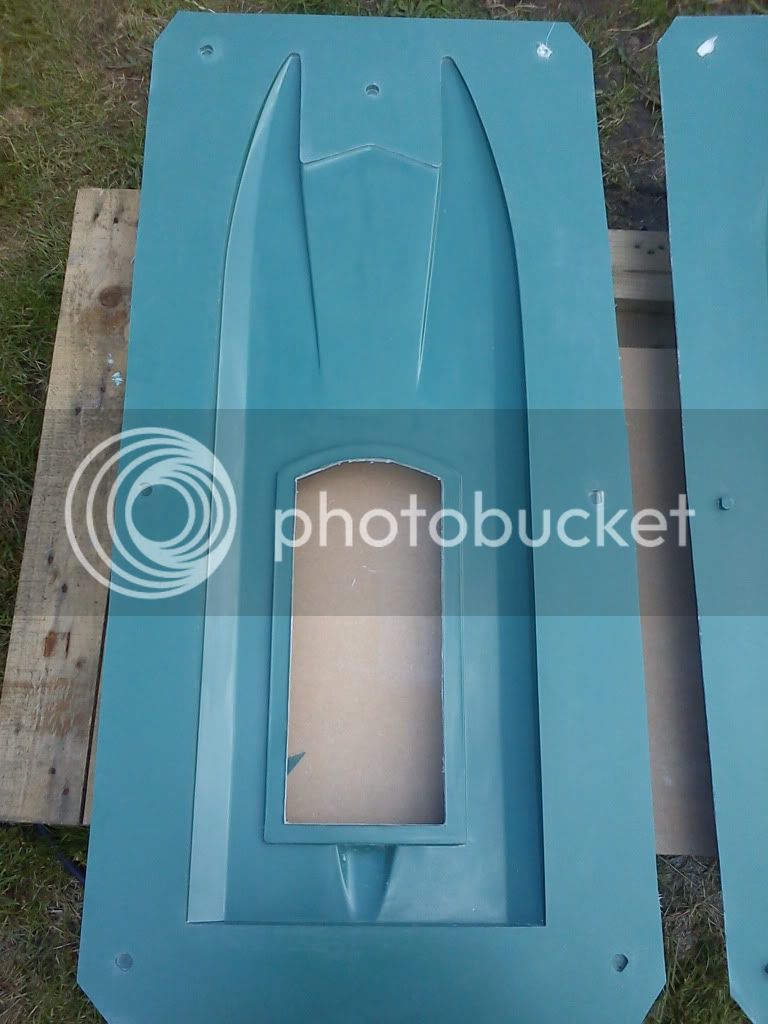
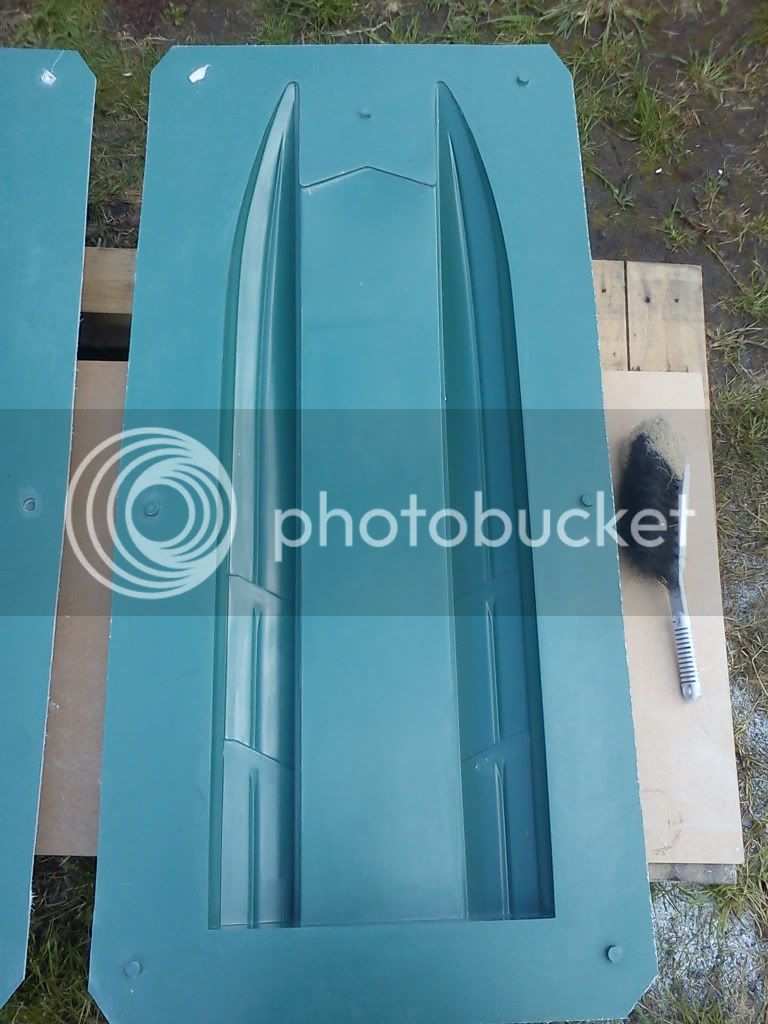
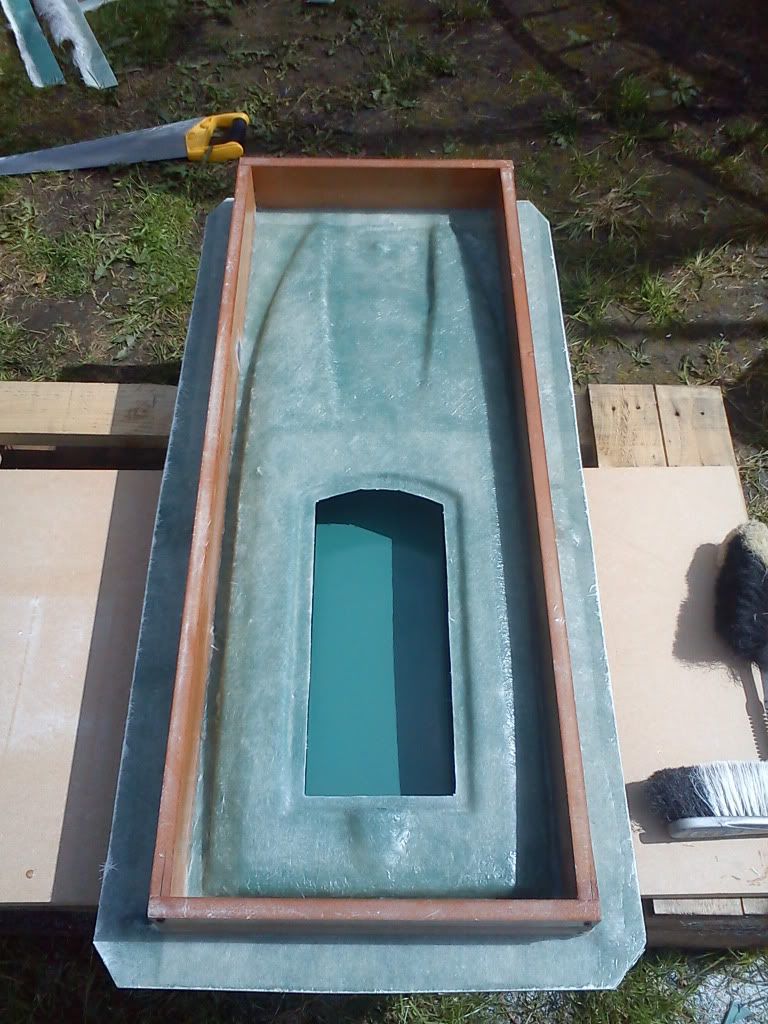
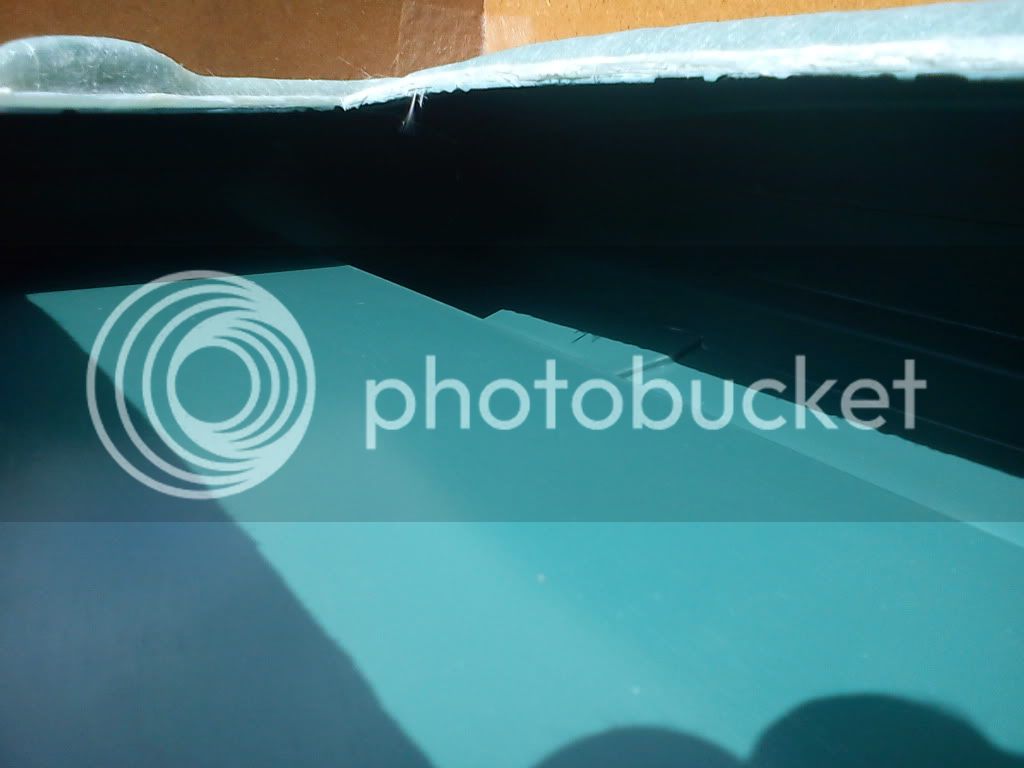
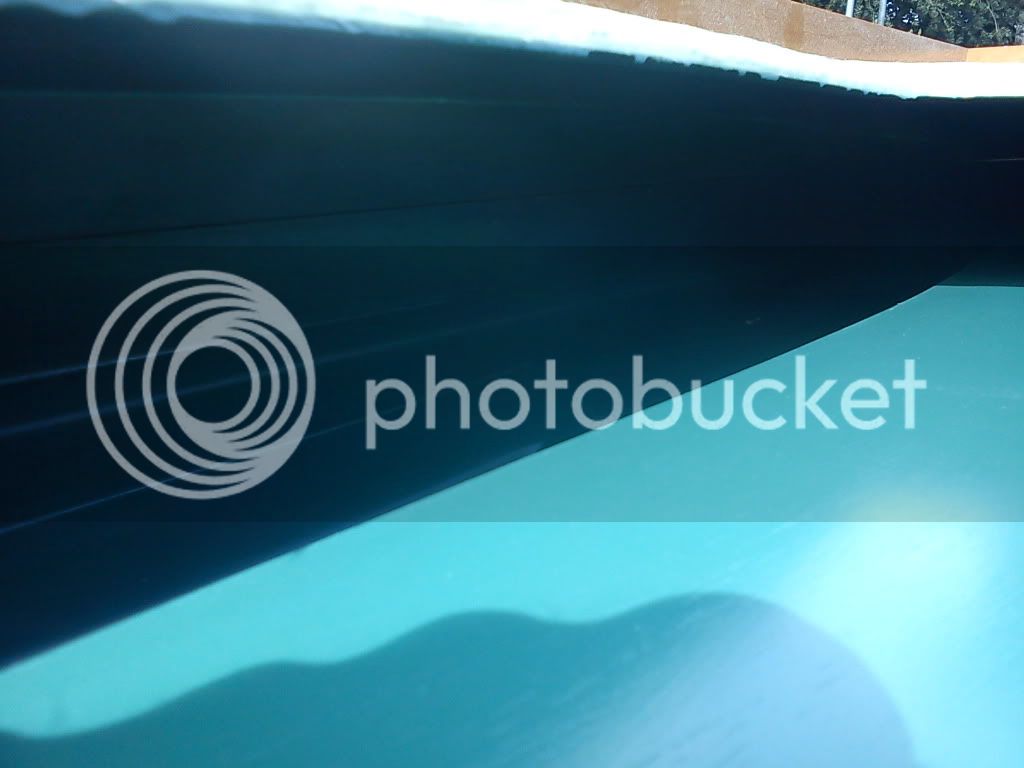
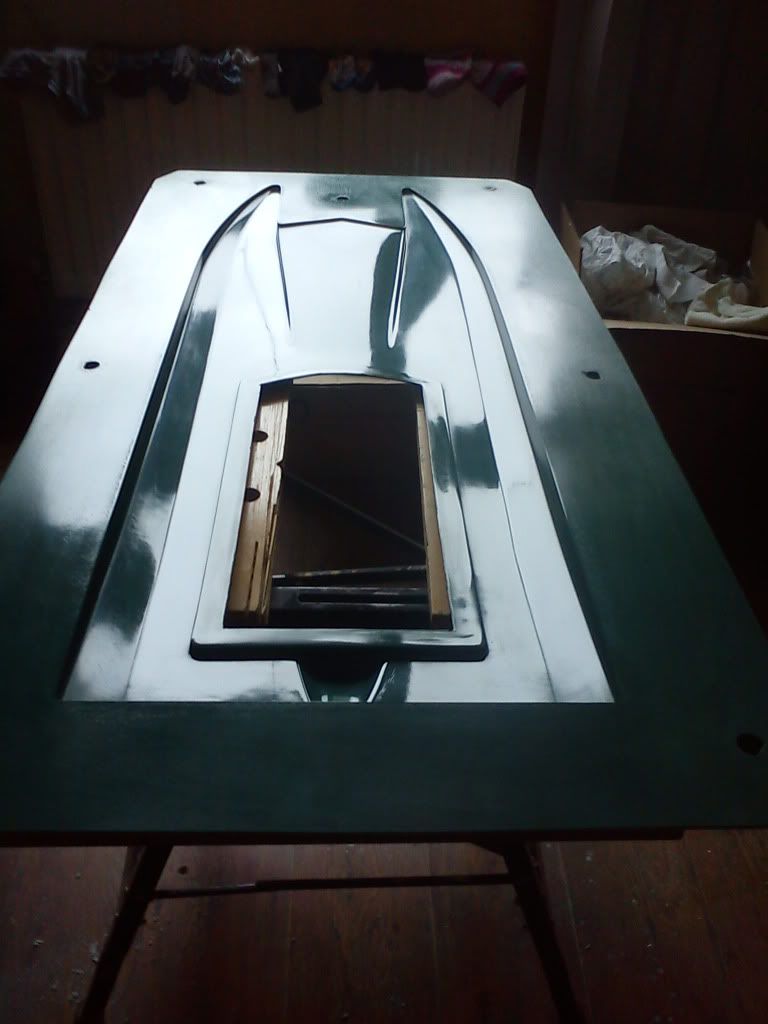
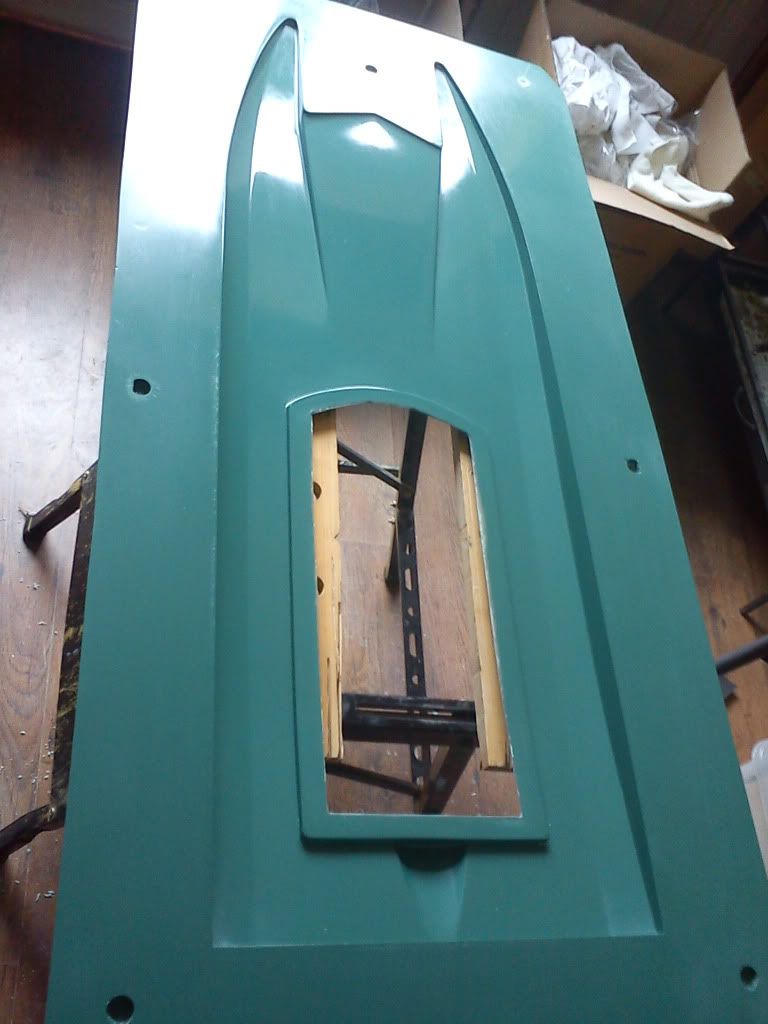
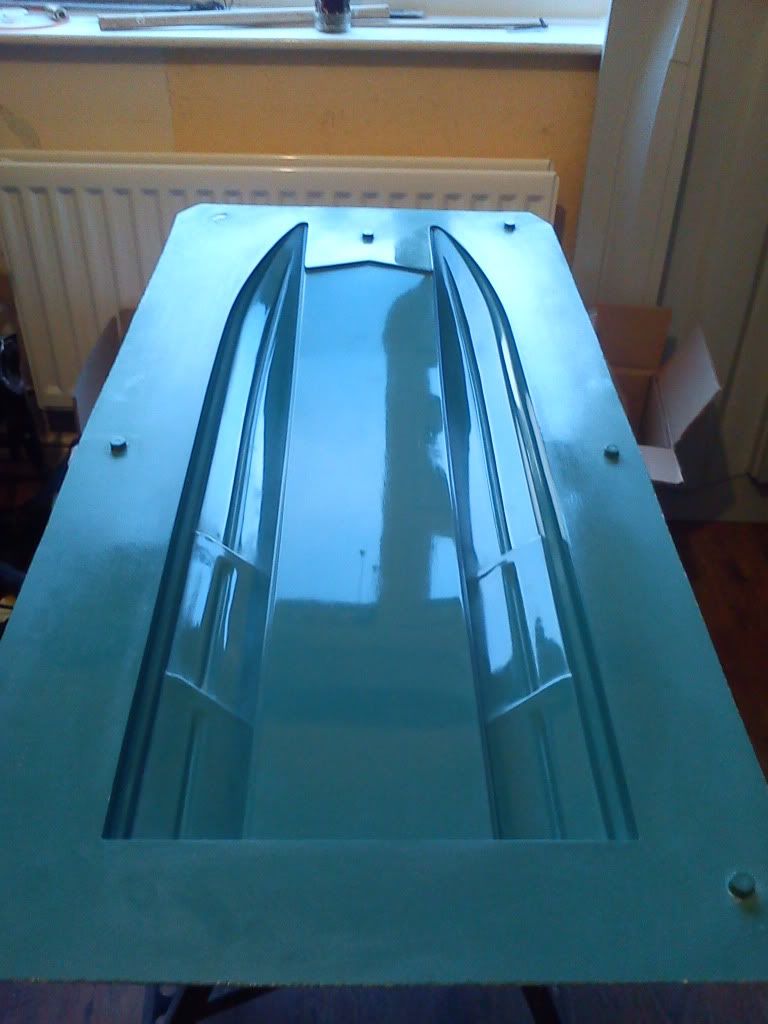
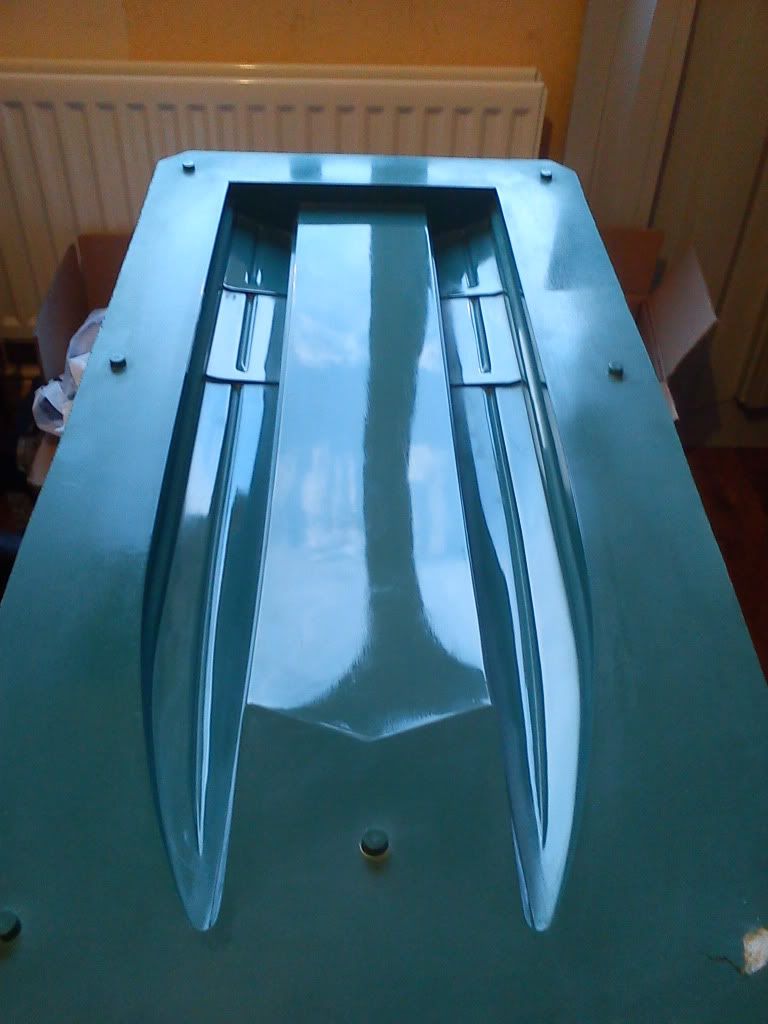
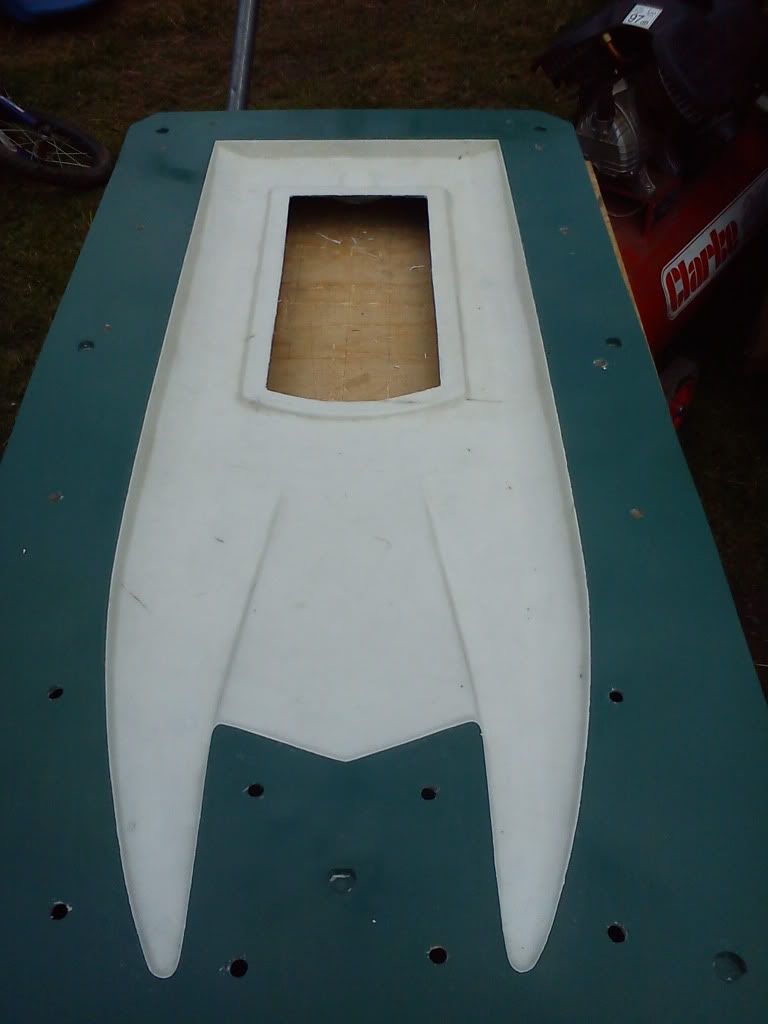
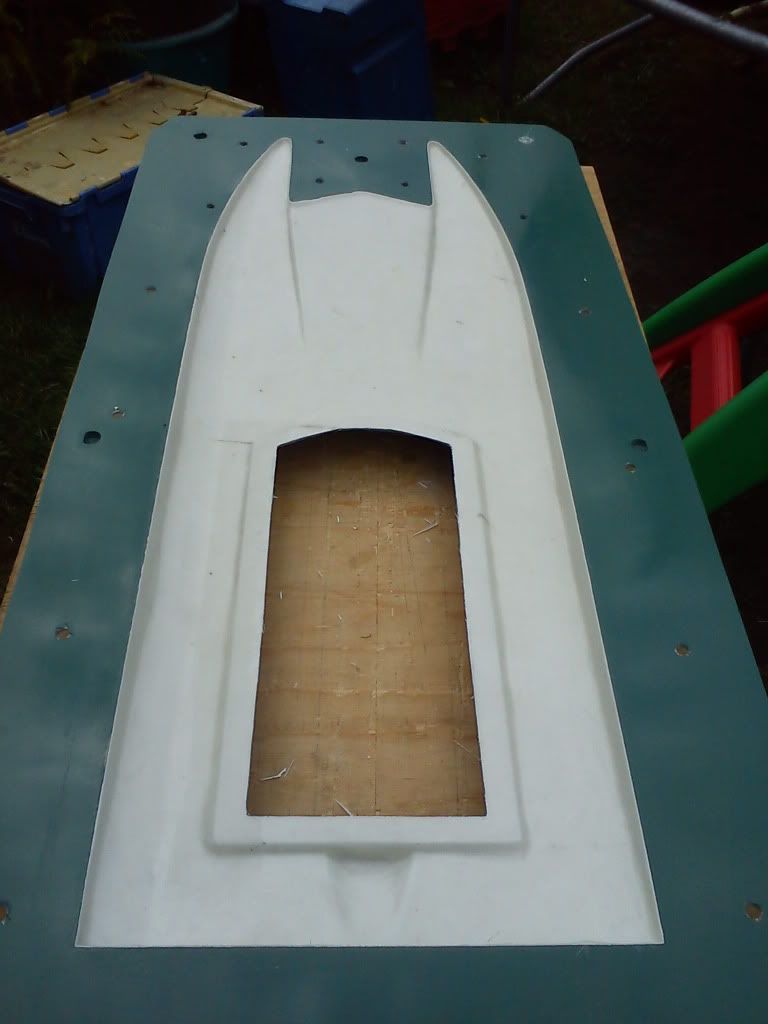
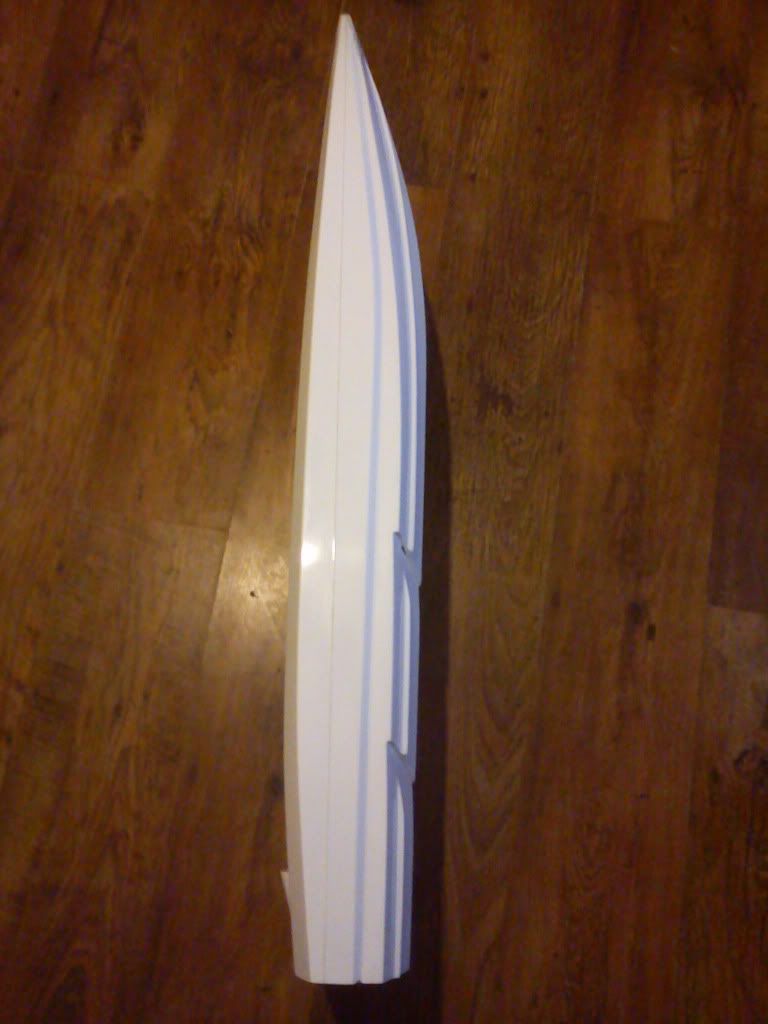
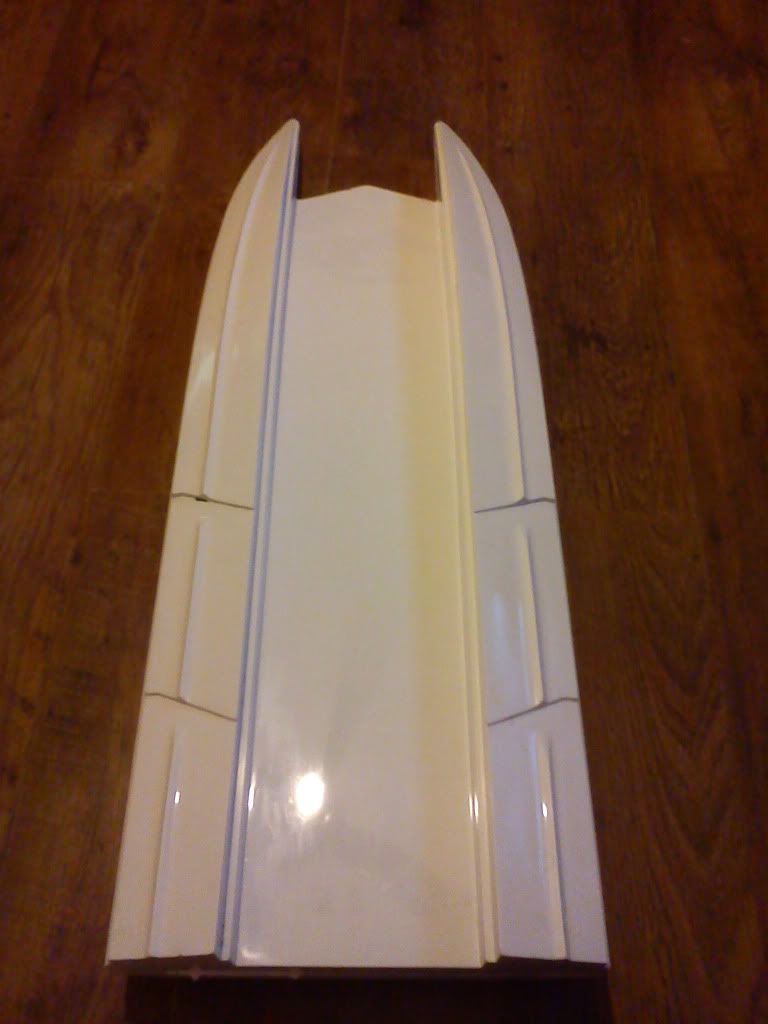
Im already done it iv added 8 small humps made out of plasticine around the hull so these will aid lining up,im hoping to finish waxing it today ready for the gelcoat and 1st layup
 
like your work darren, i want ask you about your parting board , i can only assume your setting it up for resin infusion with the way it is.???

the only thing i would have done is made the cowl recess with a piece of board for the full area of it to make it easy when you lay up if you not bagging the boats,plus making the mold more ridged for working. hope you dont mind me saying.
 
Hi Wayne

I am planning resin infusion at a later date once i have the funds for tools required (hopefully very soon) ,but iv made the parting board this way ready so i dont have to do it again at later date

I did think about doing the the hatch opening covered but i plan on joining the hulls together while in the molds as iv added some locaters round the parting board now (i did forget to do them LOL)

so left it open so i can gain access inside to sort the join but the made the flange round the inside wider so i can trim it back from the hull itself,if that makes sense haha

Its my 1st time moulding so trying to plan ahead to make it easier

When i do come to vac bagging i can close the opening no problem without damaging or disturbing the moulds

Just hope it works out,but appreciate any input or advice

Thanks Daz
 
Iv added the locating pegs round the parting board and its now had 8 coats of releasing wax

Tomorrow will do PVA release 1st thing in the morning and hopefully start the mould process

DSC02051.jpg
 
Let me know when your ready to have one tested in the US with twin .21's - :p :p B)

I would clear some room to fund that project for sure.........

Looking good Darren- thanks for sharing, keep us posted ;)

Andy
 
Last edited by a moderator:
Hi Andy LOL

The 1st 6 gone bud thats without mine LOL

Ill keep you posted ,still along way to go yet

Me and friend was on about throwing a single Leopard 4092,1600kv on 6s in the 1st just to try it for starters

Iv only got 1 OB so far but all my funds are tied up in materials for the builds but should give an indication of how it runs ;)
 
More progress made today

Finished shaping and sanding the cowls,cut them in half,mounted them on a piece of board and added a layer of glass cloth over them and sealed them

will add a coating tomorrow

DSC02052.jpg


Coated the hatch once fully cured ill wetsand and polish up ready for moulding

DSC02055.jpg
 
Hi guys

Been a long day but the top is now moulded,i shall leave it to cure now and remove from the parting board (leaving the hull inside the top mould) so i can clean and wax the bottom half to mould it then leave it for another week or so

Looks good for 1st attempt at moulding,just hope it comes out OK

DSC02057.jpg


DSC02058.jpg


DSC02059.jpg
 
Got back from work abit earlier today so managed to do some more

I made up the box and mixed up some chopped strands with resin and placed it on the flange and added 3 layers of surface matting round the edge

This will keep the mold taught and reduce the flexing,also make it easier to work and lay up inside the the mould with out rocking and moving around

DSC02065.jpg


DSC02066.jpg


will leave now till sunday to cure before removing from the parting board and prep the bottom ready for moulding
 
Cheers Henk

im trying LOL,its 1 big learning process and me being me put 100% into it just hope its enough and comes out OK
 
Removed from the parting board,actually released very easy but has come out good so far so im pretty happy with it

Next job is to start cleaning,trimming polishing and getting it ready to mould the bottom half

DSC02067.jpg


DSC02068.jpg


DSC02069.jpg


DSC02070.jpg
 
Good news,managed to split the moulds today and came out pretty well,gonna need abit of wet flatting and polishing but looks ok so far,only problems i did have was some minor damage to the plug/wooden hull and 1 of the locating tabs didnt release and broke but thats no problem

Done some trimming to tidy everything up will finish this off now and sand the edges to remove any sharp ends etc,then drill some holes round ready for some bolts,big washers and wing nuts for clamping down once the halves are ready to join the hull

But overall quite happy for 1st go at moulding 1 of my hulls

DSC02083.jpg


DSC02082.jpg


DSC02081.jpg


DSC02086.jpg


DSC02085.jpg


DSC02084.jpg
 
Update

wetsanded the moulded halfs working through the grades from 320-1200g and lots of polishing to a shine

All thats left to do now is a good clean down and start the coats of release wax ready for making the 1st moulded hull

DSC02087.jpg


DSC02088.jpg


DSC02097.jpg


DSC02098.jpg
 
Are the sponsons inner surface 90* to the tunnel floor? or do they angle outwards slightly? like 1 or 2 degrees. I was under the impression that you needed some cant angle to remove the piece from a mold when doing glass hulls. I could be wrong though.
 
ahh got cha now

there 90* to the tunnel floor,it released from the plug with not much trouble so should be fine

Im just starting the release wax now and hoping to lay up the 1st hull tomorrow to break the moulds in,hopefully all goes well ;)
 
1st attempt at moulding 1 of my designs

Here we go bit the bullet and layed up the 1st topdeck and trimmed ready for experimental join

couple of brisltes and bloody wind blew some small particles into the lay up but this 1 is just practise to see how it goes and also break the moulds in

The lower is layed up just waiting for it to cure abit more before trimming the edges

Hopefully join the 2 halves either later today of tomorrow then leave in the moulds for a couple of days before seeing the 1st ever hull iv moulded

DSC02115.jpg


DSC02114.jpg
 
The 1st out the moulds

abit premature but its a practise 1 and a thin layup to break the moulds in but as you see it its straight out the moulds so not come out too bad at all

DSC02120.jpg


DSC02116.jpg


DSC02121.jpg


DSC02119.jpg


DSC02117.jpg


DSC02118.jpg
 
Back
Top