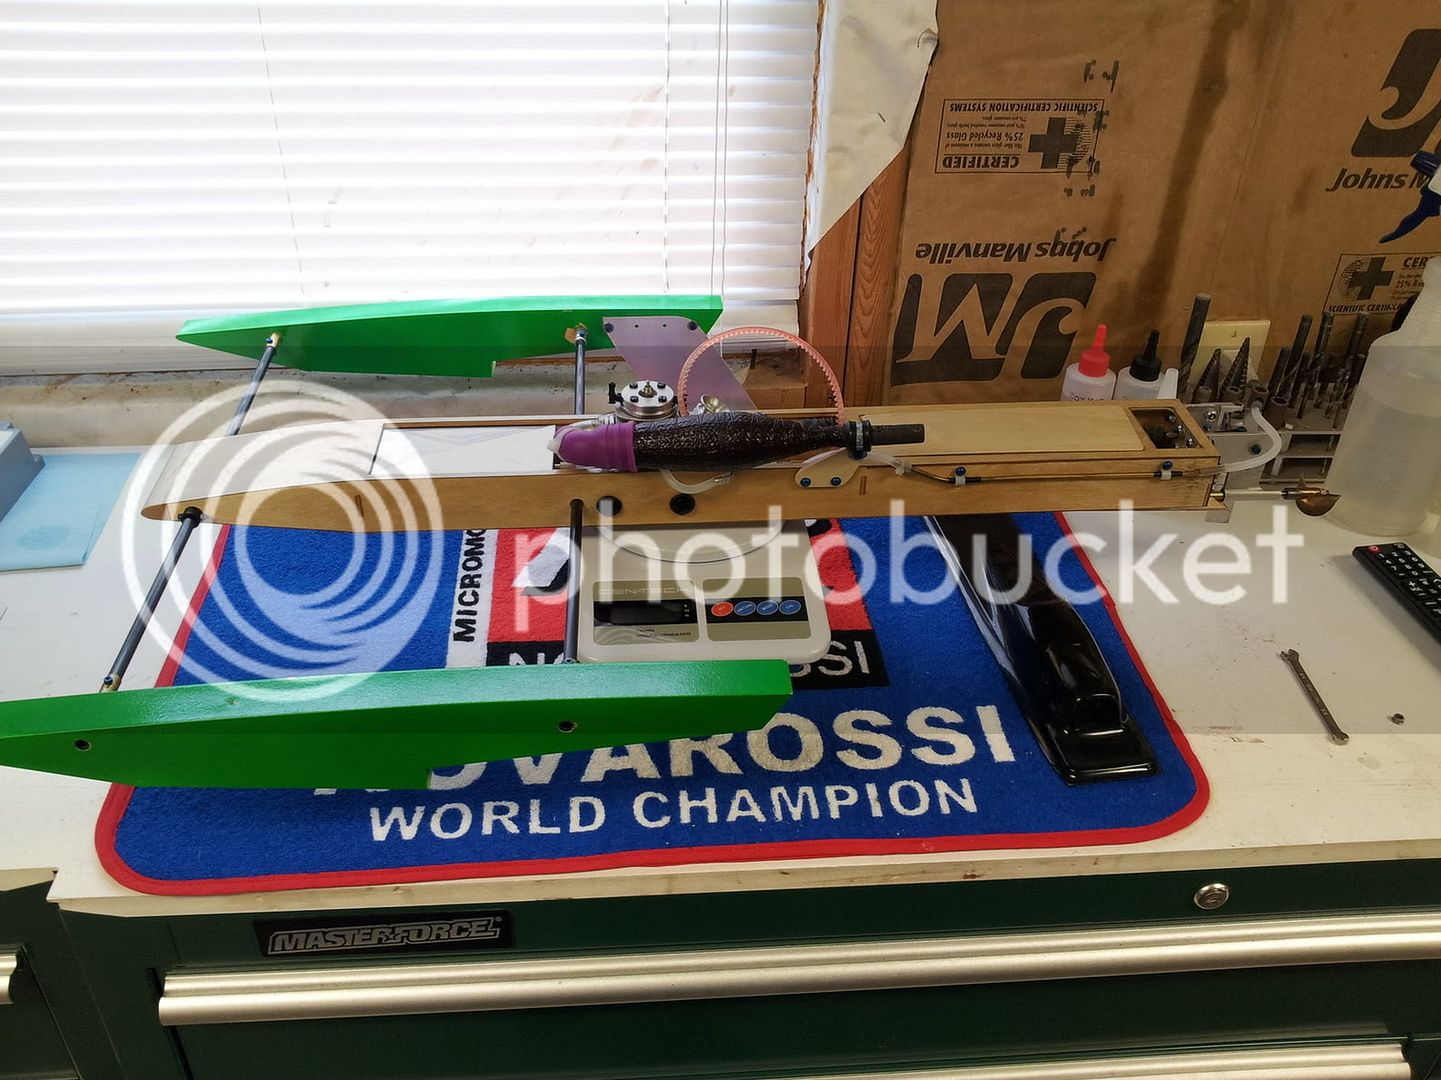
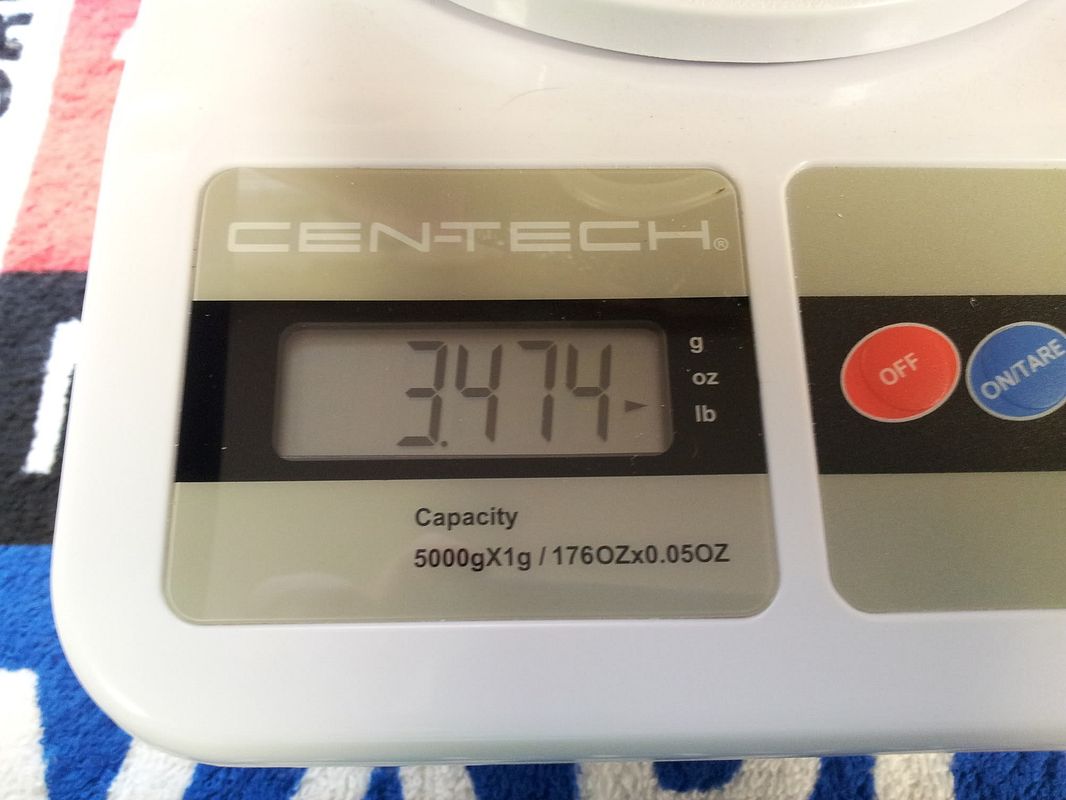
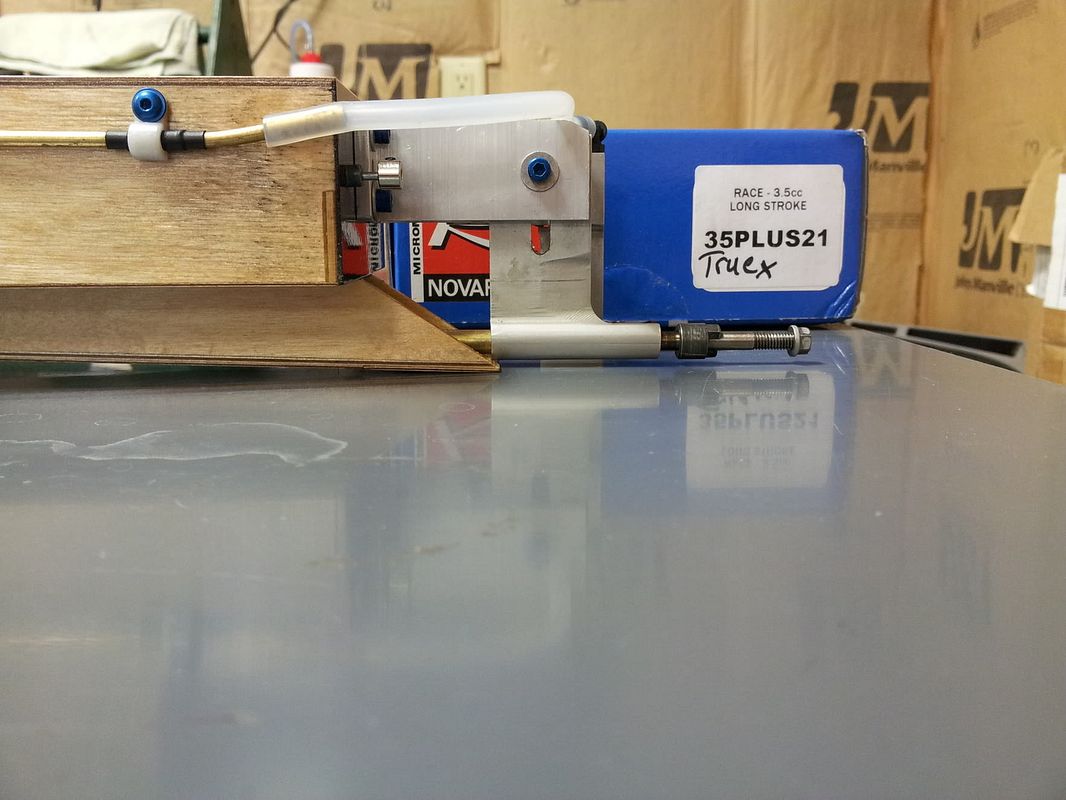
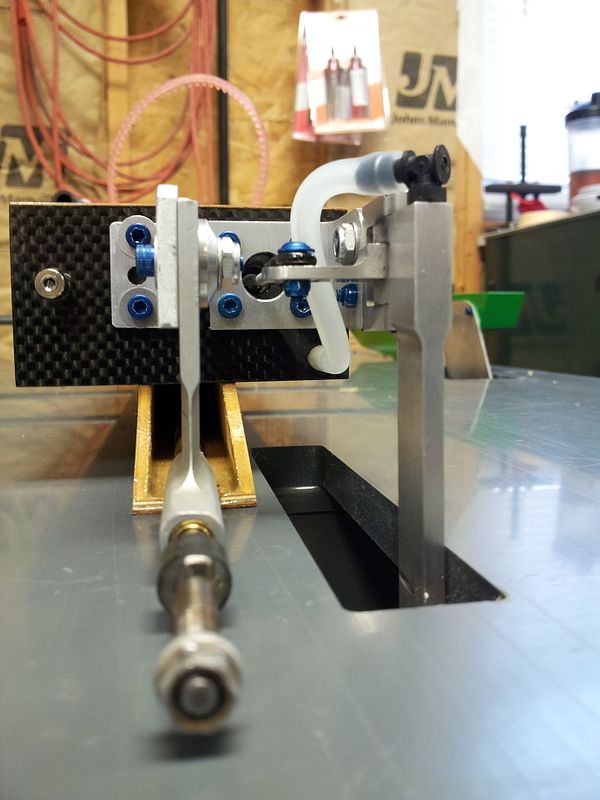
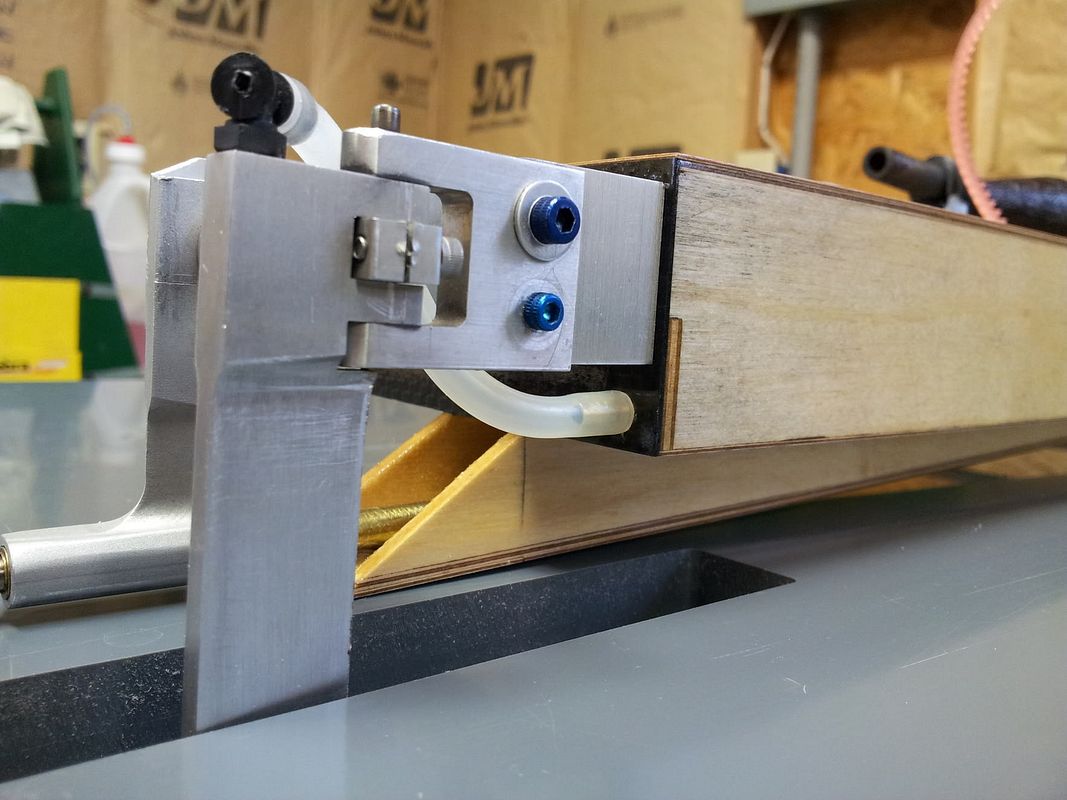
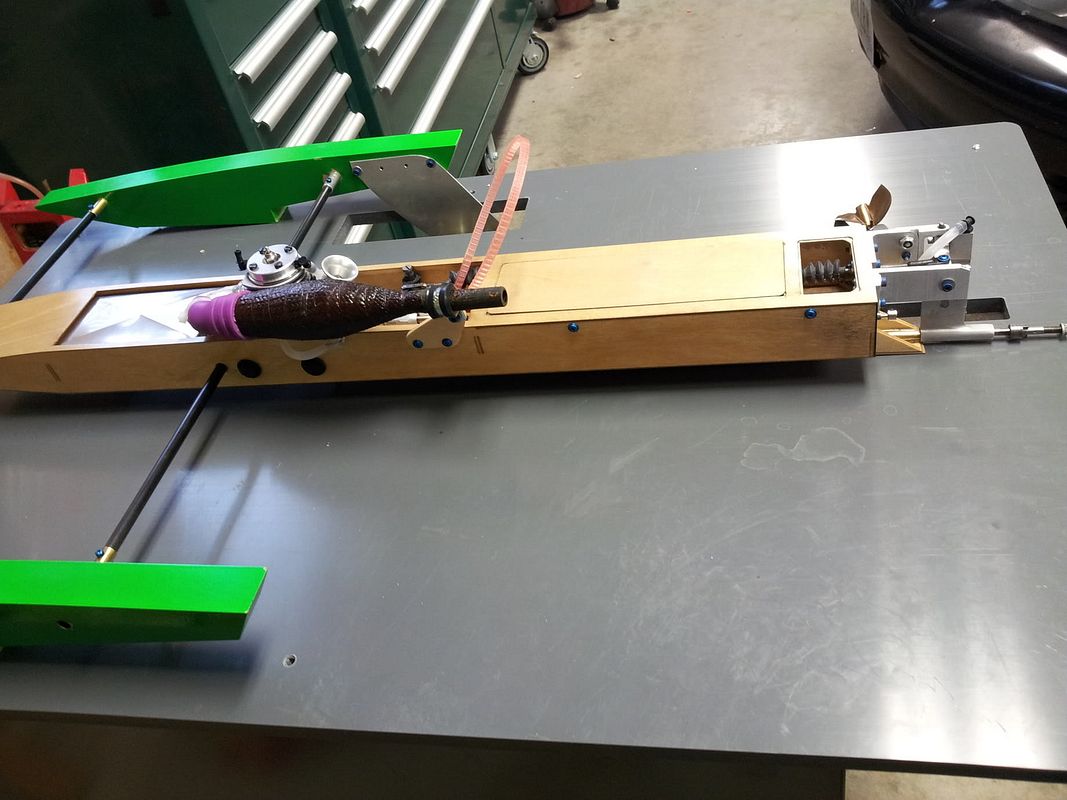
got mine cleared and put back together to take a final weight. Not bad! The weight is RTR minus fuel (cowl, lid, battery, prop, flex shaft, etc etc etc all included in that weight) The sponson fell off the hook when I was clearing it, and chipped it all to heck. But oh well, it wont win any awards for a nice paint job, but should move along pretty well
")