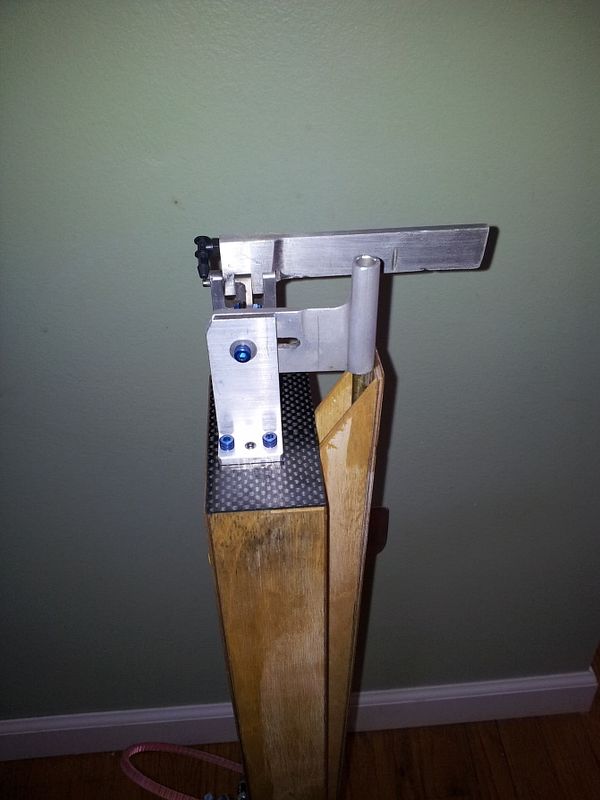
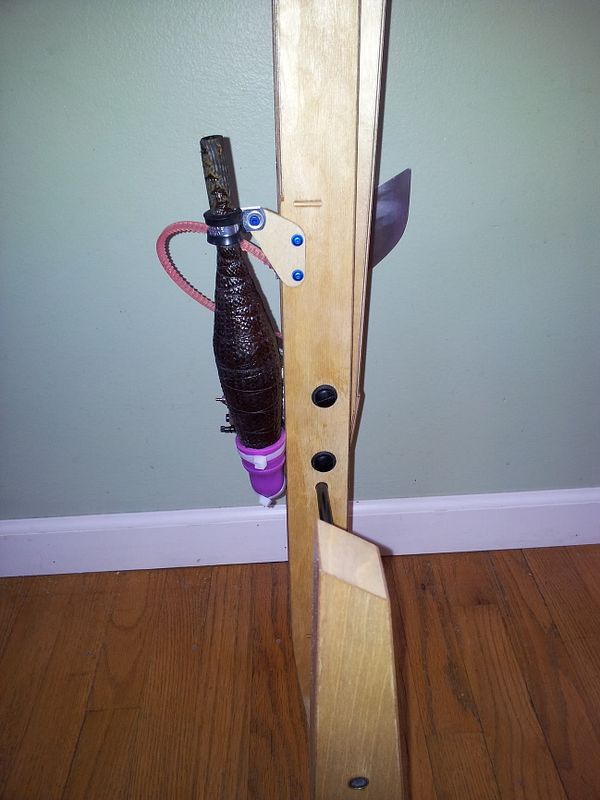
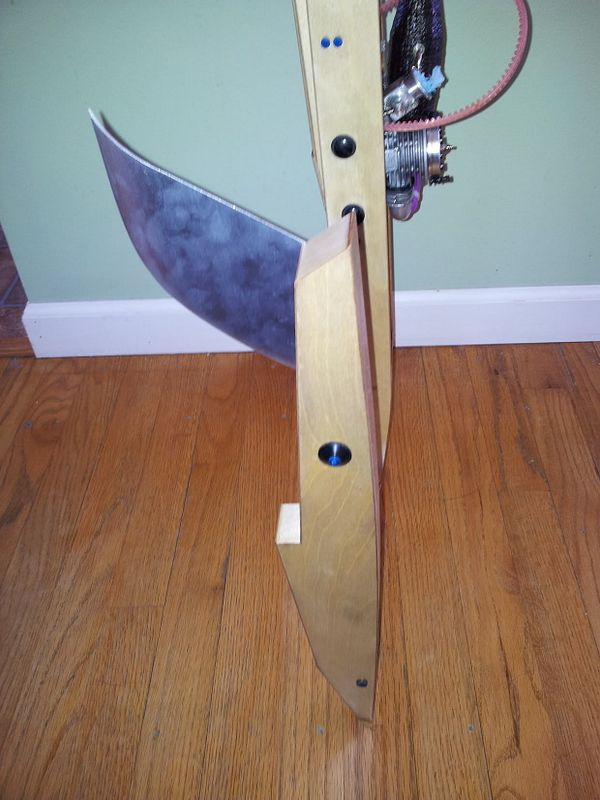
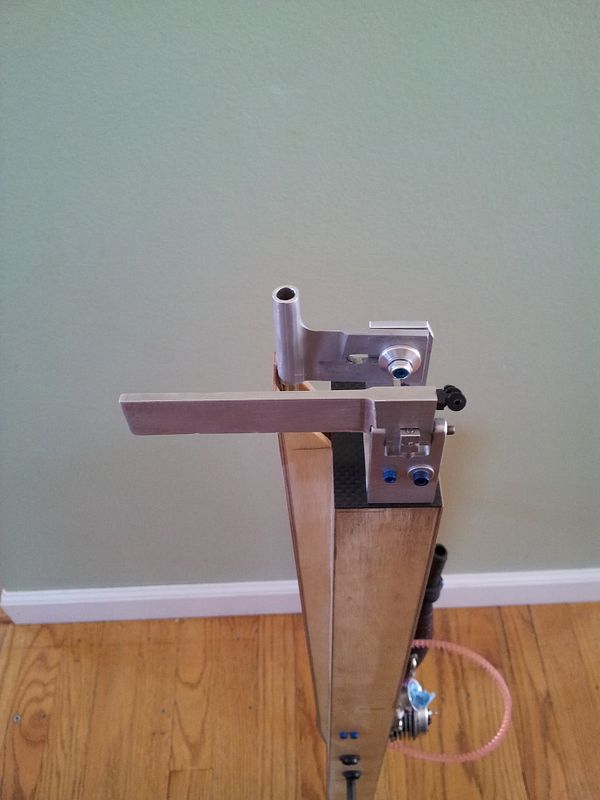
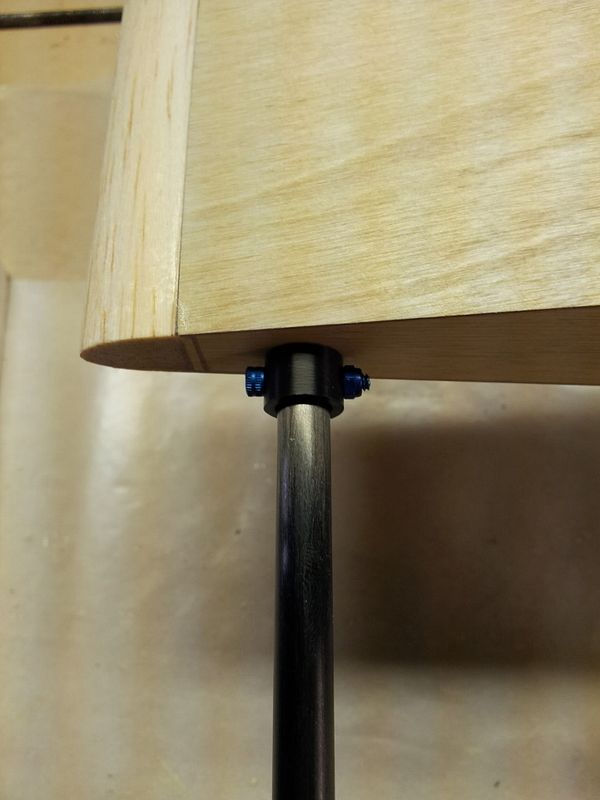
thomas, my spacer is 1/4". it (according to the instructions) should be 3/8" to get the zippkits strut at the back of the ski on my build. i set it where i did to match the transom to drive dog distance that kentley porter ran on one of his earlier jae style riggers. not sure if it was a k-zam or a true jae back then...... make the block out of something solid, aluminum or delrin maybe. my plywood block started crushing over time, even when plated with cf.