48" Xcat design and build

Intlwaters

Help Support Intlwaters:

This site may earn a commission from merchant affiliate links, including eBay, Amazon, and others.

Darren Elson

Well-Known Member
Joined
Mar 7, 2010
Messages
441
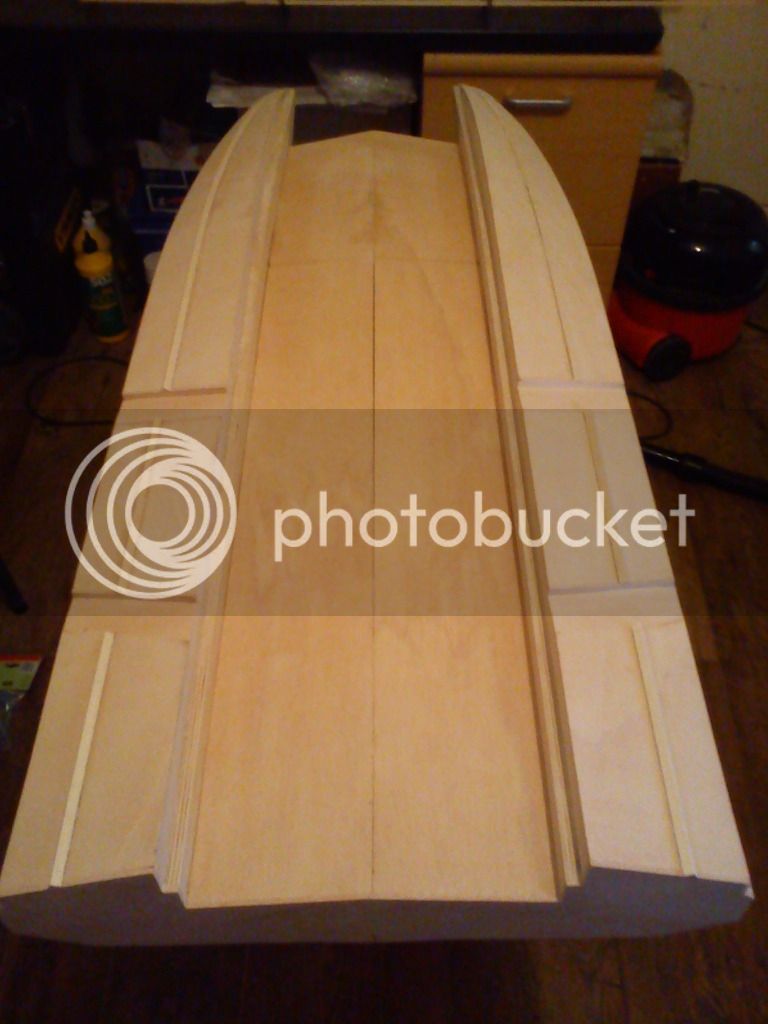
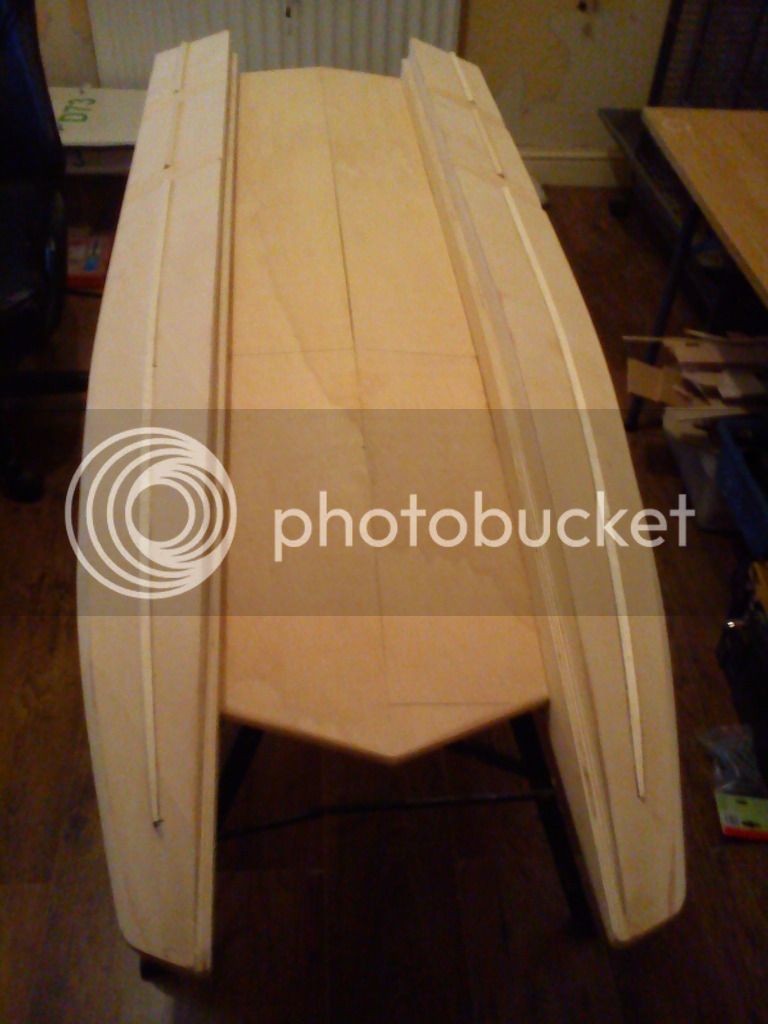
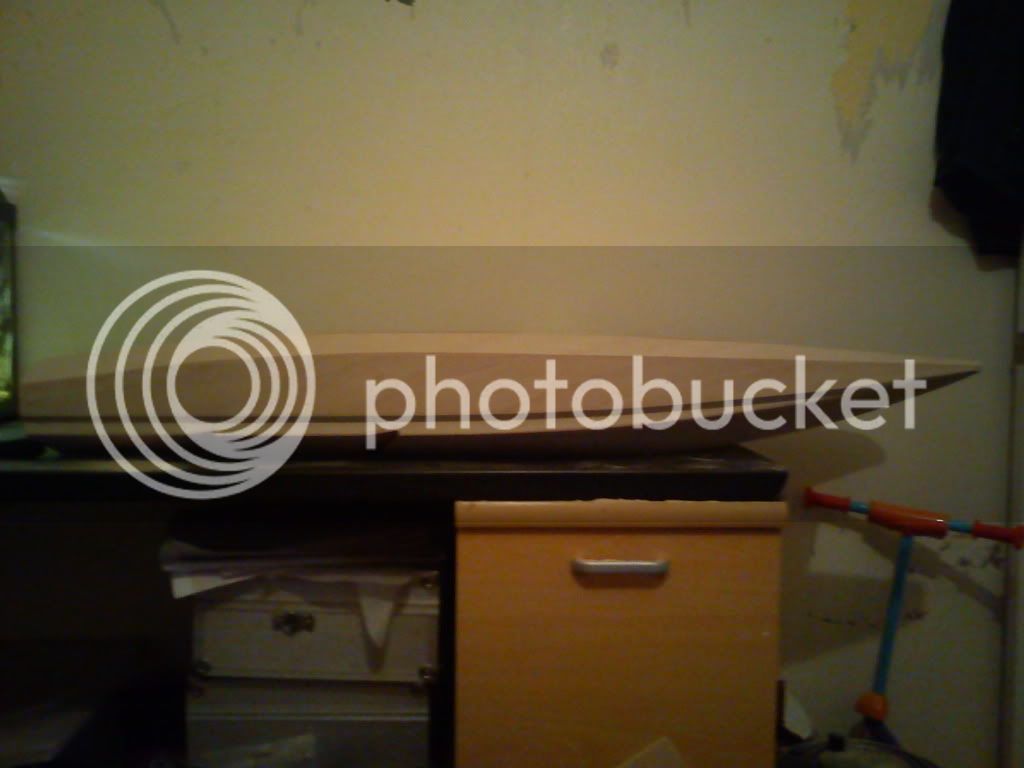
After designing and building the 38" Xcat for either nitro or eleccy and proving to run and handle with solid performance i thought id build a bigger brother to it for gas

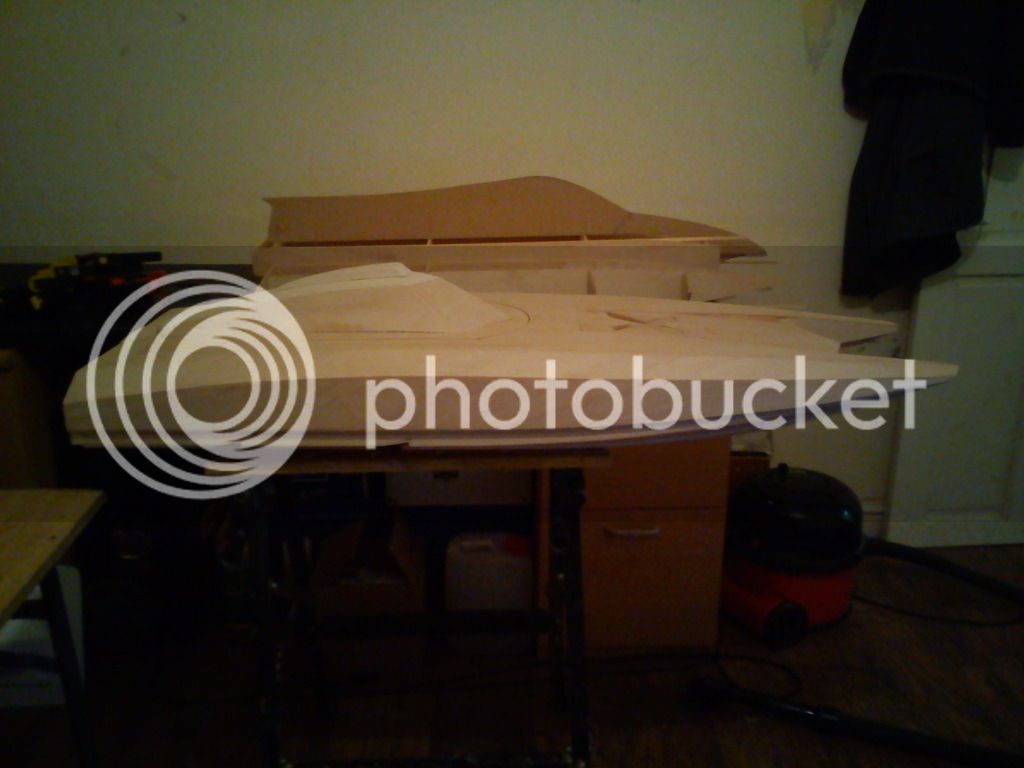
This is the original 38" version

DSC02224.jpg


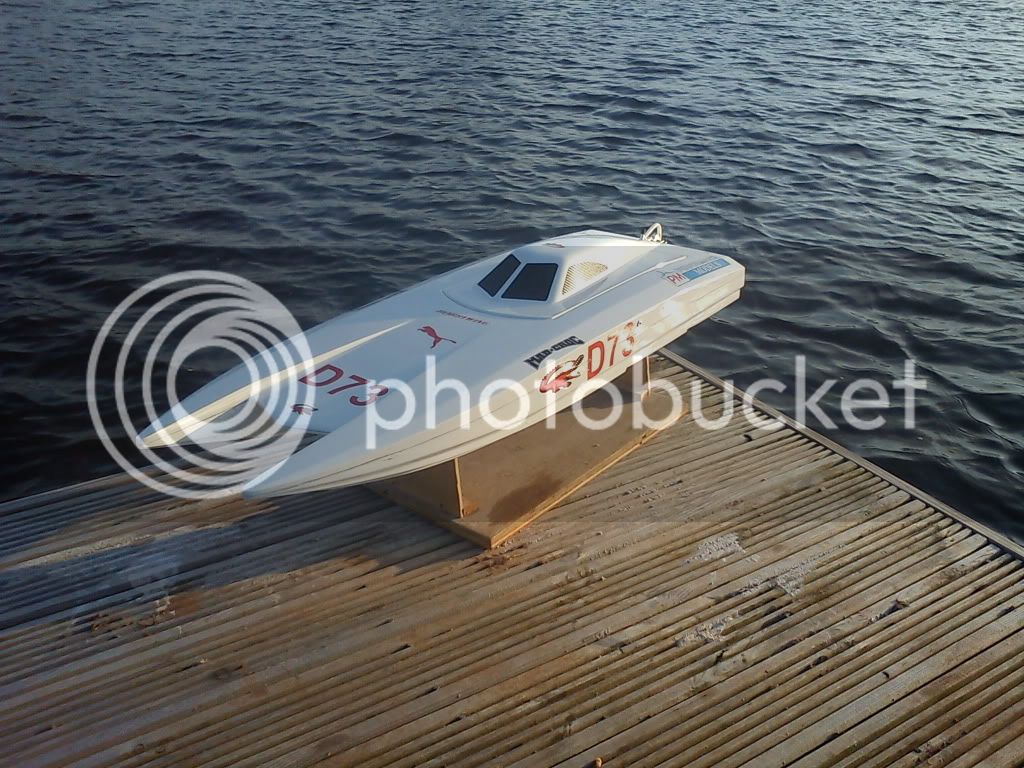
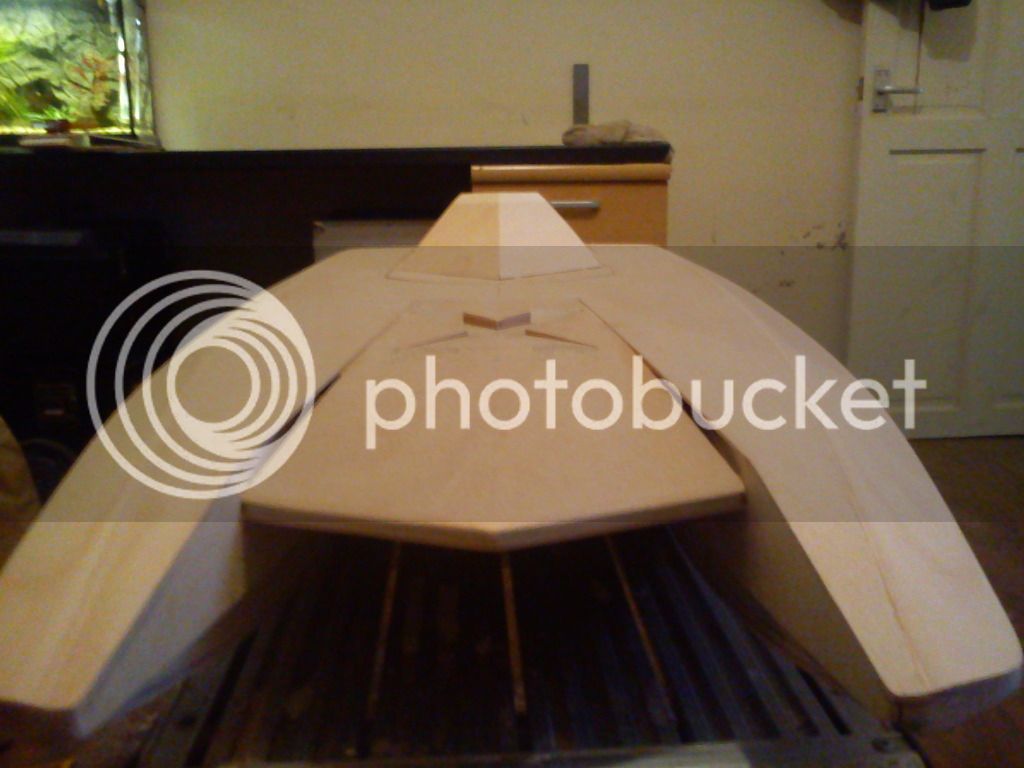
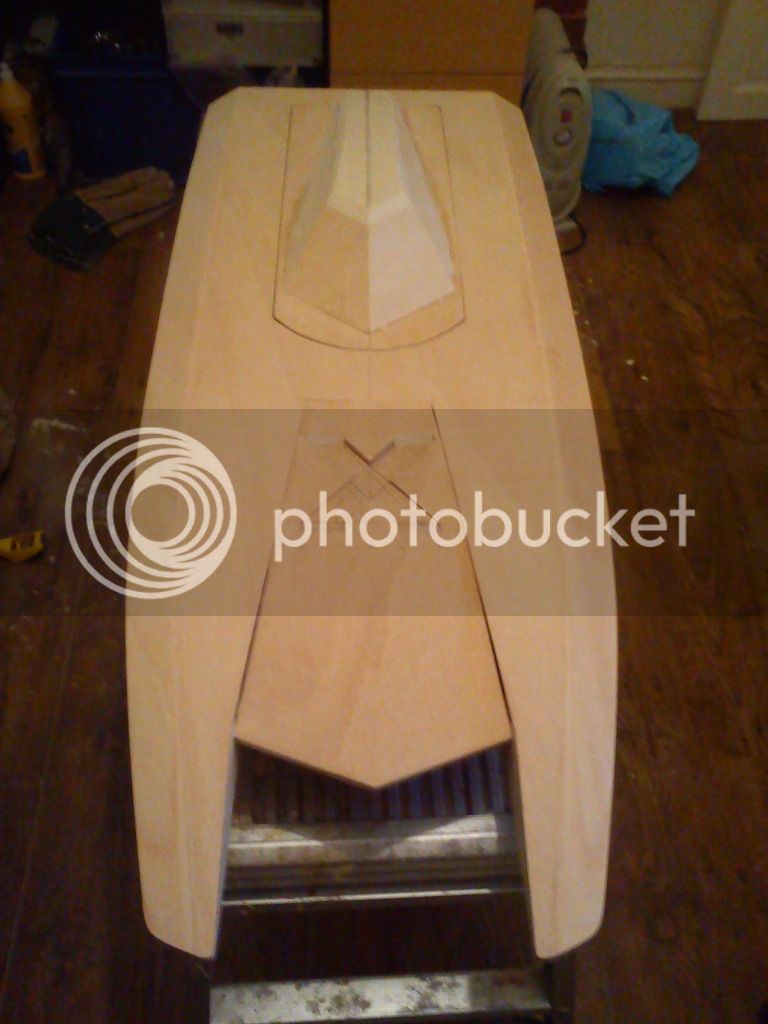
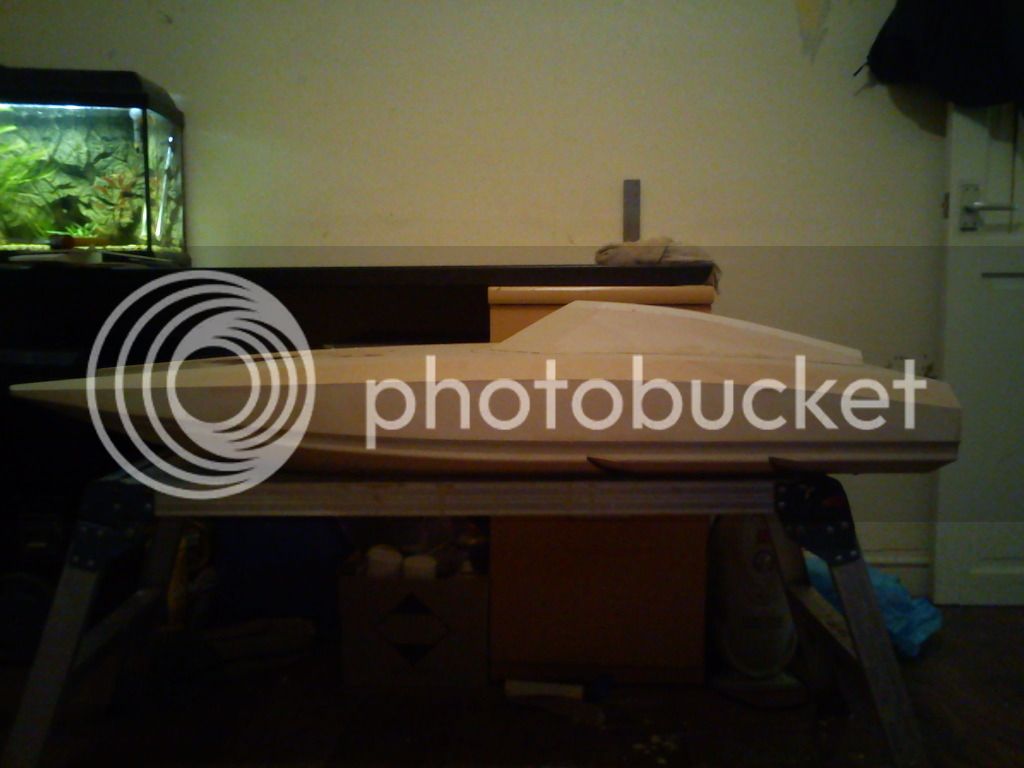
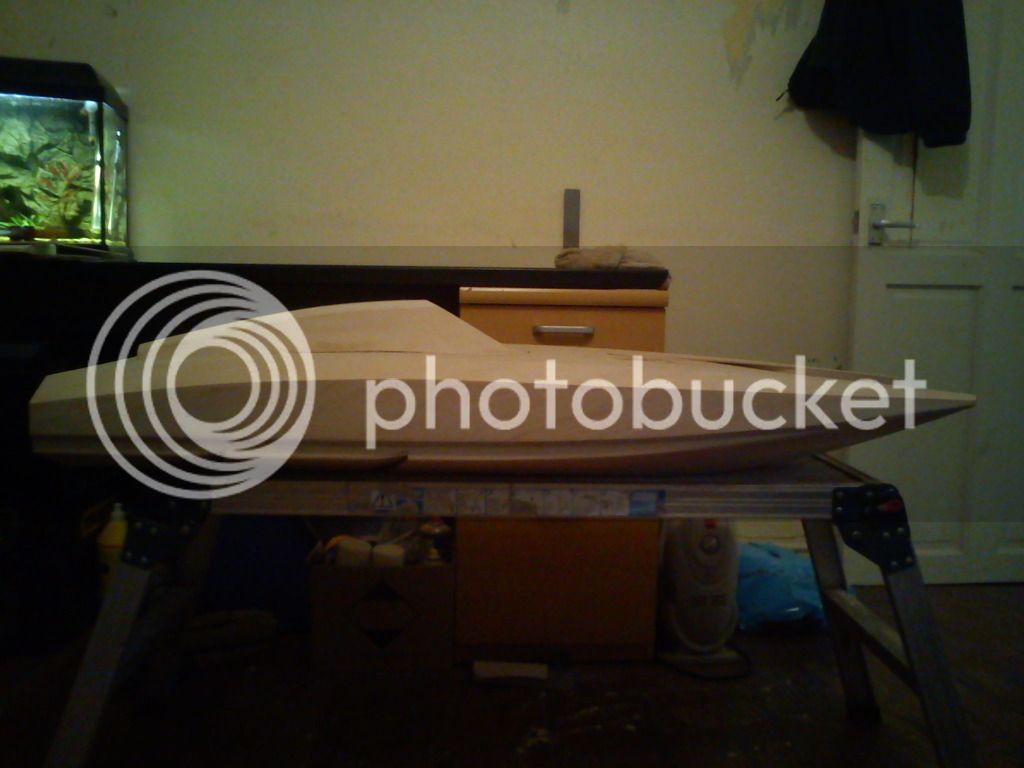
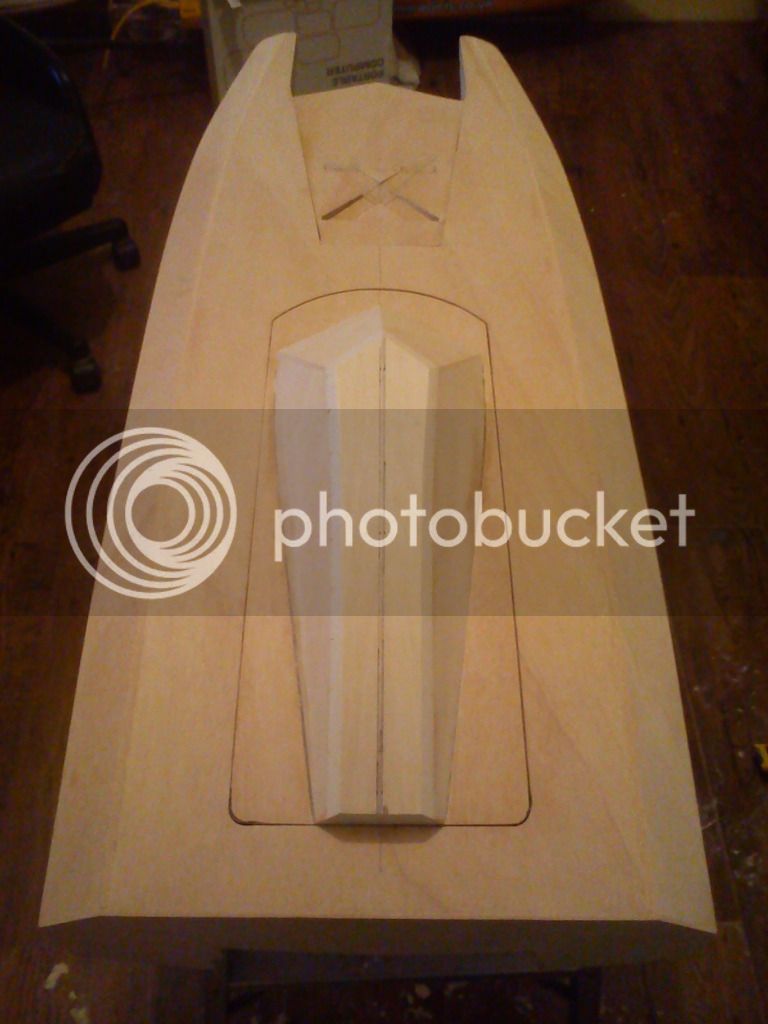
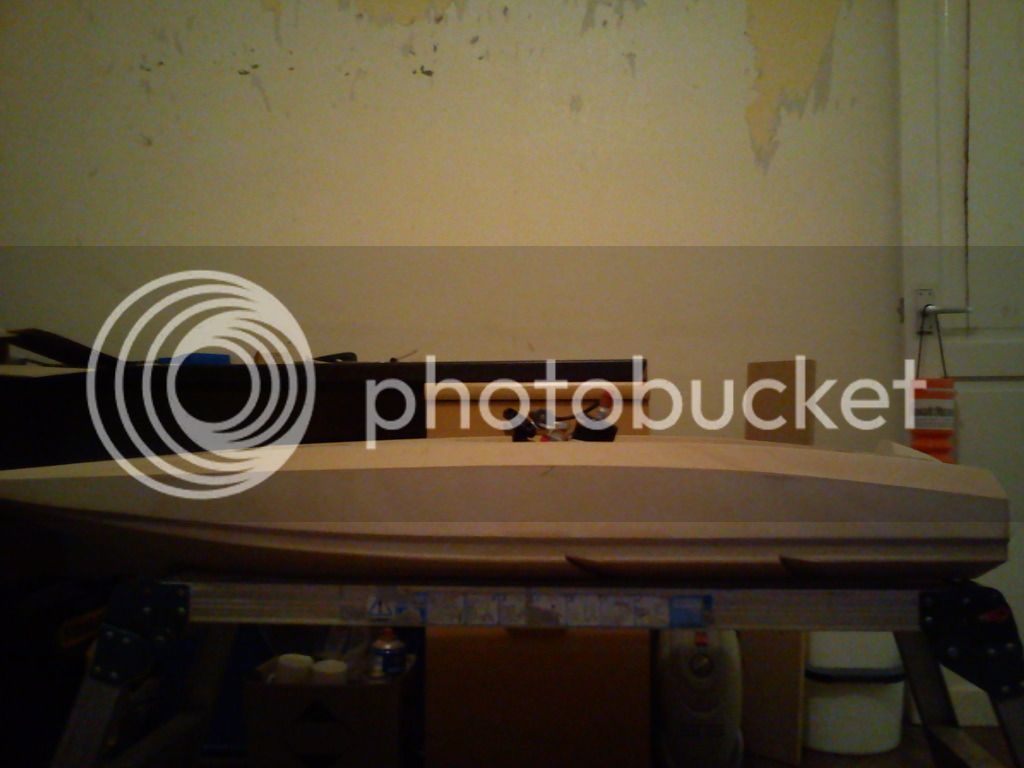
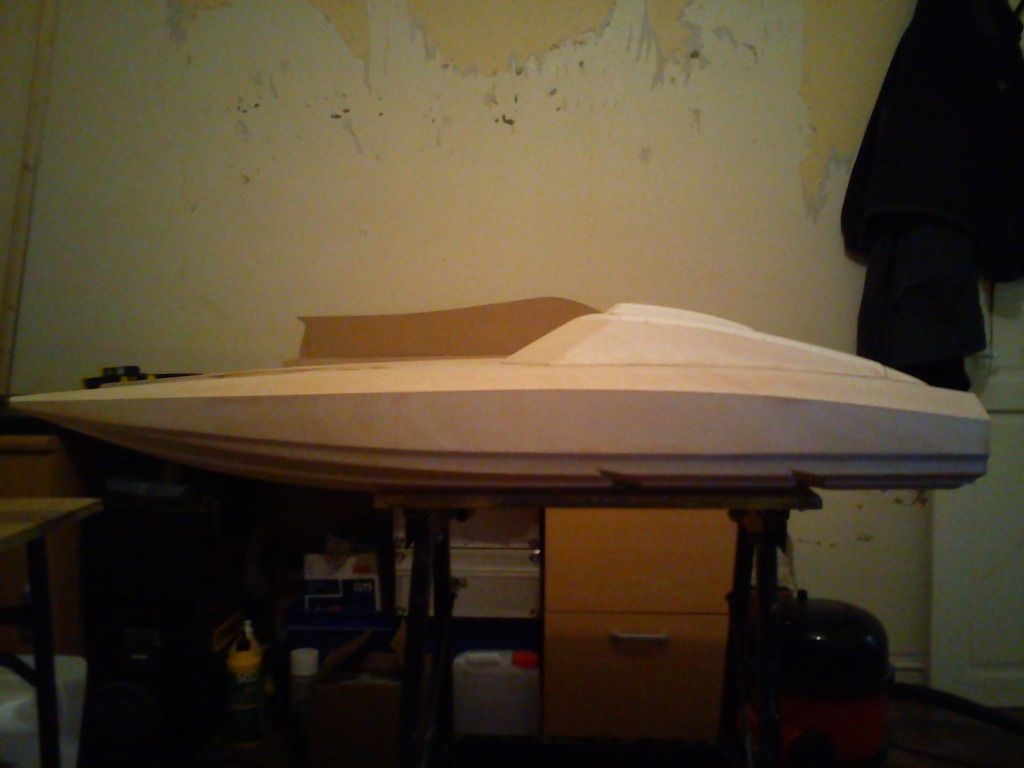
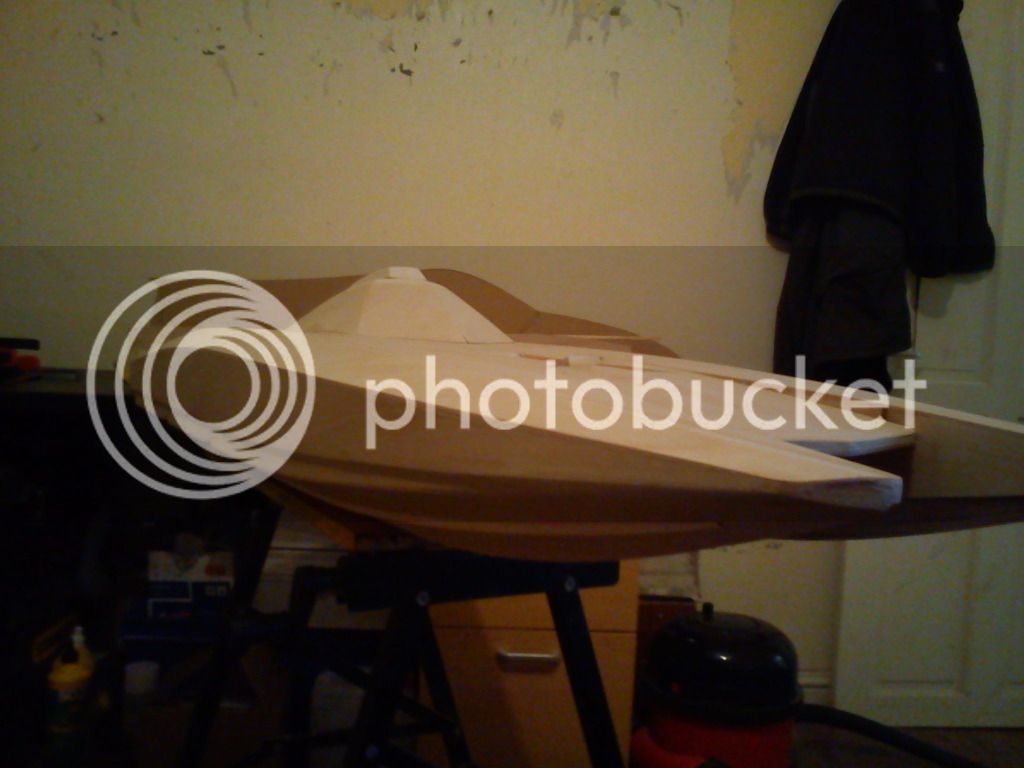
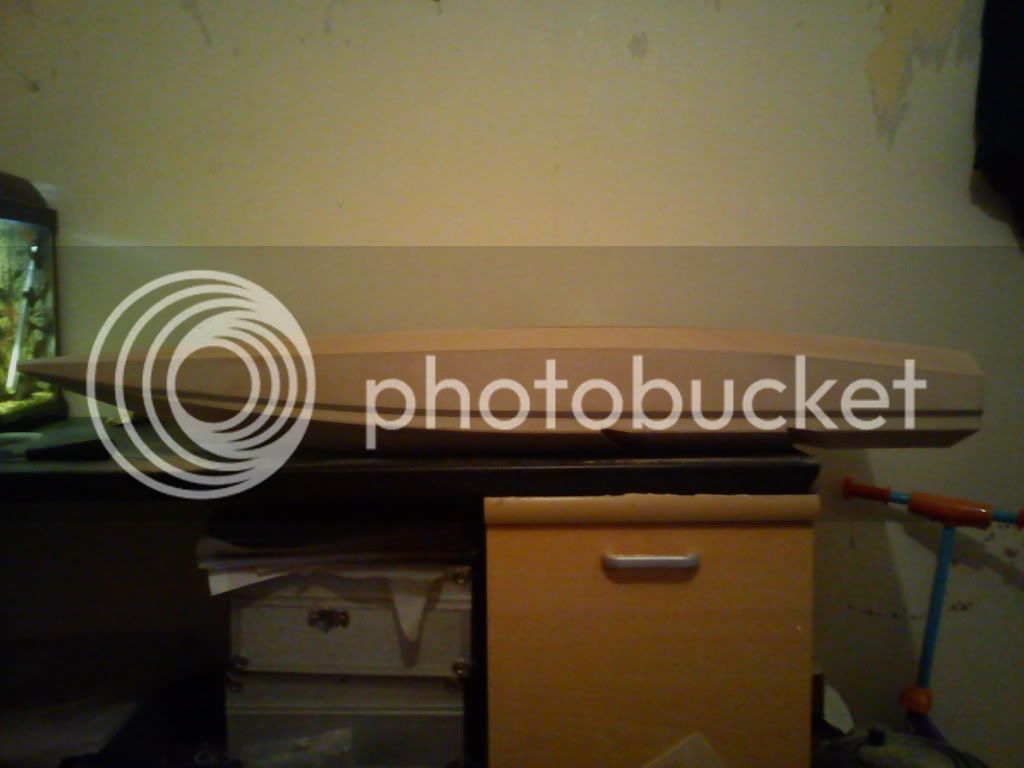
Hopefully this will perform the same and prove to be a fast,stable design,iv smoothed out some of the lines for more sleak look,just starting on the hatch hoping to have it finished soon ;)

DSC02472.jpg


DSC02471.jpg


DSC02469.jpg


DSC02468.jpg


DSC02470.jpg


DSC02473.jpg


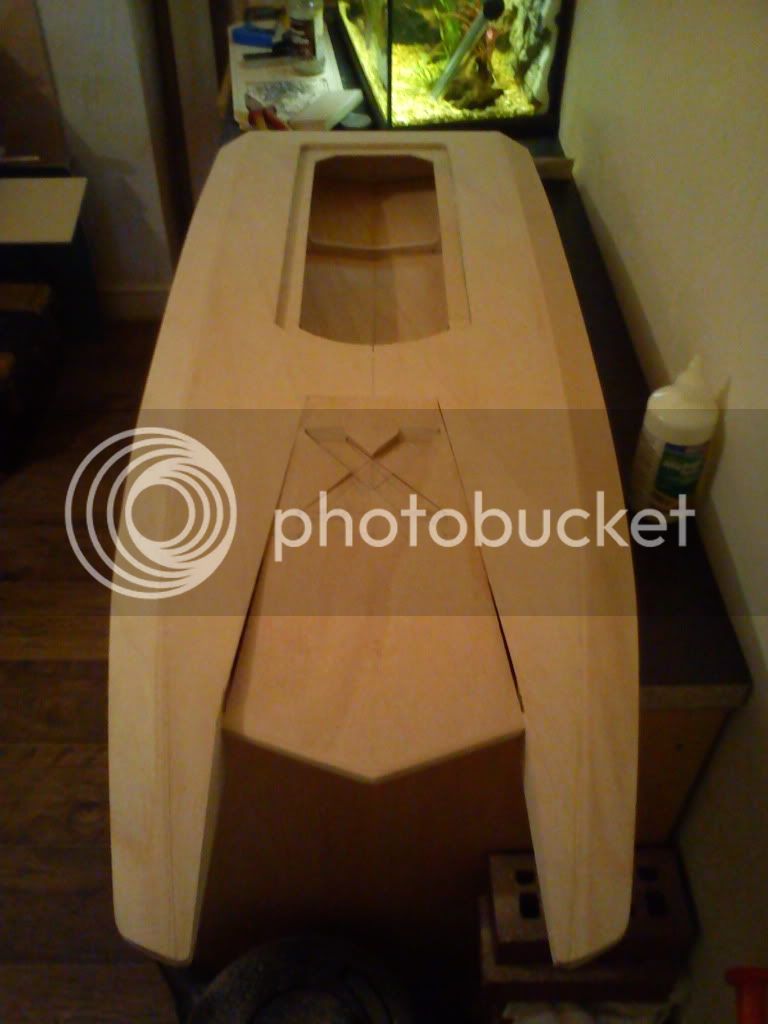
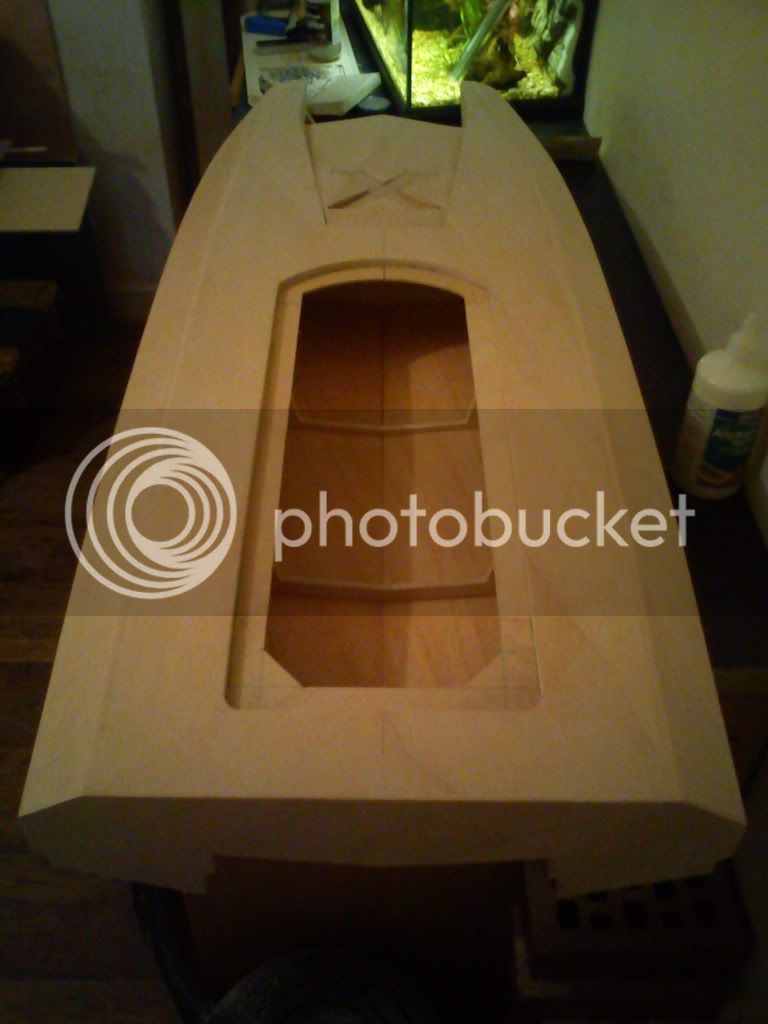
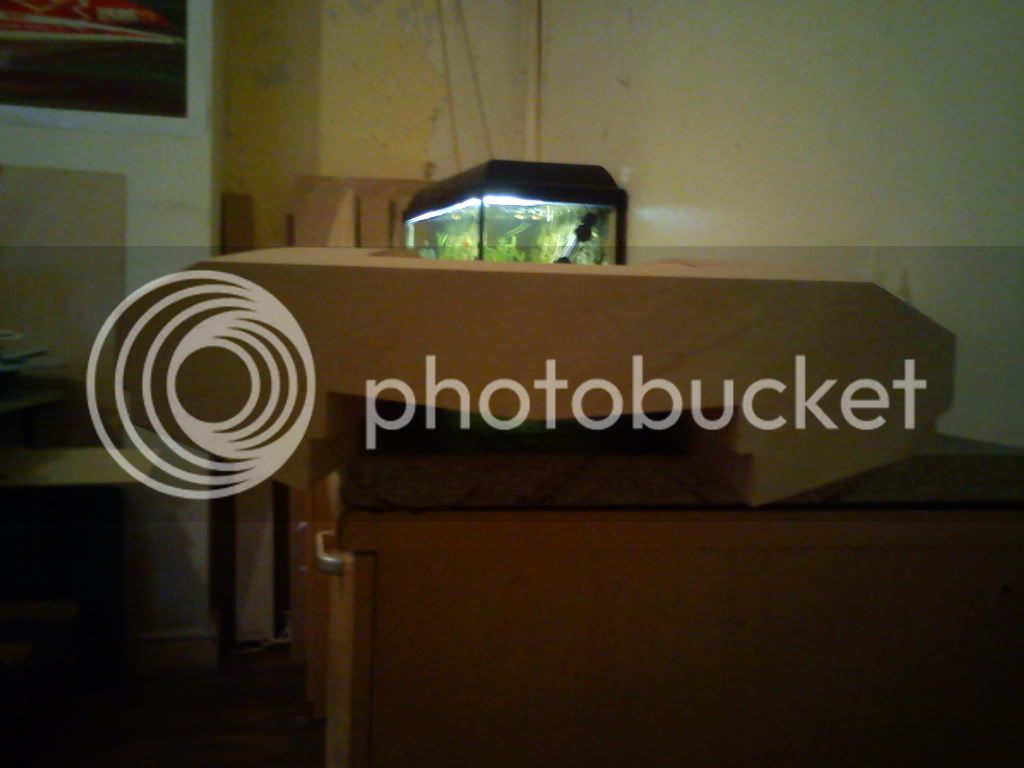
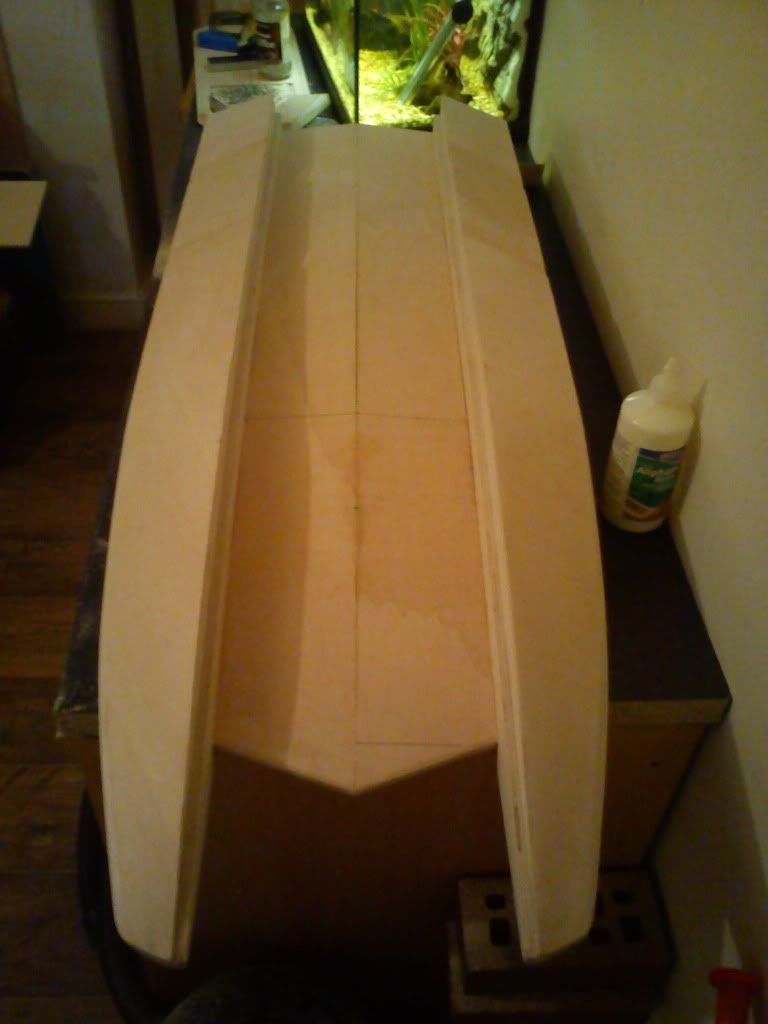
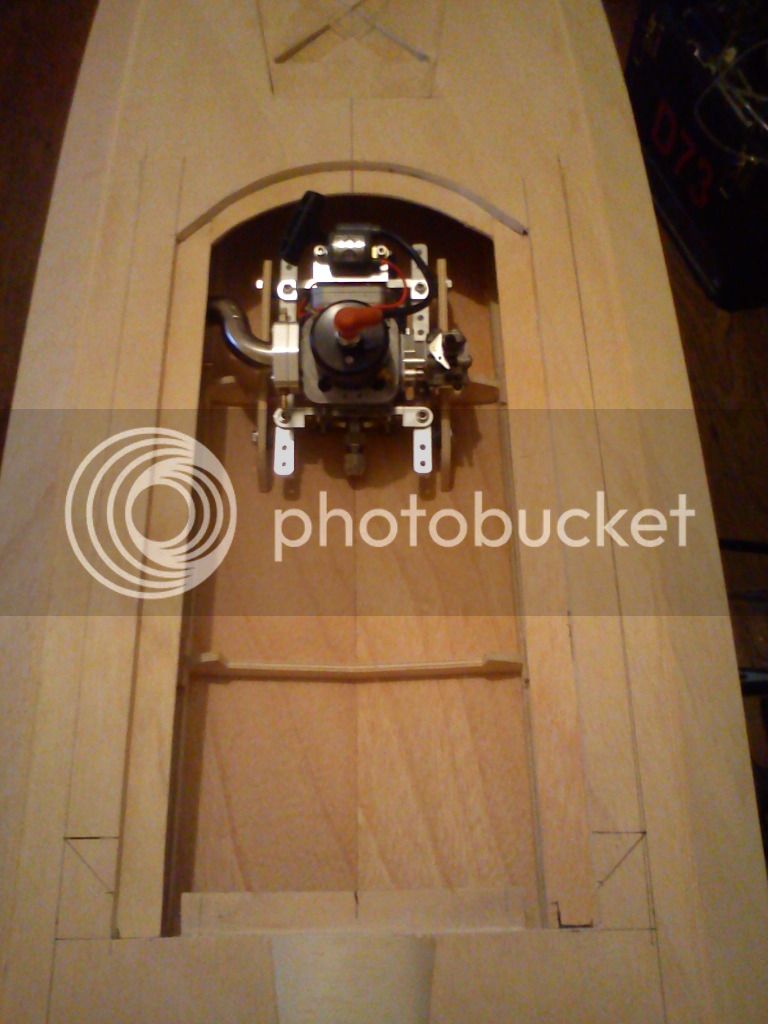
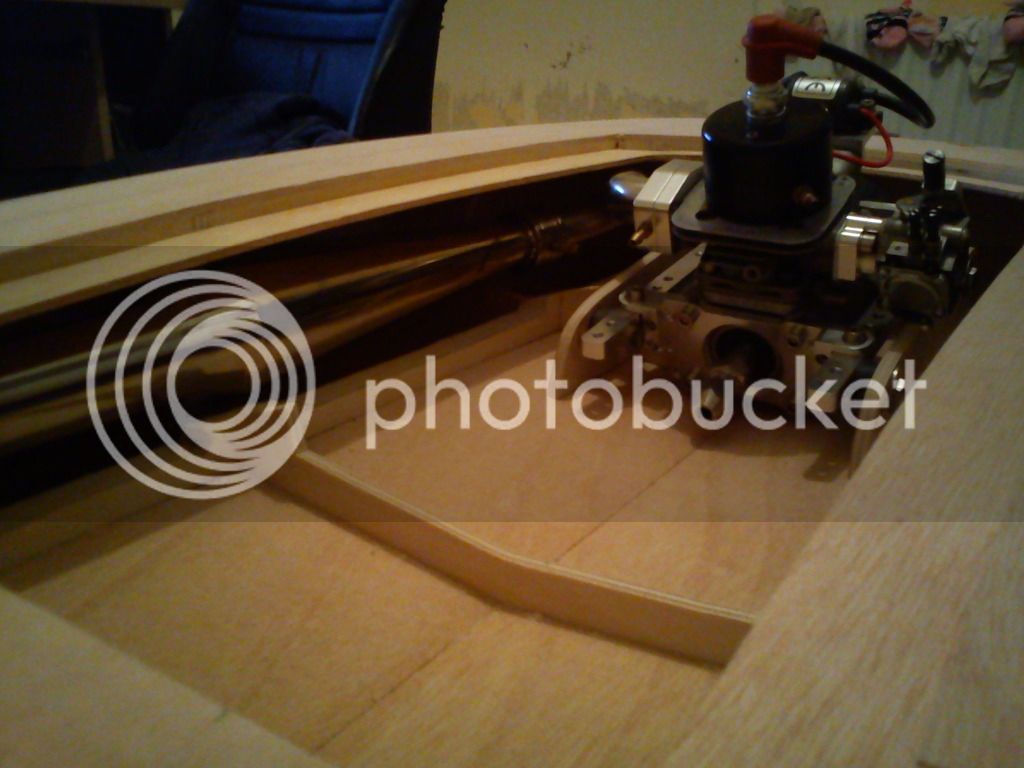
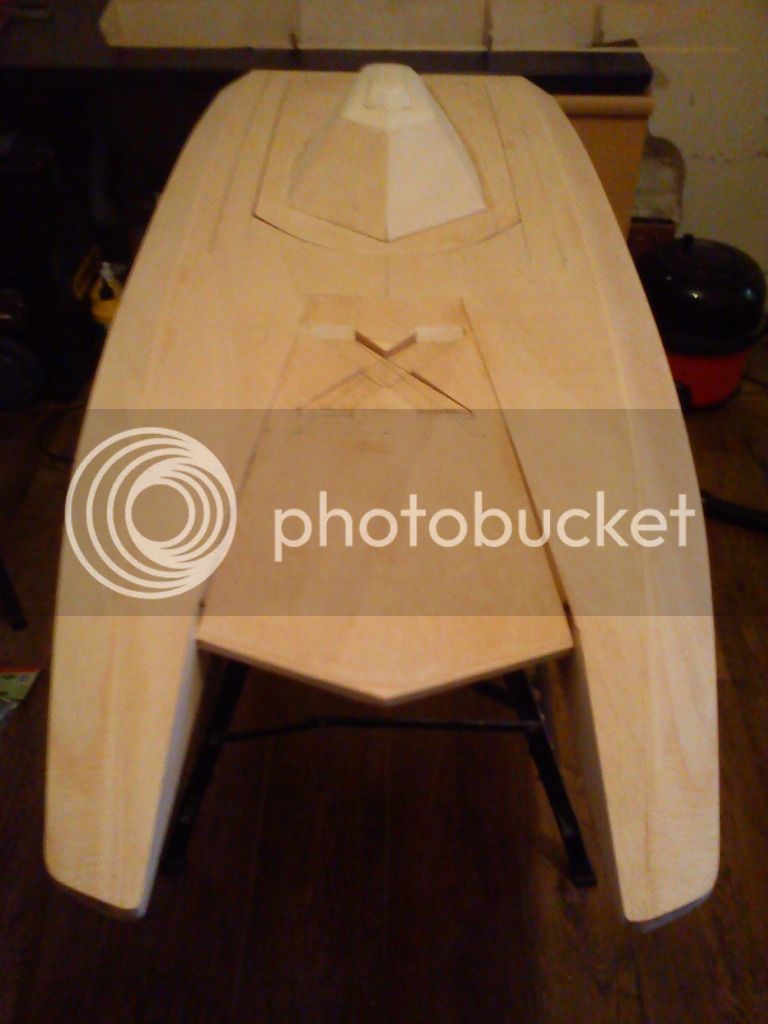
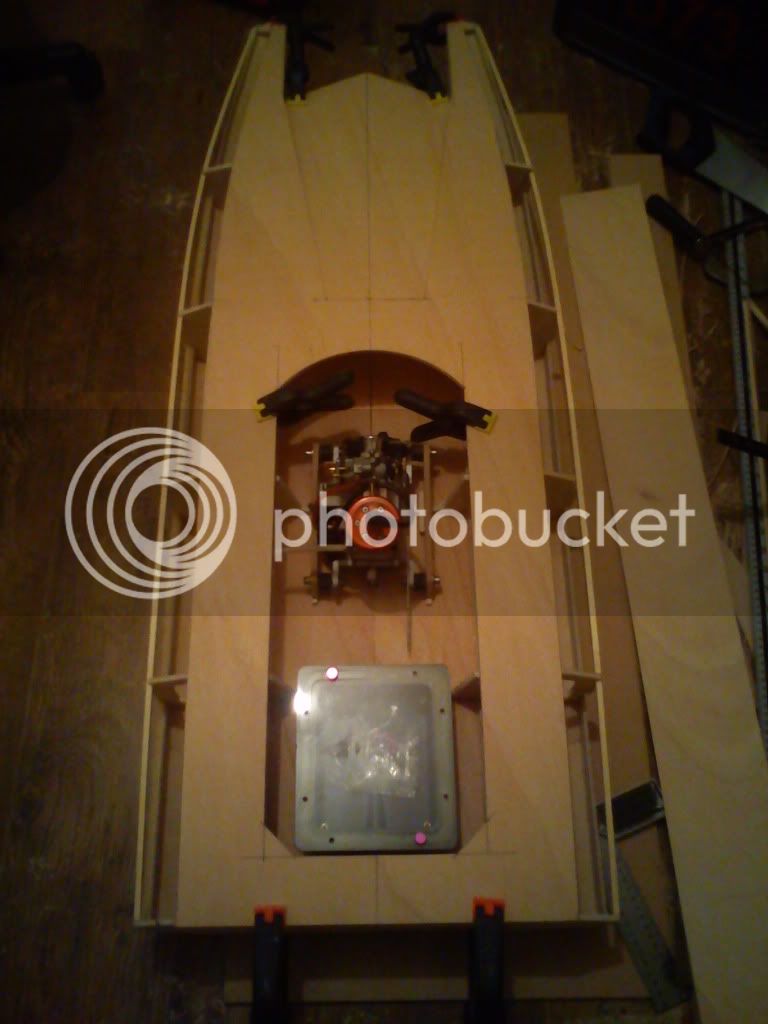
Pic of rough setup,will be powered by Se engine and enough room for exhaust and fuel bag in the sponson

DSC02447.jpg
 
Started on the hatch,still some shaping up to do and add the roof duct,also going to design the air ducts on the rear to allow air to escape aswell just not sure yet which design ill go with

DSC02492.jpg


DSC02493.jpg


DSC02495.jpg


DSC02496.jpg


DSC02494.jpg
 
ive never been a big cat fan but getting to like them more.And I really like this build is this going to be a mould for a glass boat?a wood kit would be cool to.good job.
 
Thanks to sponsorship of Millpond models,engine,exhaust maniflold,mounts etc arrived today for the X cat,fitted it up to check clearances,once in FG will have more room round the exhaust but everything fits nicely so far

Also made the hatch opening 2" wider for better access and cleanrance
thumbup.gif


DSC02510.jpg


DSC02506.jpg


DSC02508.jpg


DSC02507.jpg
 
Hey Darren,

Who makes the motor mount in post #7? I have never see one like it before. I like the idea of engine removal with four Allen head boats from above, instead of the four horizontal hex head bolts like the Hyper Torque and other clones. 1/8th turns on these two forward bolts make me crazier than normal. CHEERS !!! Bob
 
Thanks Darren.

Removal from above appeals to me, but I don't see moving the engine fore and aft too often - I don't enjoy making up shafts with the silver soldered collet with square drive. Shortening would be too bad, going longer would mean a new shaft.

I believe Cal Craft ( Rum Racing Products) makes a similar mount without the fore/aft adjustment. CHEERS !!! Bob
 
No probs bob

im not too fussed about the movement either,it was supplied by the sponsor,my CG will be setup as it is and if adjustment is need to CG ill do via the fuel tank and weight if needed as i dont wanna be messing around with shafts myself,but was explaining what its purposes are ;)

I wont be running this hull anyways,just a plug for moulding then setup FG/CF version :D
 
Hey Darren,

That's not just a plug, my Friend - that's a thing of beauty. It is interesting to see what's available from different sides of the pond. I much prefer the four bolt front and rear mounting plates of the Millpond piece over what appears to be the only two bolt attachment for the Cal Craft piece. I'll continue to make mental notes and one of these days I'll figure out a better mouse trap for an old nitro guy to get a RCMK K-30 rear exhaust engine in and out of a gas scale boat from above.

We lived in England '59 - '62 - my Father, Gus Johnson, was USAF. We lived in Cambridge for a year, then moved to base housing on HMS Feltwell. We were into aircraft back then, mostly control line speed, Combat, and team racing events.

CHEERS !!! Bob
 
Thanks Bob im hoping to have it finished in the next day 2 got 4 projects on the go at mo LOL

Its a nice mounting kit and should make removal easier

The RCMK RZ K30 is a good engine love mine never had any issues with since doing the couple of mods,just becarefull though as some have had the piston spacers break up so mine were replaced with the older 254 spacers which fixes the problem

Well if your ever in the UK your more than welcome to come visit and ill put the kettle on ;)
 
Just an update

finally finished all the construction now next job is too sand,abit of filling and get it ready for spraycoat

DSC02529.jpg


DSC02531.jpg


DSC02532.jpg


DSC02534.jpg


DSC02536.jpg


DSC02537.jpg
 
Back
Top