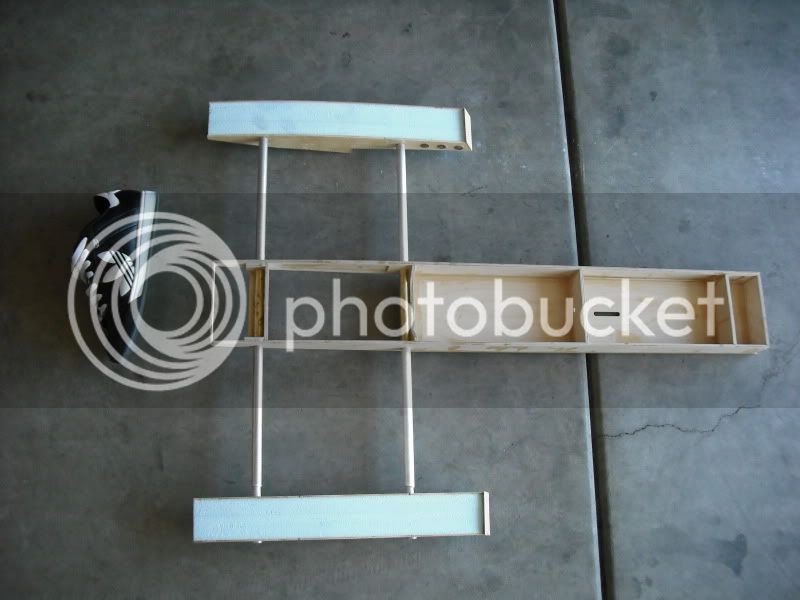
We started our Jae Gas Rigger build. After reading the instructions several times we got started After unpacking and marking the parts we glued the tub side doublers in place Next we fitted the bulkheads After gluing with ca we moved on to the booms This will set up all nite before we sand and apply the tub bottom rear section. For power we will use a RCMK rear exhaust motor, most of the rest including hardware and prop will be Zipps off the shelf parts
Ok we sheeted the bottom,in order to get a tight fit we had to sand the bottom sheet to get it in the jig correctly. Be sure to get the shaft log holes on the RIGHT side. Next we glued the sub nose and transom doubler in,note we glued the doubler while the boat was in the jig,you want to be sure as you add parts NOT to build any twist in the hull. We hope to move along more this weekend,when I say we my son Jeff is doing the bulk of the work.....