


aussieboater
Well-Known Member
- Joined
- Mar 5, 2006
- Messages
- 129
Hi,
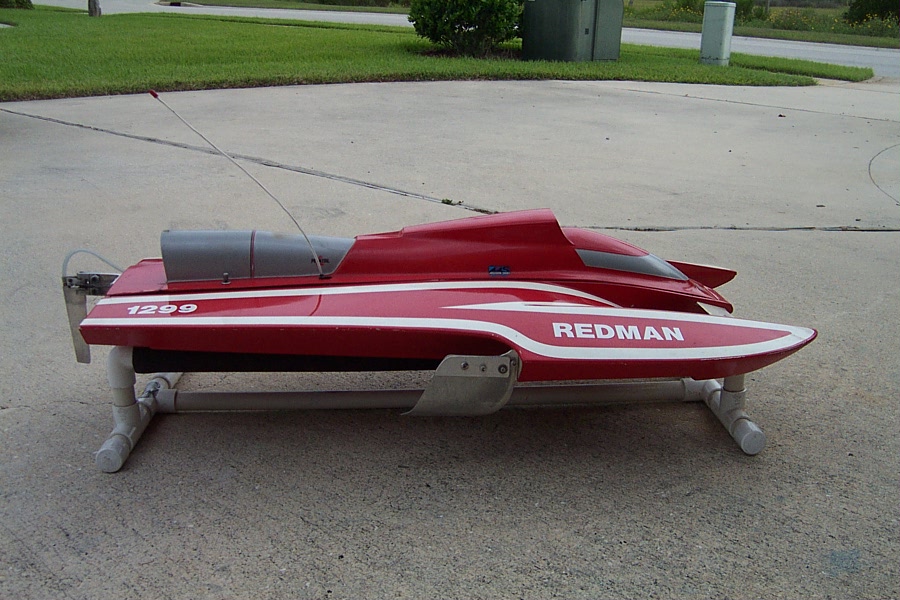
As the topic says how hard are they to build or fit everything into the hull as in engine mount stuffing tube set rudder and strut up
Thanks
Brad
PS: anyone have pics of theres please send them to me [email protected]
As the topic says how hard are they to build or fit everything into the hull as in engine mount stuffing tube set rudder and strut up
Thanks
Brad
PS: anyone have pics of theres please send them to me [email protected]
