


RodneyPierce
Well-Known Member
- Joined
- Mar 26, 2006
- Messages
- 4,464
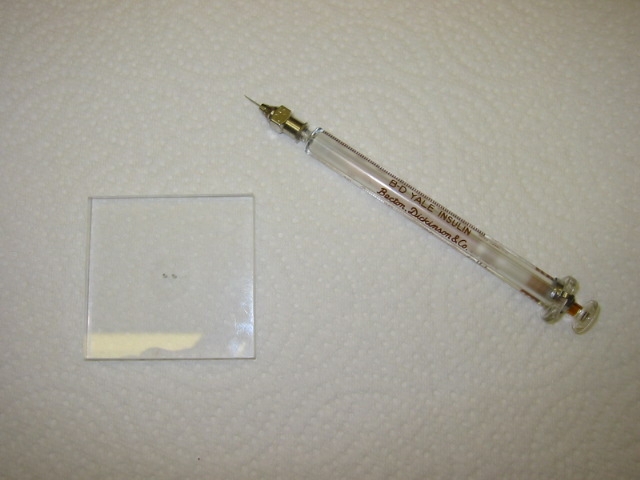
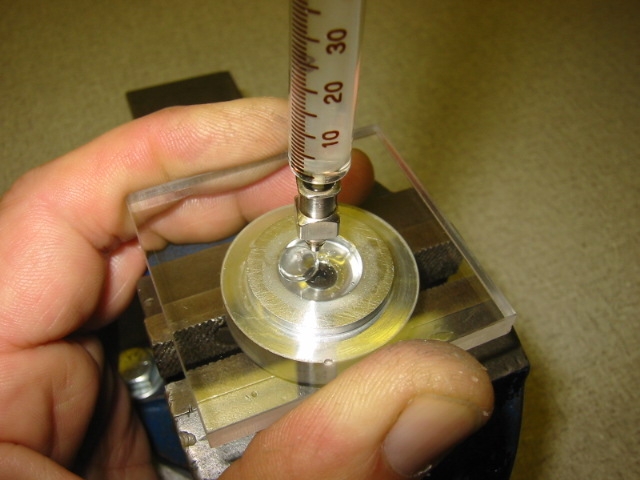
Im thinking of getting myself a bench top lathe here to start tinkering with head buttons and such. I have never used a lathe, and wondered if anyone here would be interested in making a video, or a few small ones on how to turn a head button. perhaps from a standard button, and then from a piece of stock? Also what and how you hold the button in the chuck, etc. Just something to show us that have never done it, a sort of jump start if you will?
")