Q tunnel radio box

Intlwaters

Help Support Intlwaters:

This site may earn a commission from merchant affiliate links, including eBay, Amazon, and others.
I can show a picture of mine tomorrow...but basically I have the steering servo and speed controller (T180) at the back and battery pretty much as far forward in the well.. (where radio box would go on a nitro boat)

Another note is that I glued my ciwl to thw hull then cut out a section
 
17" long

2 5/8 wide

3" tall front

3 1/2 tall rear

Box is fastened to a 1/2 X 1/2 wood block in front and 2 -1/4" drilled holes for pegs on box at the rear conforming to the transom buildup. Plus Velcro on bottom it removes and a shorter radio box plus a fuel tank converts easily back to nitro.

DSCN2595.JPG

DSCN2596.JPG

DSCN2597.JPG

DSCN2598.JPG

DSCN2599.JPG

DSCN2600.JPG
 
Last edited by a moderator:
Thanks for the pics mic. I have had.the box built for a while now I just never finished it I still need to glue in the servo tray and finish my escape connections
 
I cannot find any pics of my Q boat (Vision)...dammit

Did I mention my Q boat will be for sale at the event?
default_smile.png
 
I cannot find any pics of my Q boat (Vision)...dammit

Did I mention my Q boat will be for sale at the event?
default_smile.png
I think I have some pics!!!....
default_wink.png
I was really impressed with how you permanently mounted the cowling and created a "trap door" for access.
 
Last edited by a moderator:
Hey Ron, can you please show them? I hope it still looks the same as when I sent it....I know Shane drives things hard! haha he did tell me he drove the Dragon stickers off it ;-)

Did I mention my Q boat will be for sale at the event?
default_smile.png
interesting...exactly what stuff comes with it, or is it just the naked boat.....
I would prefer to sell minus the outboard as it is a K&B lower unit that I spent a bit of time on modifying
default_smile.png


But it would come with a Turnigy 180 Speedy (extra capacitors), 1/4 scale steering servo...basically bolt on an outboard
default_smile.png
 
Kris,

I only took these two pics so I could remember how you mounted the cowling and created the exit at the transom. Hope these help. Great setup!!


Kris,

I only took these two pics so I could remember how you mounted the cowling and created the exit at the transom. Hope these help. Great setup!!


the cowling mounting is very interesting, I want to do that too, but don't have the guts to start working on that......
 
Kris,

I only took these two pics so I could remember how you mounted the cowling and created the exit at the transom. Hope these help. Great setup!!


the cowling mounting is very interesting, I want to do that too, but don't have the guts to start working on that......
I agree Ron. I had heard of people enclosing the cowling like that for FE use but Kris's was the first one I had a chance to see in person. Don't tell him I said this, but he really did a great job!!!....
default_wink.png
 
Interesting angles on the sponsons.
default_wink.png
Thats the real reason he took the photo haha

Thanks for the photos Ron, I left an RPM sensor in there!!! that was silly! I can also see i have 4 'spare' shafts waiting for me hehe
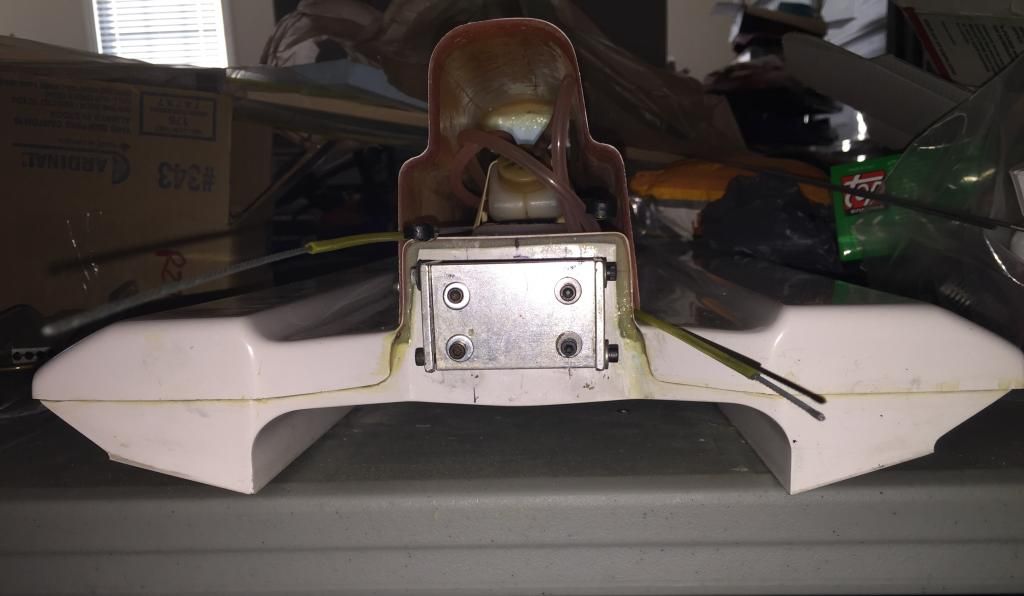
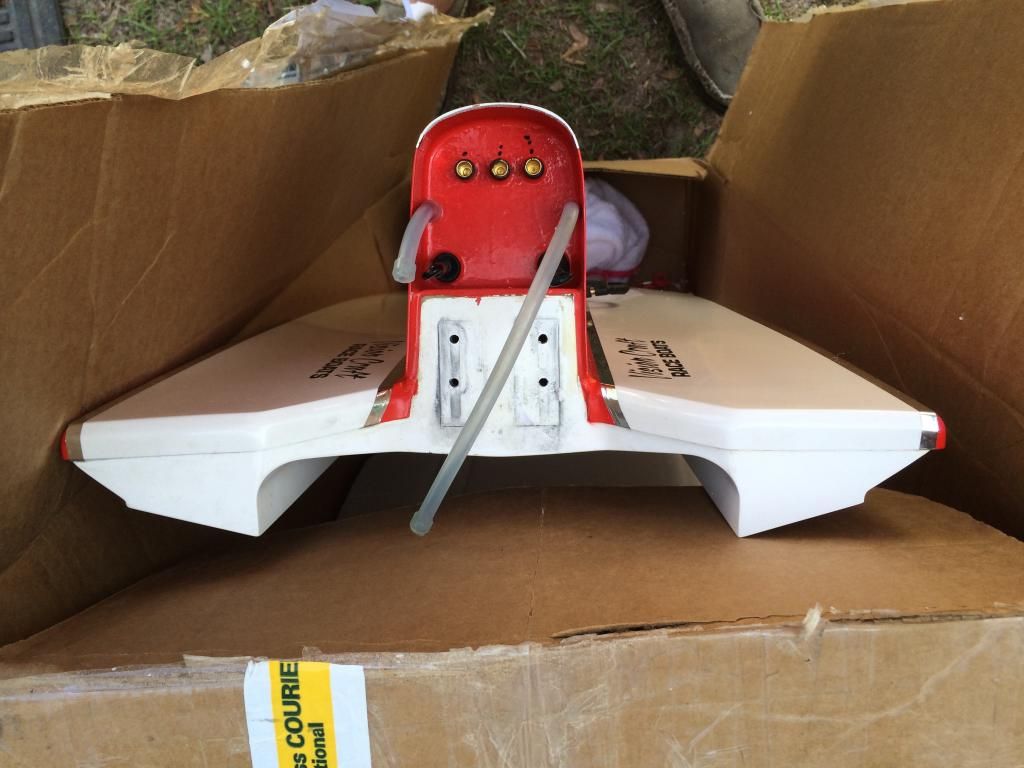
Kris,

That bottom is no secret....LOL It was around many many years ago. All of my Proglass Tunnels have that same bottom that was designed by my good friend Martin Tidwell way back in early 2000!!!


Last edited by a moderator:
Kris,

Will you be running a full fleet of your Dragons at the Herb Race, including the FE versions? Looks like they have a great lineup of drivers and tunnels coming to that race so it should be a great test base for you.
 
Last edited by a moderator:
Back
Top